Right after you have learned how to create a campaign on Deskera CRM, the next thing you will need to view and track your campaigns.
Campaign Launched Later
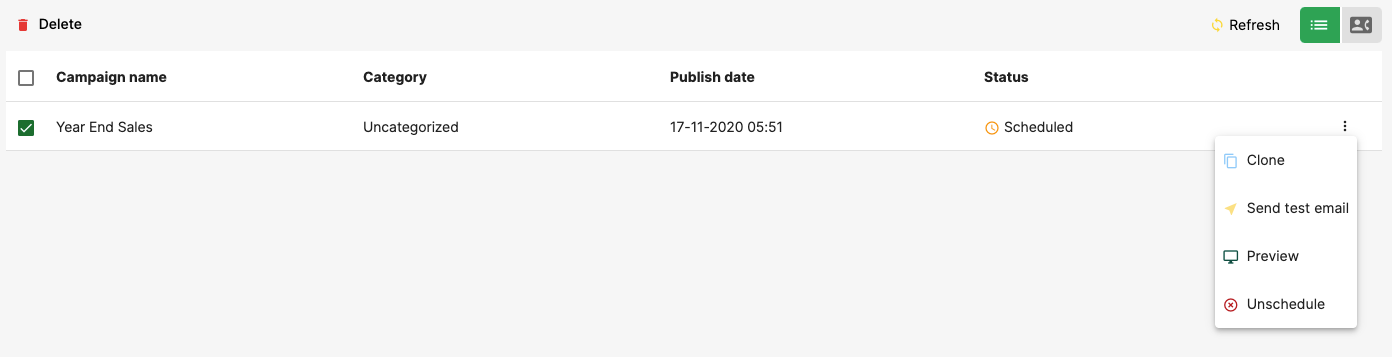
You can view the campaigns that you have scheduled for later timing and date under the status column in the Campaign List.
There are four things that you can do when viewing the campaigns scheduled for later timing and date such as:
- Clone: Create a duplicate of this campaign
- Send test email: If you are still unsure about the layout and the content in the email, you can always test it again using test mail.
- Preview: View how the email will appear when your customer receives it.
- Unschedule: In case you tag the email template to the wrong group of customers, you still have the option to cancel the campaign by clicking on the unschedule button.
Campaign Saved in Draft Mode
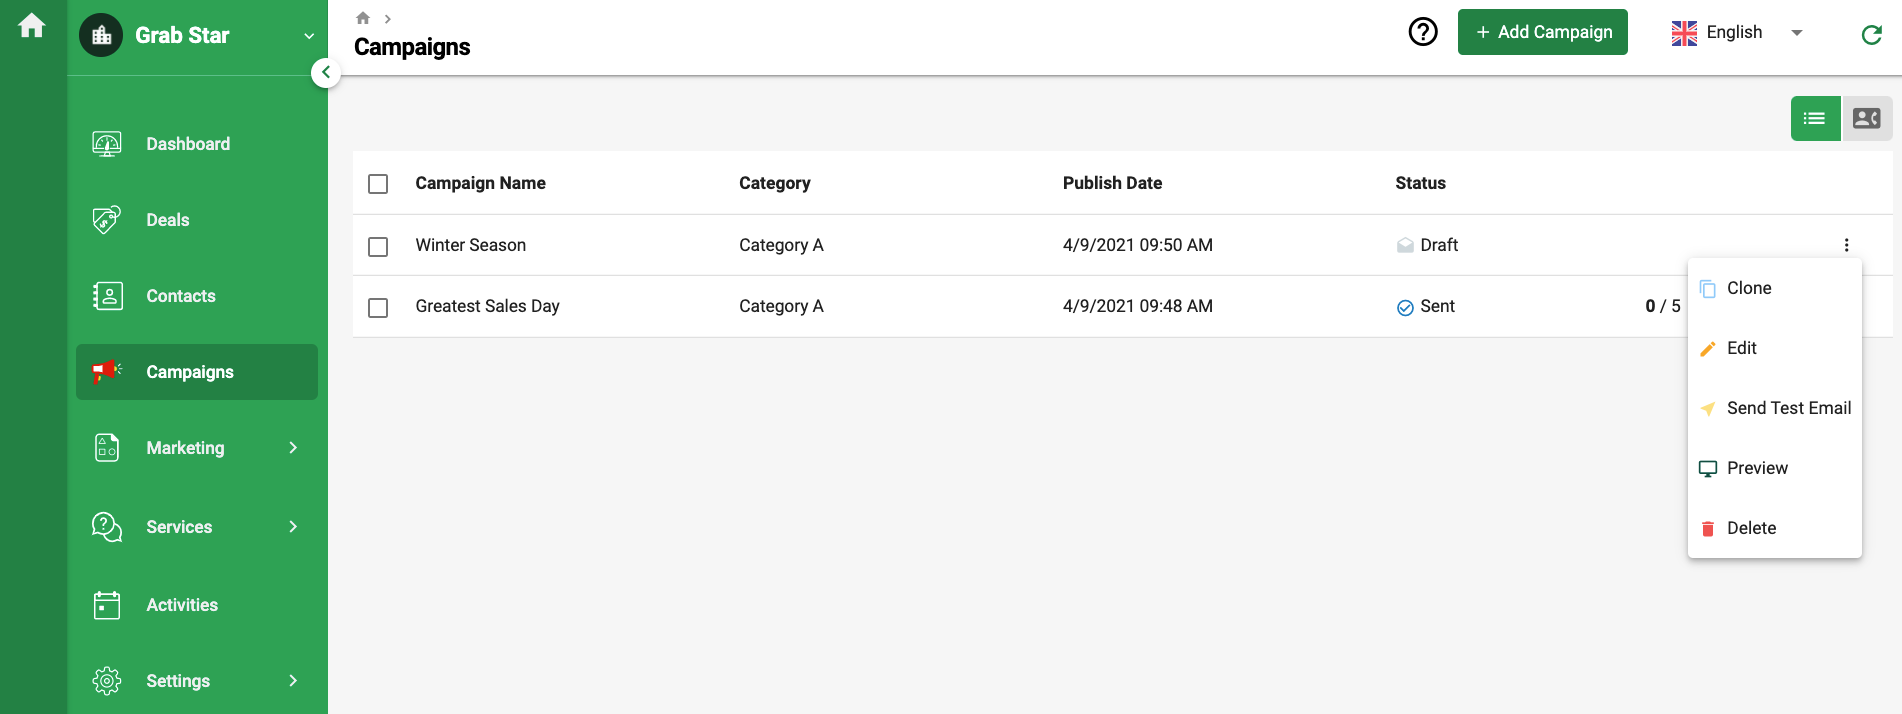
There are five things that you can do when viewing the campaigns saved in draft mode:
- Clone: Create a duplicate of this campaign
- Edit: Update the segmentation group, the category, campaign name, sender's email, and changing the email template.
- Send test email: If you are still unsure about the layout and the content in the email, you can always test it again using test mail.
- Preview: View how the email will appear when your customer receives it.
- Delete: Remove the campaign permanently from the system.
Campaign Launched Now

There are three things that you can do when viewing the campaigns launched at real-time:

- Statistics: This feature enables you to track and view the number of emails that are read compared to the number of emails sent.
- In the statistic window, you can track the total emails, opened emails, bounced, unsubscribed, clicked, and total open of each recipient. You can also export the data in xlsx or csv format on this screen.
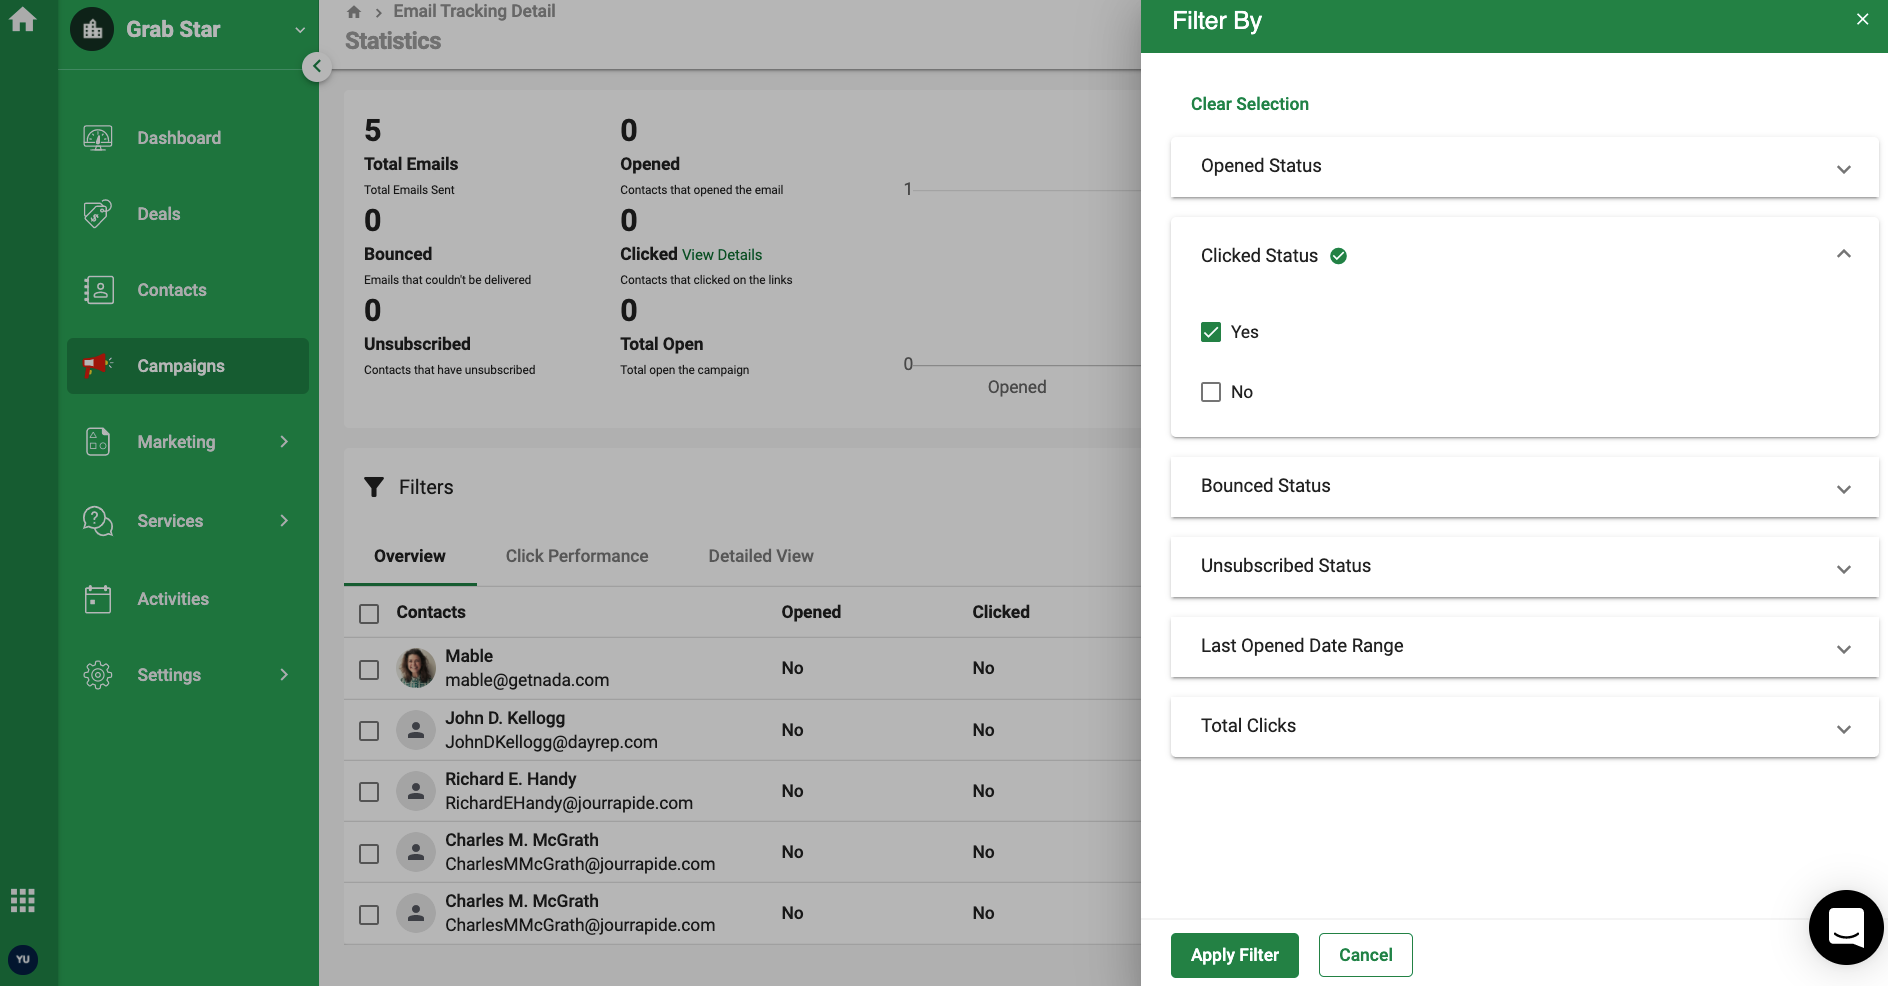
- Click on the Filter button in the statistic screen and input the values as per the selection shown. Then click on the apply filter button.
- Clone: Create a duplicate campaign
- Preview: View how the email will appear when your customer receives it.
- Delete: Click on the delete icon to delete the campaign if no recipients have opened it