Bills are created to reflect your expenses incurred from buying tangible items, such as your products, or other miscellaneous things, such as buying computers for your office use.
It also records the purchase of intangible items from your supplier, such as services. The Bill is given to the customer by the supplier.
Creating a Bill on the Deskera Books allows you to track your expenses efficiently, and it also serves to restock your inventory for physical Products.
How do I create a Bill?
To start, follow these steps:
Step 1: Navigate to Purchases > Bills > click Add New Button > select Bill in the Right Corner.
Step 2: You will be directed to create a new expense bill screen, and you are required to fill in the required fields of the contacts by clicking on Add Contact Button.

Step 3: Enter the dates like Bill date and due dates, then Select the Products that you have purchased, their quantity, UOM, Price, and any discounts and taxes applicable. You can also attach any files by clicking on Attach Files Button and clicking on Save to save the bill.

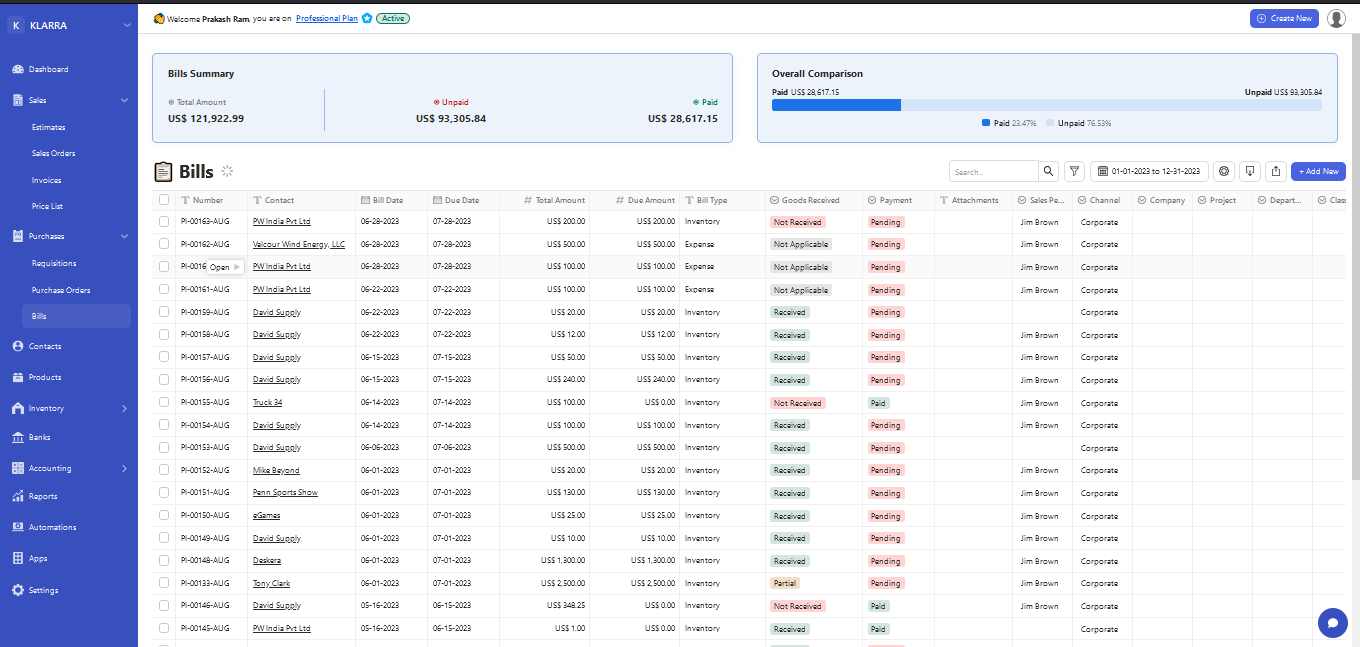
Step 4: Once you have created new expense Bills, you can view them under Purchases > Bills window, as shown below