
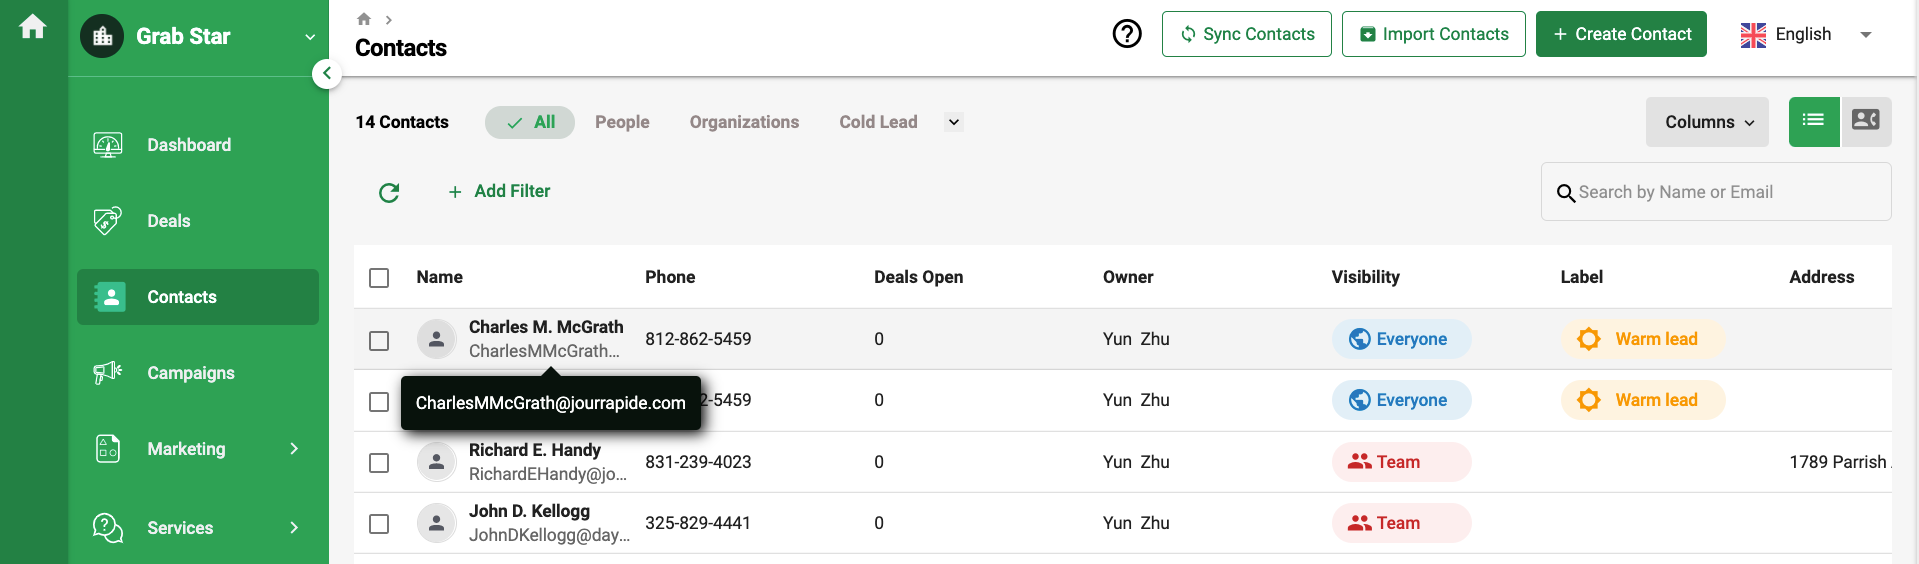
Once you have created a contact, click on the respective contact so that the system can direct you to the Contact Profile window.
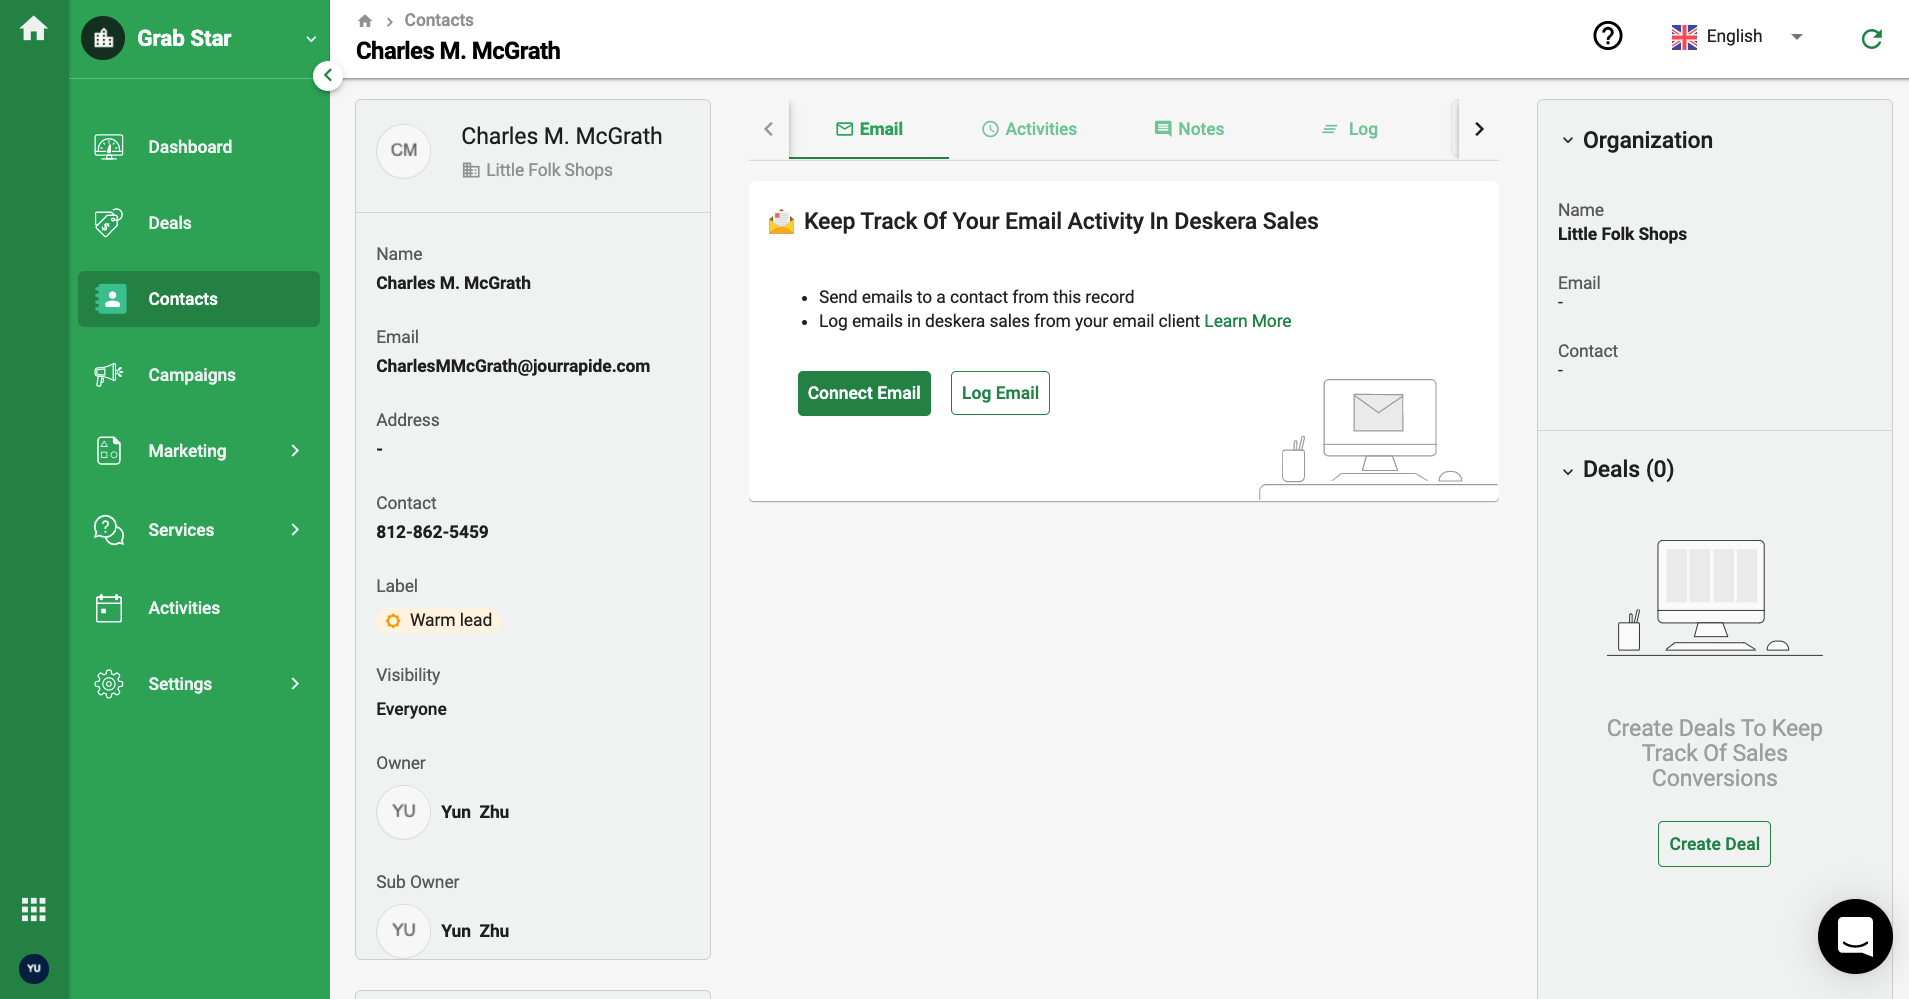
You may also make changes to the Contacts details by updating the fields on the left-hand side of the window.
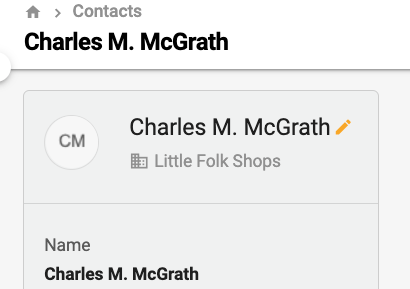
- Hover your cursor next to the contact name on the left-hand side of the page.
- Click on the Edit icon once it appears.
- After clicking on the Edit icon, you can make changes to all the fields in the box as shown.
- You can change the lead status for the Contact by clicking on the dropdown arrow.
- You can also change it to hot leads, cold leads, warm leads, customer selection, and create a new label as you wish.
- Click on the Save button to save your changes.
Email, Activity, Notes and Log
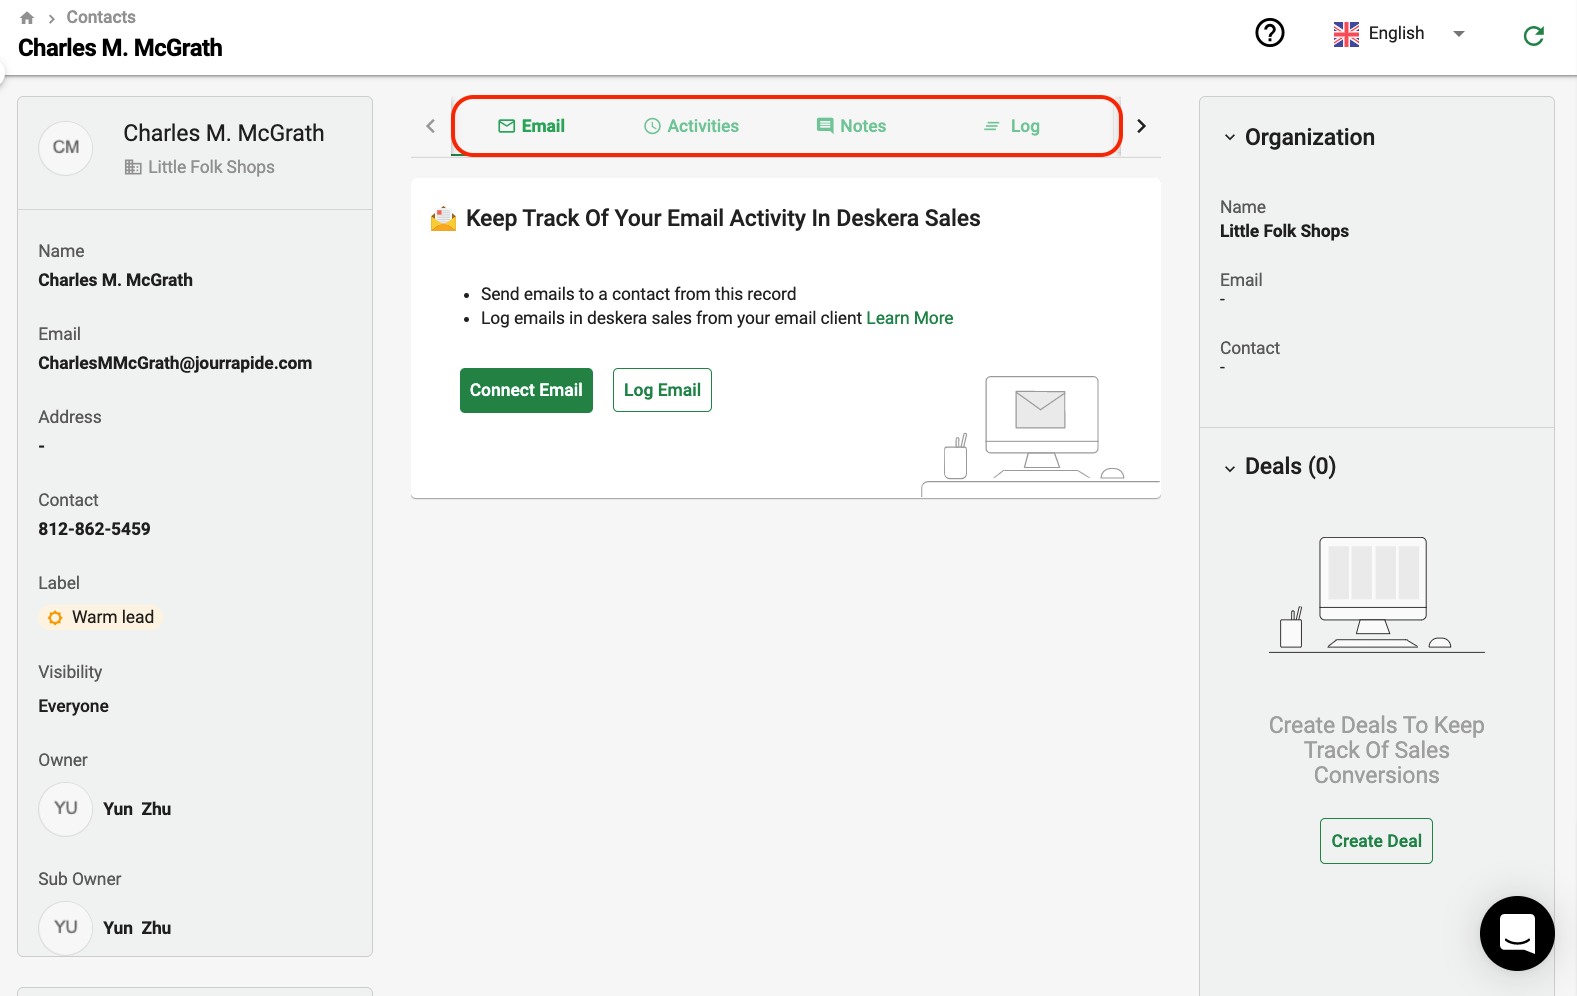
- On the Email section, you have an option to send and receive emails from the customers. This is link to your support email.
- Click on the Connect Email to connect to your preferred email address.
- In the activities tab, click on Create Activity button, a window will appear where you need to fill in the activity details.
- For the Notes tab, you can add the notes of your tasks, reminders, etc., to keep track of your work.
- The log tab shows the users updating the contact's information in the system.
Deals
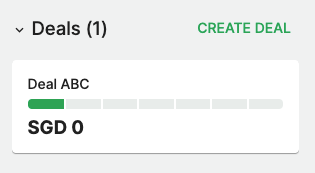
The Deals Section on the right side of the page shows how many deals are open, won, or lost.
You can click the 'Create Deal' button and track the Contact's progress until they are converted to a customer.
Custom Fields
Under custom field option you by clicking on the Create custom controls, you can add your custom fields to the contacts.
The below window will appear where you need to fill in the required details as per the custom field you need to create.

Under Add field details fill in the Field name, Field type(Number, Text or Dropdown), Tick on yes/no to mark the field is mandatory or not, as per the selected type add Decimal Precision/Max length/Dropdown value.
 Janhavi Wagh
Under create in module tab, you can select the option either Contact, deal, or both if you wish to create the selected custom fields in both the module.
Lastly, click on the save button, where the custom field will be added.