
Once you have signed up to the Bookkeeper system, the next thing you have to do is to add your Client in the system.
Using the Deskera Bookkeeper system you can add clients in the system. To add a new client, follow the steps below:
1. Go to the Clients tab on the sidebar menu
2. Click on “+Add Client” which will direct you to the Add Client page
3. Fill in the client details as required.
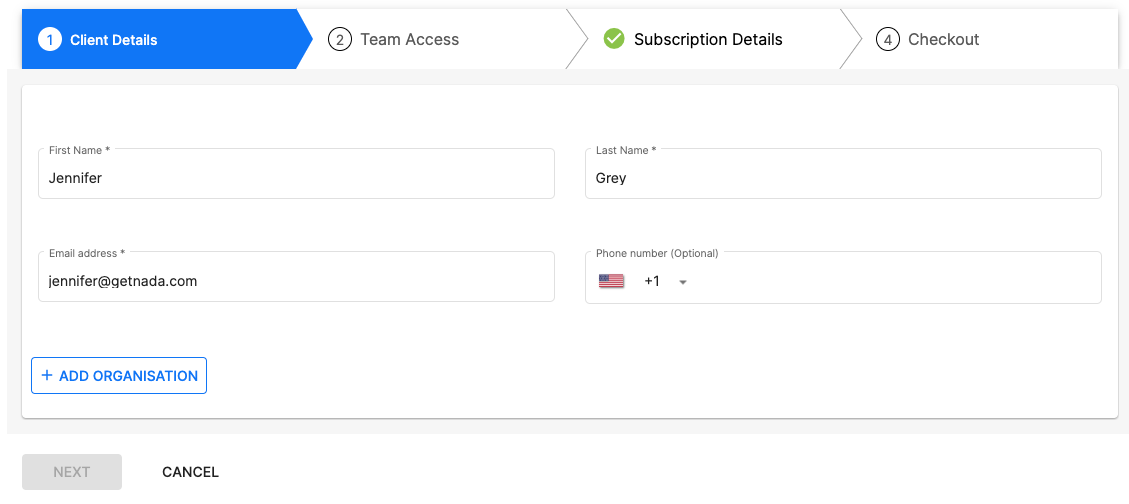
- First Name - Client’s First Name
- Last Name - Client’s Last Name
- Email address - This must be a unique email that is not present in the system
- Contact number - This must be a unique mobile number that is not present in the system.
4. Once the above-mentioned client details have been filled and verified, you can proceed to fill up the client’s organization details by clicking the “Add Organization” button. This button will only appear after the successful validation of both the email address and mobile number.
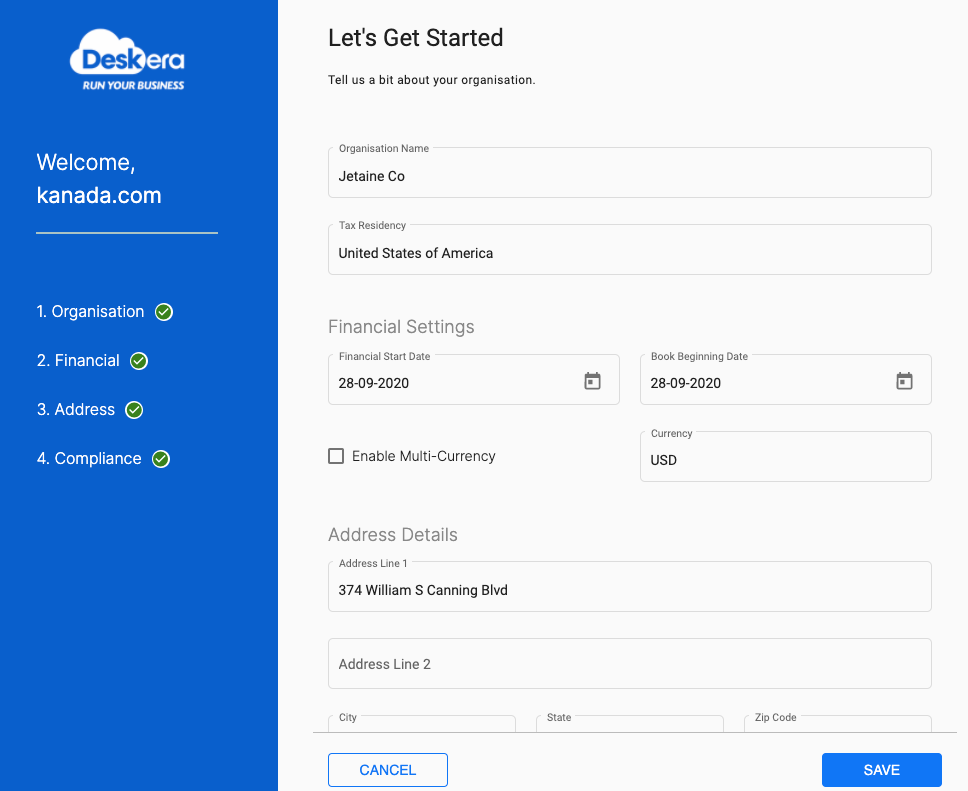
5. Once you click Add Organization, a side dialog with the organization form will be triggered. Fill up the organization form as shown, and click Save. Once you have indicated the organization details, you are unable to change them, so make sure it is correct before saving!
6. Click the Next button which will take you to Step 2, Team Access
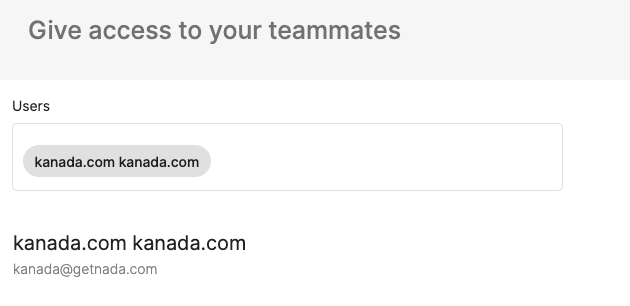
7. The Team Access step will appear differently, depending on your account’s access levels.
If you are logged in as the Bookkeeper Owner, you will see the list of your active team members in the system. This step allows you to allocate client access to your Teammates.
If you are logged in as a Teammate, you will not be able to allocate access to other Teammates. However, you (the person inviting the Client) and your Bookkeeper Owner will automatically get access.
Click Save & Next to proceed to Step 3: Subscription Details.
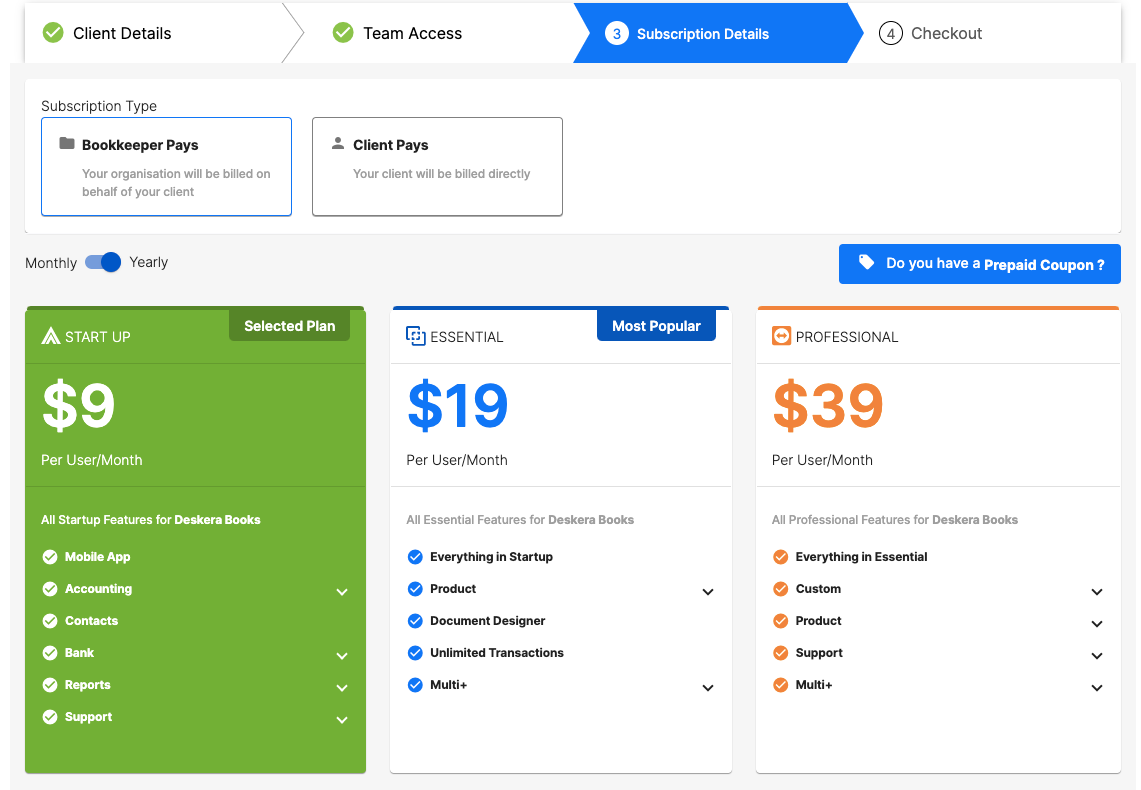
8. In Subscription Details, you can determine your Client’s subscription plan and if it is to be charged on a monthly or yearly basis. Pick the preferred billing frequency and the subscription plan that your Client wishes to start with. Click the Upgrade button on the selected plan to move to the next step - Checkout.
9. On the Checkout page, you will see the selected plan’s details on the right-hand side. Fill in your credit card details and billing address, and click Checkout once you are done.
- Under Billing Details section fill in your card details
- Under Billing address section fill in your billing address which is required to verify your card details
- Tick if you want to make this as your billing address
- Apply for promo code if applicable
10. You will see a pop-up message if the payment was successful. Clicking OK will direct you back to the Clients basket, with the added Client created as status Invited.

11. The Client will receive an email invitation to use Deskera Books once checkout is successful. Their account would be created based on the organization details you have indicated in the first step, with the subscription plan chosen in the subscription details step.
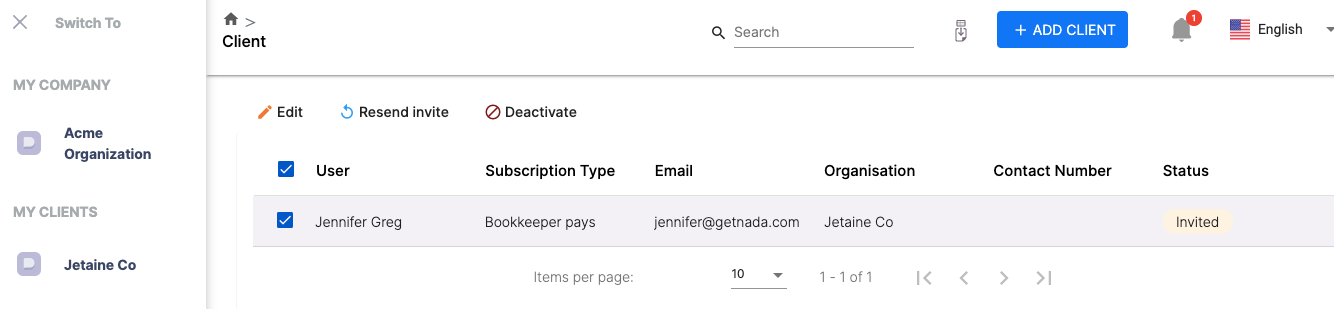
12. The bookkeeper admin, the creator of the client (if not admin), and the teammates who have been granted access can access the client’s Deskera Books account immediately through the organization switcher on the top left-hand side of the page.