
Organizations use sales invoices to inform customers of the amount they owe in exchange for goods or services that were sold.
A sales invoice typically includes the items the customer had purchased, the quantity of items that were purchased, any discounts received, the total amount owed, and payment terms.
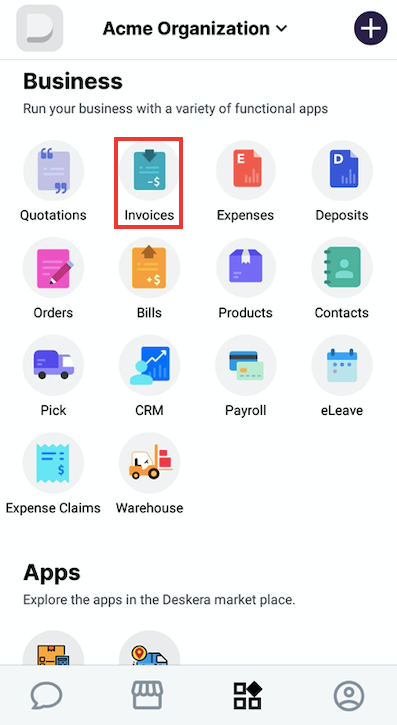
On the Deskera Mobile dashboard, tap on the Invoice icon under the Business Modules section to access the sales invoicing modules.
The Deskera Mobile App, you will be prompted to '+(add)' a new invoice by tapping on Create Invoice.
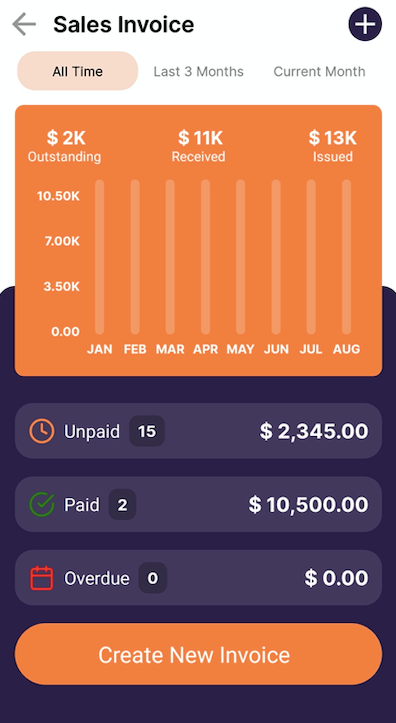
Otherwise, you will see the Invoice dashboard with all your existing sales invoice records. Tapping on Create a New Invoice Form will direct you to a new Invoice form.
Start by adding the required details:
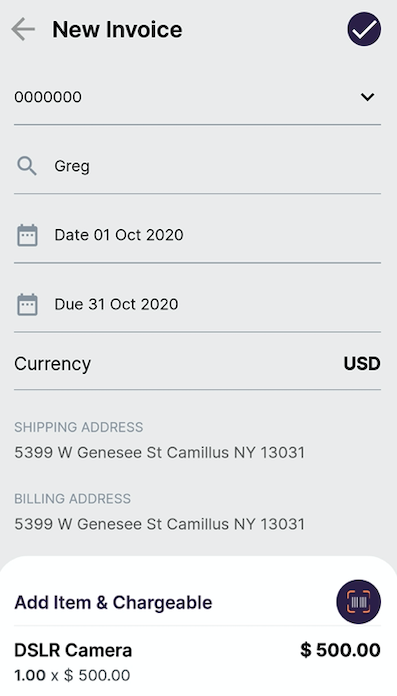
- Select Contact: customers to whom to issue the quotation
- Select Quotation Date and Valid till date from the calendar. (The Invoice Date will be reflected as the current date, and the Due Date is 30 days from now as default options. You can change the respective dates by tapping on the field and selecting an appropriate date).
- Mark the product if taxable with the toggle button
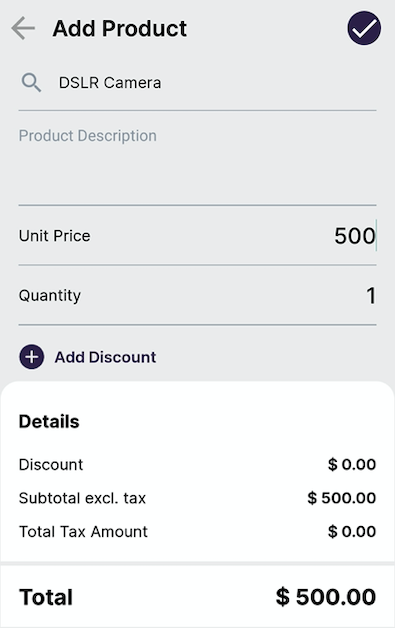
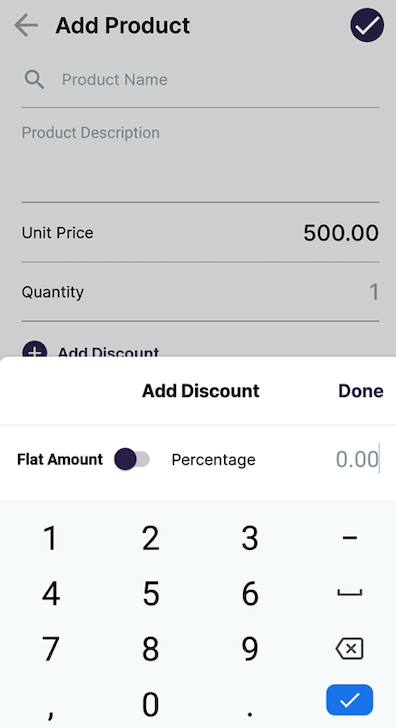
By clicking on the 'Add Item and chargeable' you can be taken the Add product screen where you need to fill in the product-related information like Product Name, Product Description, Product unit price, Product Quantity.
Under Details, the product amount will be auto-populated. You can also choose to add existing items by scanning their barcode / QR codes.
Tapping on Options will allow you to modify tax and discount settings for the product in the sales invoice.
While adding a new product on the fly, you may be required to enter additional information depending on if the product is a “Tracked” (no stock tracking required) or “Non-Tracked” (stock tracking required).
To add Tax and discount to your added items in the sales invoice, tap on Tax or Discount button, and fill in the details of Tax and Discount.
Once the details are added, you can save the invoice, or save it as a draft or can cancel the created invoice.
Next, you will be directed back to the main Invoices screen, where you can view all your sales invoice records in Stats format, and view the invoice status as Pending, Processed, and Expired.