
According to the Cambridge Dictionary, a campaign can be defined as "a planned series of activities that are intended to achieve a particular aim."
Organizations and political bodies around the world organize campaigns now and then. The objective of each campaign is definitely to win their followers' and customers' hearts and also to increase revenue from the business perspective.
That's what the campaign is all about.
The email campaign is not uncommon these days, and apparently, it's the most convenient way to reach out to both target and existing customers. Deskera CRM enables businesses to send mass email marketing just by a click of a button.
Steps to Add New Campaign

- Once you have created an account on Deskera CRM, on the main dashboard, click on the Campaign button.
- Next, select the '+ Campaign' button at the top right of the page.
- You will have to fill in each of the sections as stated to create a new campaign on Deskrea sales.
A. Campaign Details
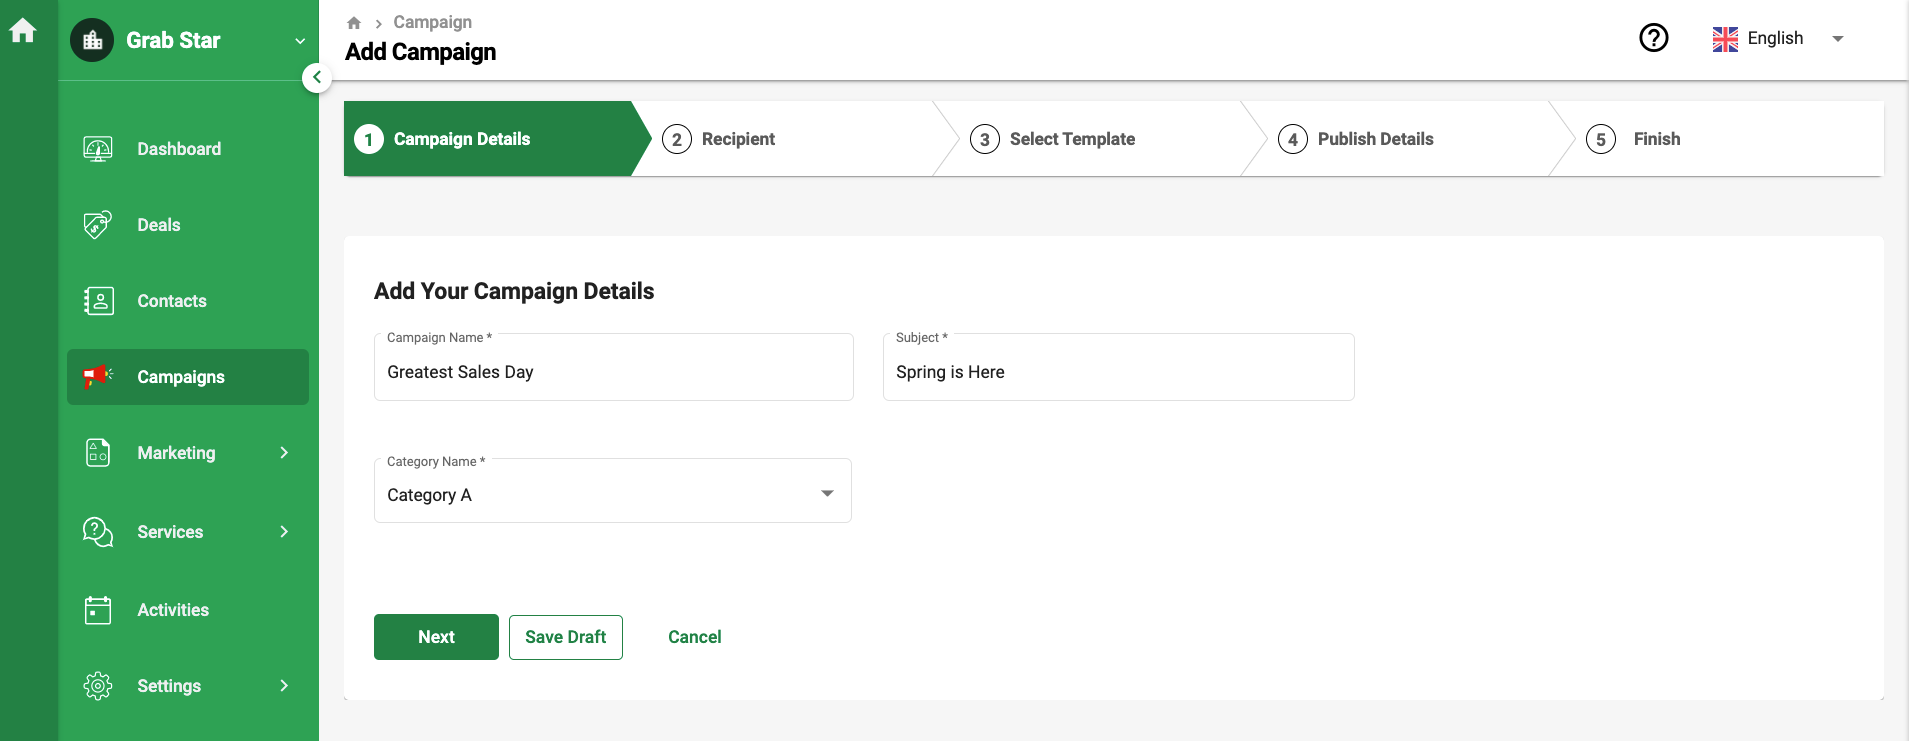
- Fill in the name of the campaign
- The subject of the campaign
- Select Category. Click on the drop-down and choose +Category, if you wish to add more categories for the campaign.
- Click the Next button.
B. Recipient
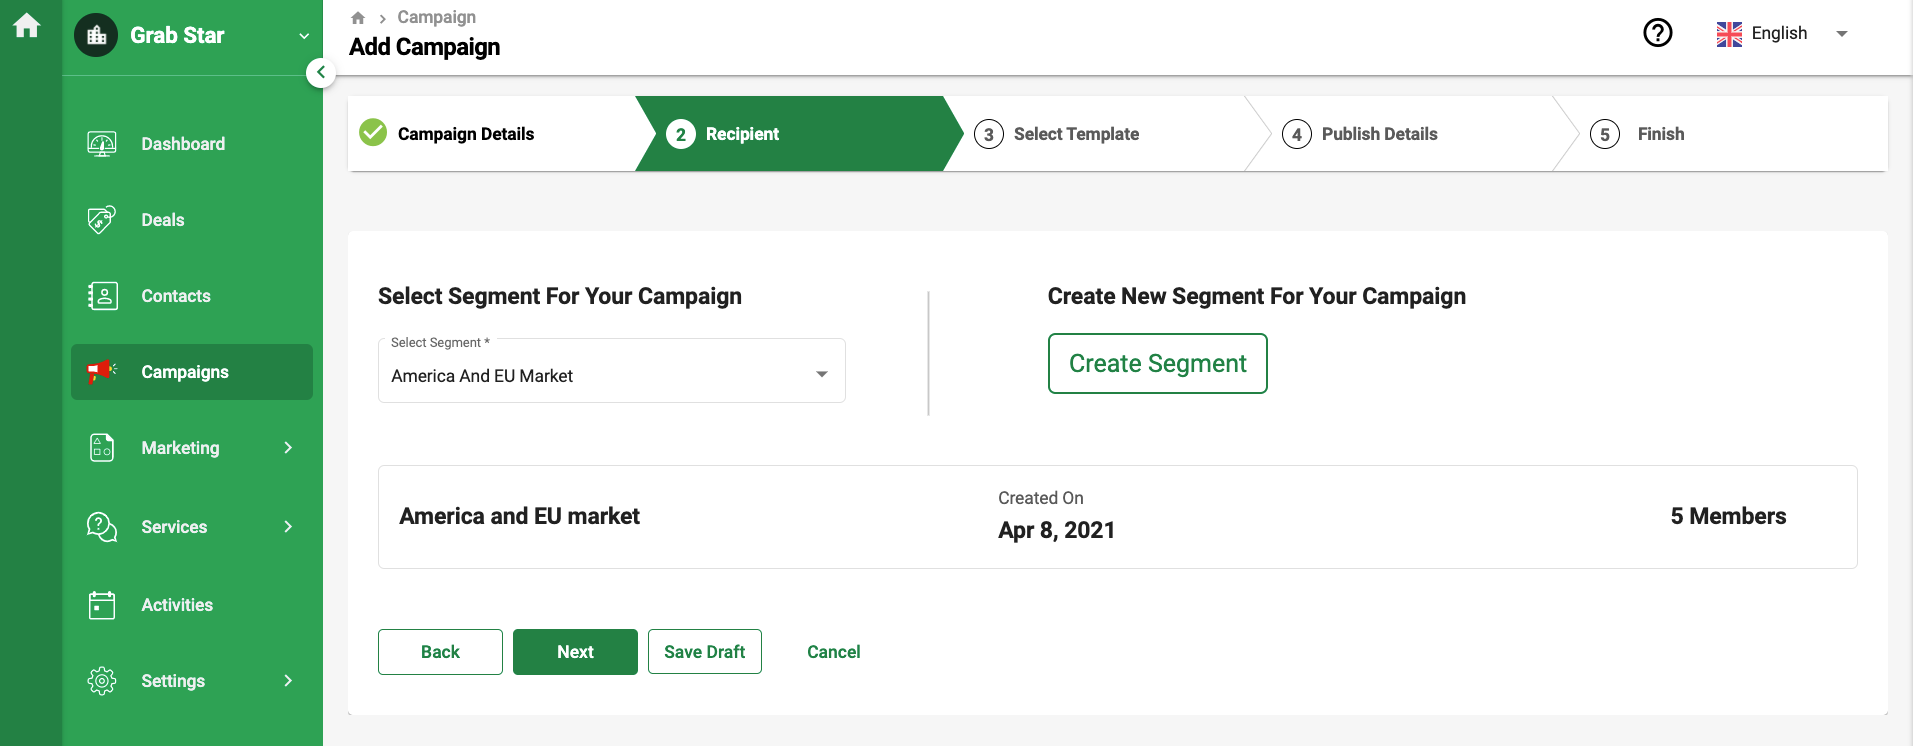
- Select the segment you want to send this email campaign to. The segment will be reflected based on the segment you have created in the Segment Module.
- You can also choose from the dynamic segment created in the Contact Module.
- Click on the Create Add Segment to add additional segments here. Clicking on the Create Segment button will open the dialog box. Fill in the details as shown and click Save.
- After creating the segment, you can select the Next button to move towards the next stage. You can choose the Save the campaign as a draft as well if it's still not ready to go live.
C. Select Template

- You can choose from the pre-designed templates as shown based on the image above. If the templates are not suitable for you, you can choose to create your own template.
- You can filter the templates based on Pre-designed Template, My Templates, and Blank Templates.
- Once you have finalized the template desired, tick the checkbox at the bottom right of the email template. You can also redesign the template by clicking on the board icon next to the checkbox.
- Click on the Next button after you have done selecting the right template to send to your customers.
- In each template, you should be able to view Deskera logo and name at the email's footer.
D. Publish Details
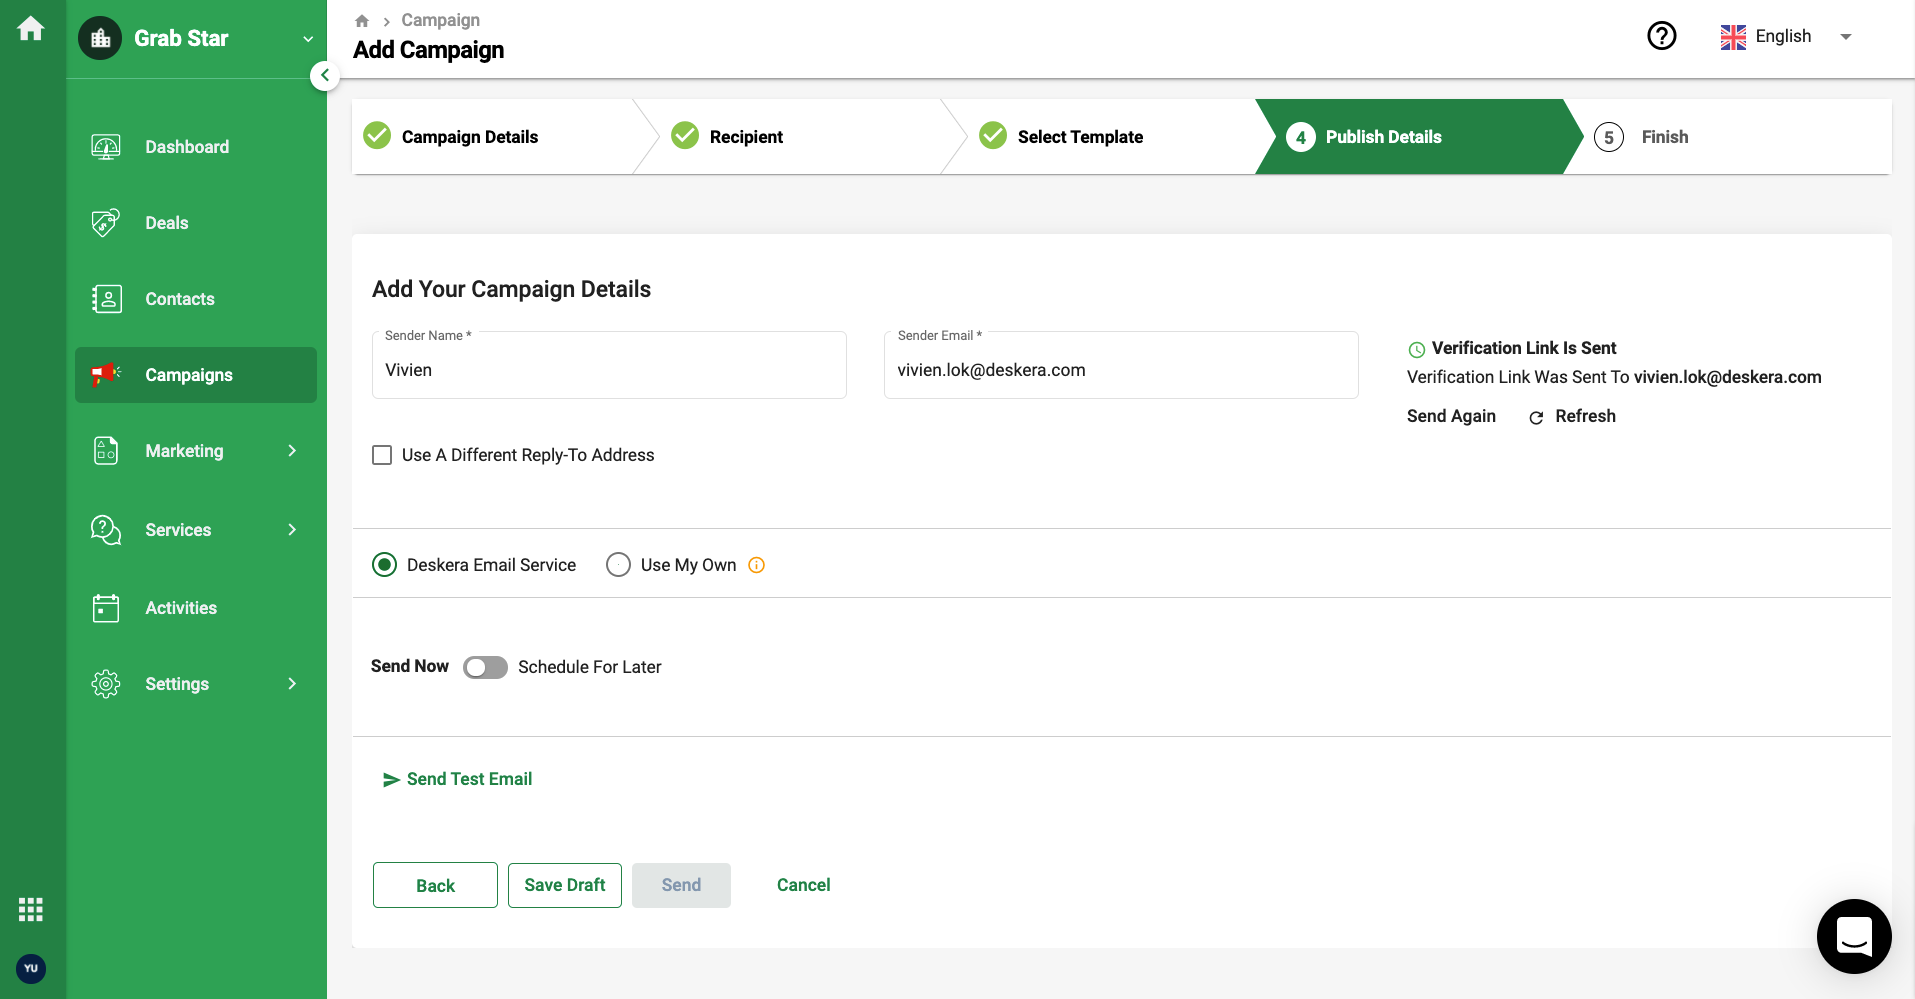
- In this stage, fill in the sender name (this can be your company name) and the sender email. After indicating the sender email, click on the Verify button to verify your email.
- After you have verified the email, you will receive the message indicating that your email has been verified. This is a mandatory step before launching any campaign.
- Next, indicate the different reply-to email address by enabling the checkbox.
- After that, you can schedule the campaign now or later. Choose the relevant time and date by clicking on the calendar icon.
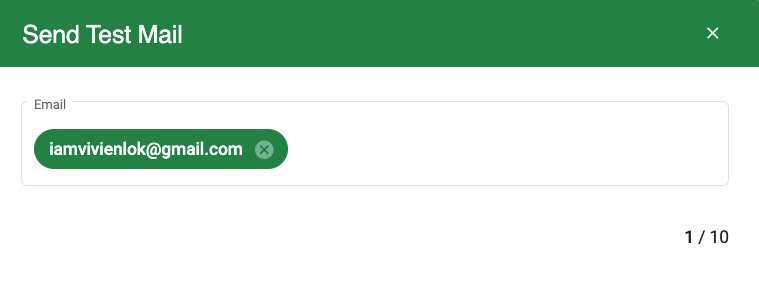
- Click on the Send Test Email to cross-check the email details and check the layout before sending it to your customers.
- Once done, click on the Schedule button to launch the campaign.
E. Finish
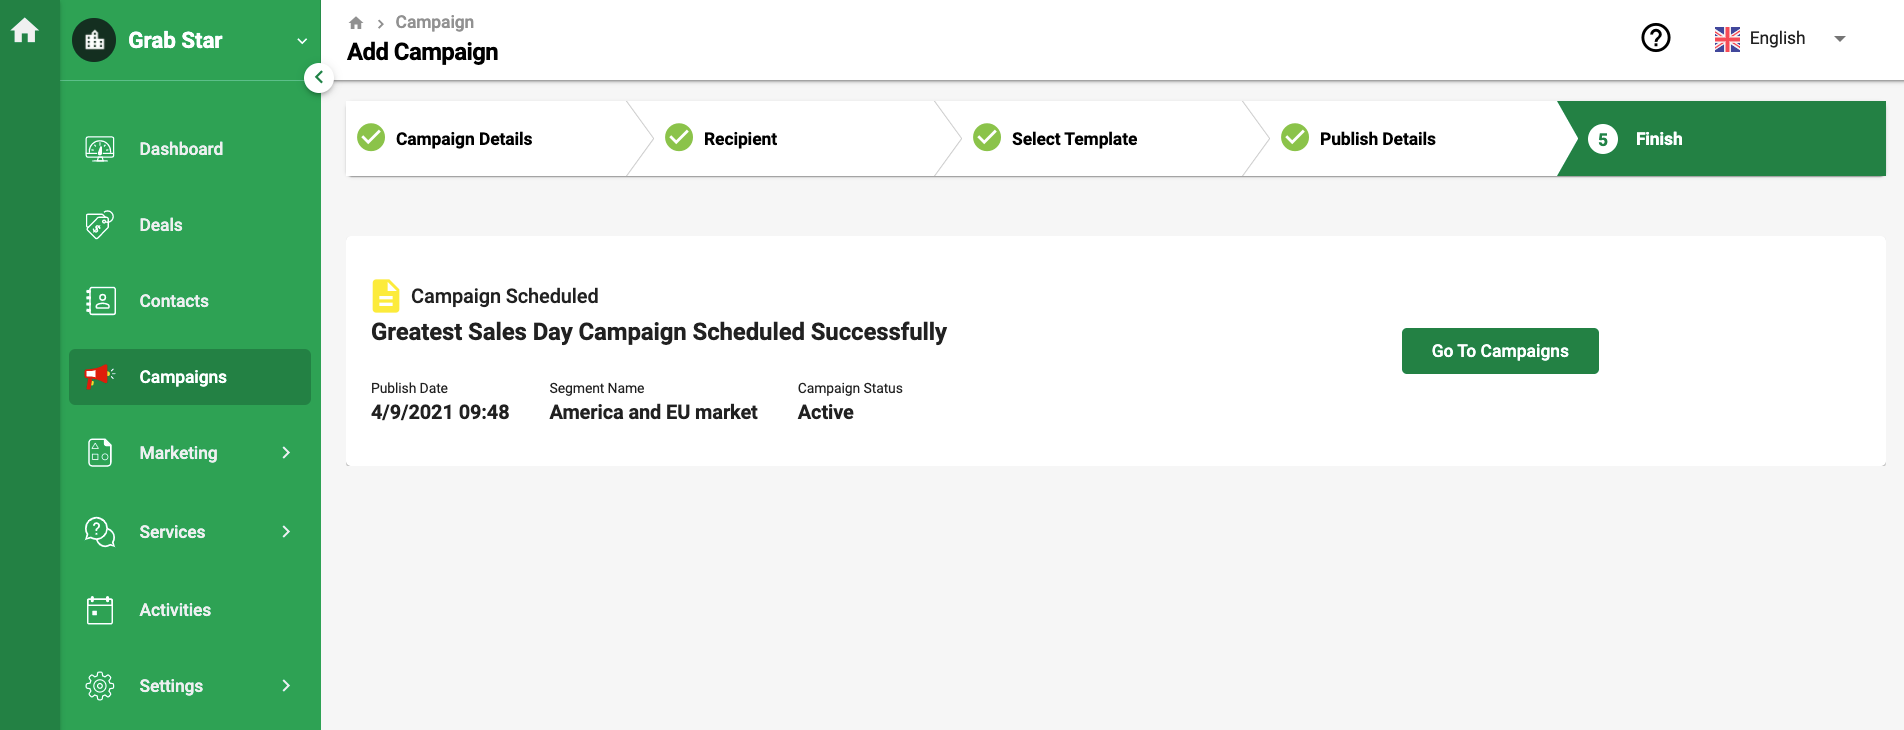
- Right after the campaign is scheduled successfully, you can view the campaign details such as the publish date, segment name, and the campaign status.
- Click on the 'Go to Campaigns' button to go back to the Campaign Summary List.
- You can view the list of campaigns you have created.
Deskera CRM users can always add new campaigns on top of the one they have created. You can choose to view the campaigns in a grid view list or card view layout.
If you're not ready to launch the campaign, you can always save the campaign in draft mode.