
For the creation of multiple products, contacts, or accounts at one go, you can use Deskera Books Import function.
This saves time compared to creating one entry at a time and is especially useful for new users who are migrating from a previous system.
Filling up the template file
Click on the tab that you would like to add new entries to:
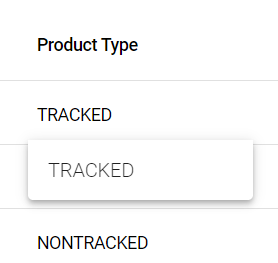
- Products: Products > Import >> Tracked and Non-tracked products/ BOM products
- Contacts: Contacts > Import
- Accounts: Accounting > Chart of Accounts > Import
- Download the sample file shown - this is a .xls file (opens with Microsoft Excel).
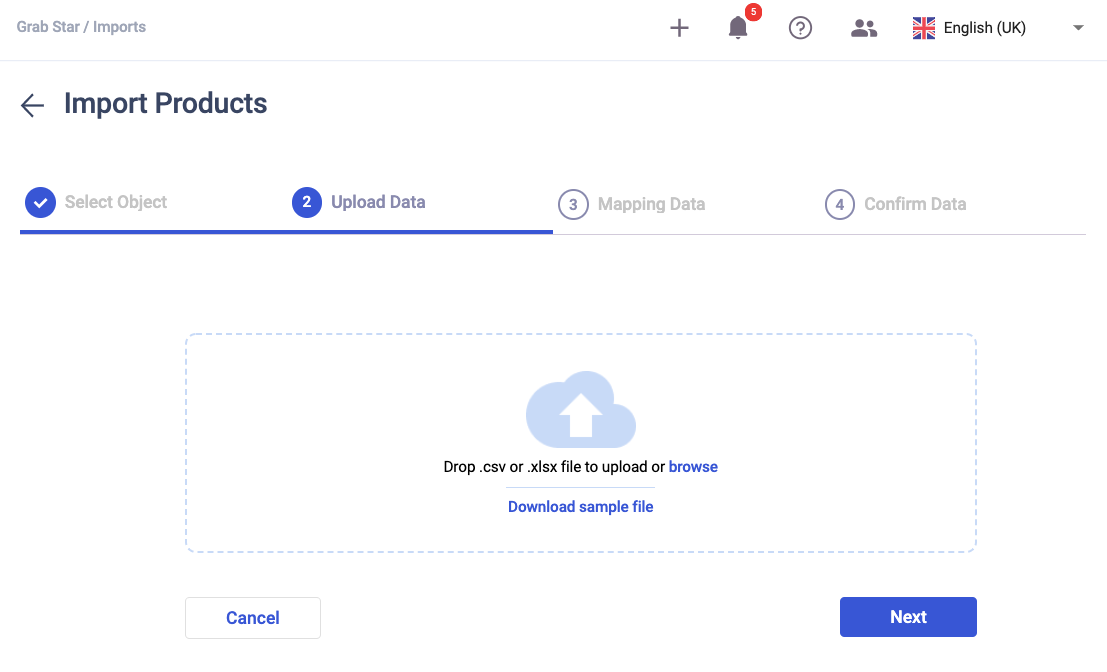
2. Fill up the file according to the fields shown.
3. Save the file as .xlsx or .csv and drag it into the Import box. Alternatively, you may also browse for the template file to be uploaded.
4. Click on NEXT to proceed to the next step.
Map Headers - ensure that the headers match the fields to be completed.
In Map Headers, our system will detect the headers in your import file and suggest mapping paths matching Deskera's headers. If you imported your data based on our template provided, the mapping should be completed with no issues.
However, if you are migrating your data from a different ERP system, you might encounter different column headers that do not follow the pre-existing headers in the Desk application.
You can select an appropriate header used in your import file to match to its Desk equivalent via a dropdown list.
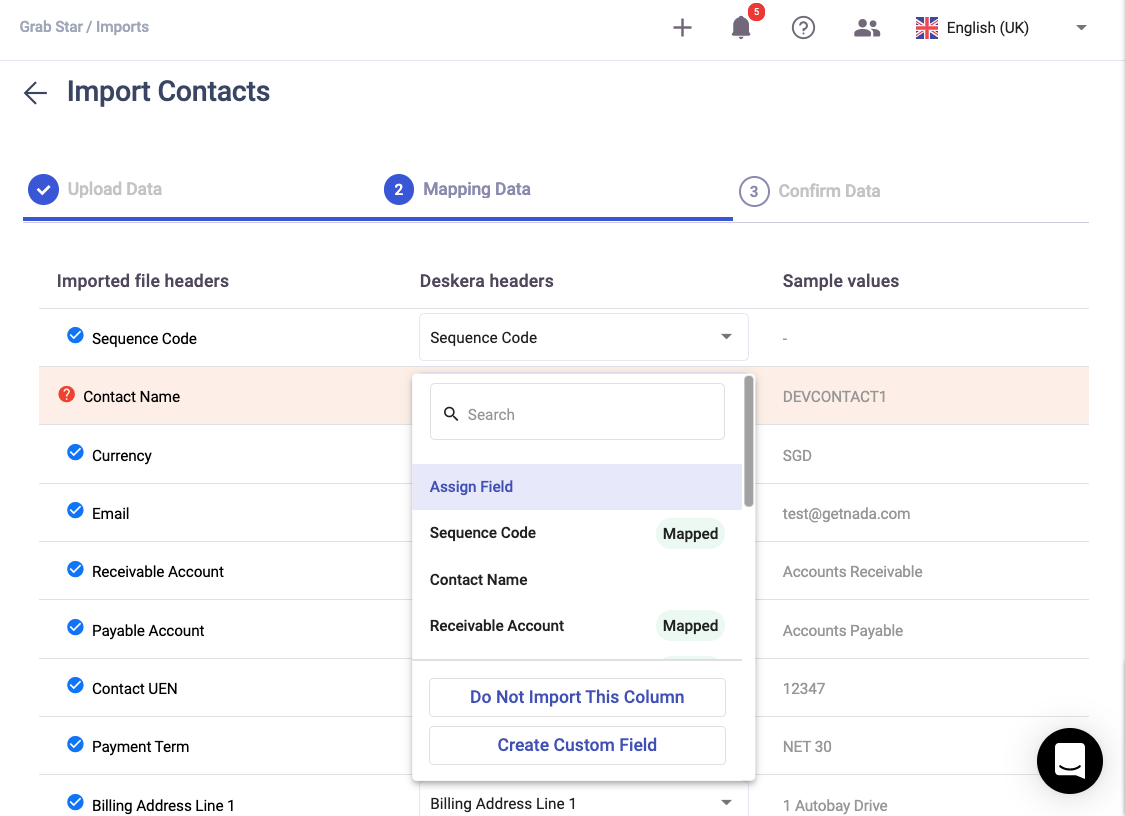
- Check through the headers shown and ensure that they are mapped correctly to the appropriate fields.
- You can choose to remove file headers that you do not intend to import to the system.
- Click on the create custom field button if you wish to import additional fields to the system.
- Click 'NEXT' once you have confirmed the mapping for each header.
Confirm Import - final check for any invalid entries
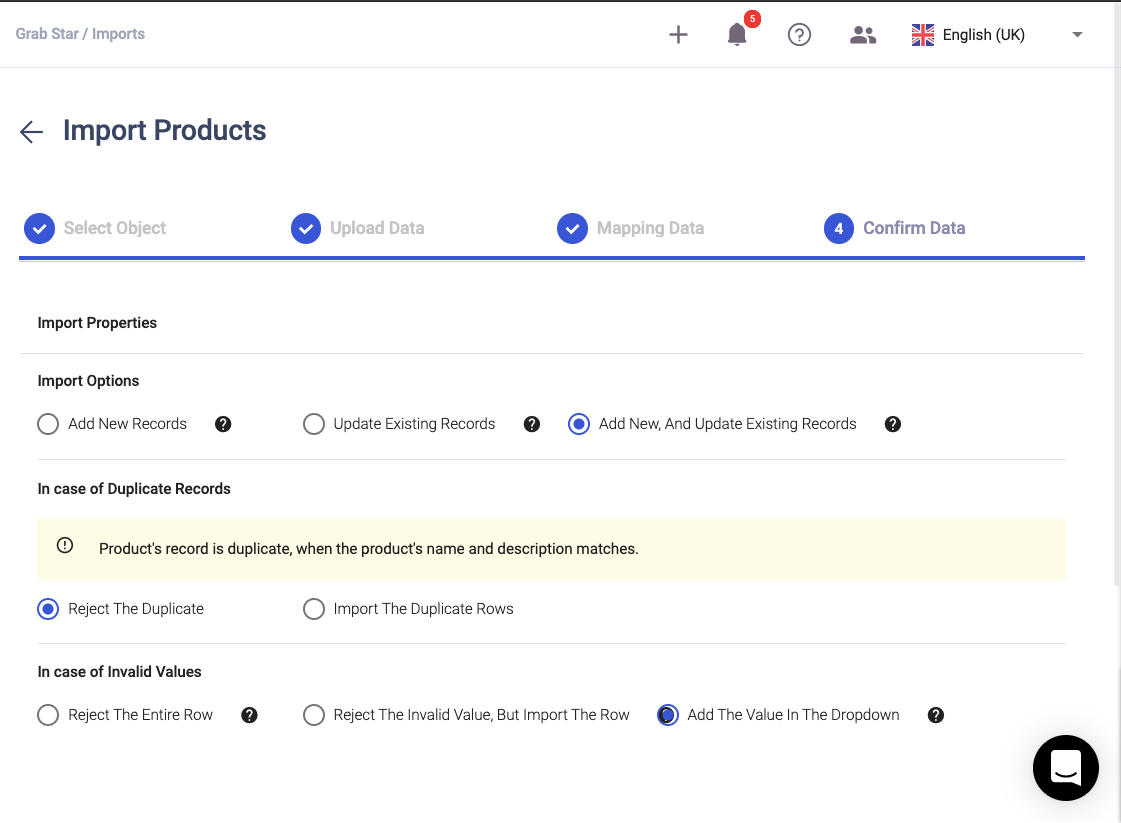
Next, choose the import properties for the import process; you can choose to add new products, update existing records, or add,new/update existing records.
In case there are duplicate records in the spreadsheet, you can either reject the duplicate record or choose to import the duplicate row. The import properties are only available for import in Contact and Product Modules.
You are allowed to review and make any last changes to your import file before proceeding. Any fields that have an invalid entry will be highlighted in red.
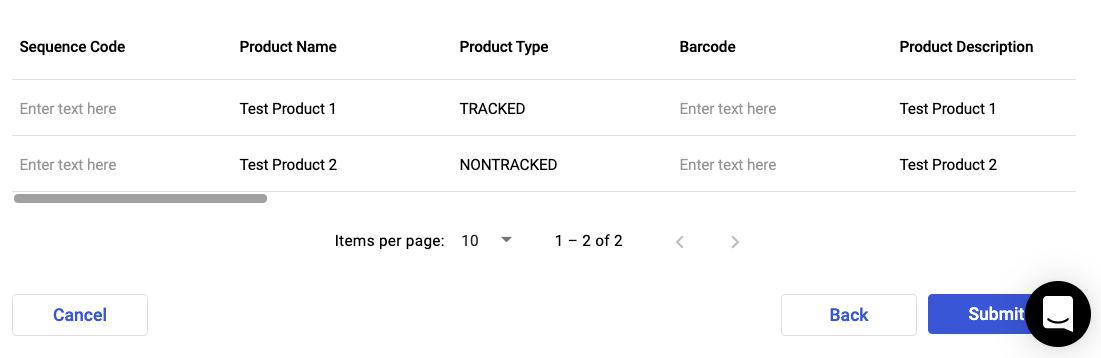
You can edit these cells directly by double-clicking the cell that needs editing.
Allowed values can be selected from a dropdown list, and there is also an option to apply the same value throughout all invalid values in the same column.
- Check through your data set to ensure that no cell contains any red text, indicating an invalid entry.
- Invalid entries can be edited directly on this page without re-uploading a new template file. Double click the cells to be edited and make the changes needed.
- Choose a valid entry from the dropdown list shown and click Save to make the changes to that cell.
- You may also choose to apply the same text/data in other invalid entries in that column by checking the “Apply to all x occurrences” box.
- Once you are done editing, click on 'IMPORT' to create the entries in the template file.
If successful, your newly imported entries should appear in its respective main page.