
A warehouse is a location where you store, track, pick and ship your goods to your customers. If you are holding inventory, you definitely need a physical space to store your goods.
If you store your goods in multiple locations, you can create various warehouses in Deskera Books+.
Follow the steps below:
- Login to your Books+ account.
- Click on the Warehouse Module on the sidebar menu.
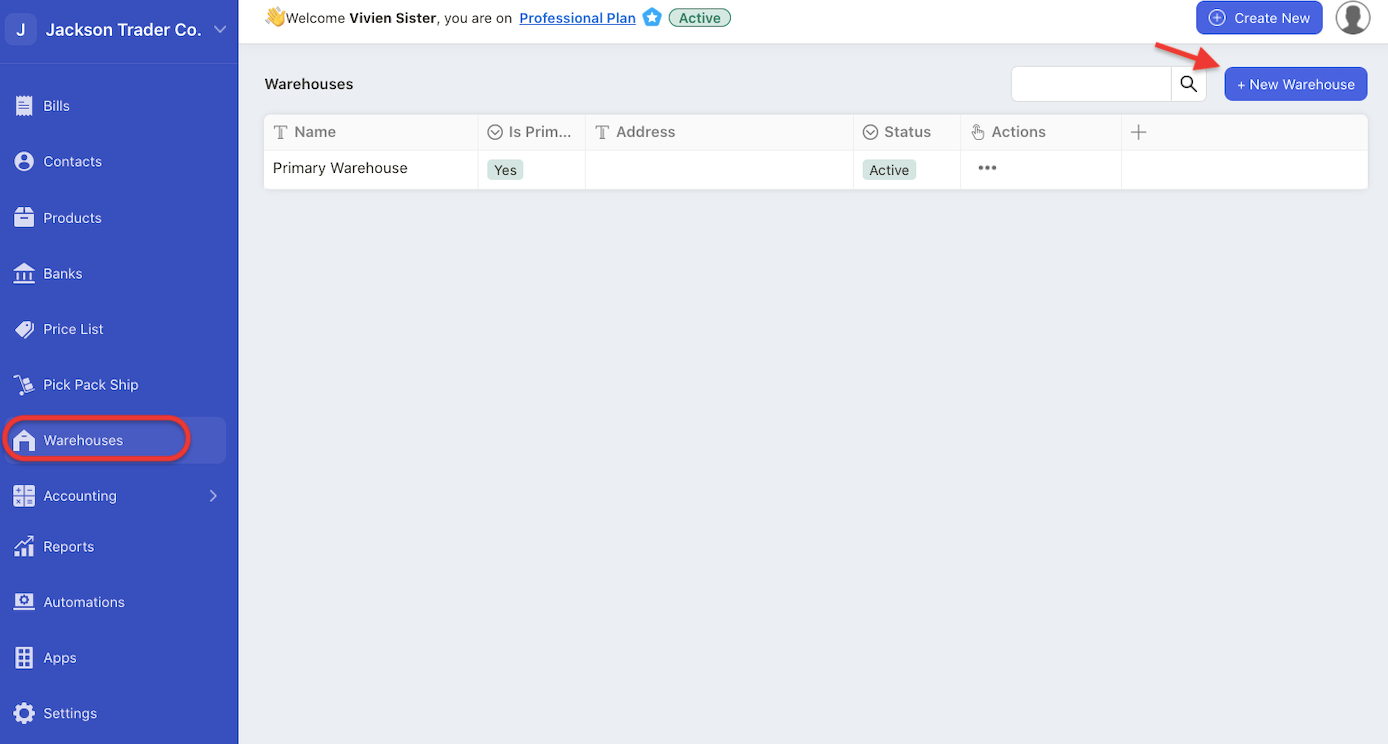
3. Click on the “+ New Warehouse” button.
4. A pop-up will appear. Enter the following details:
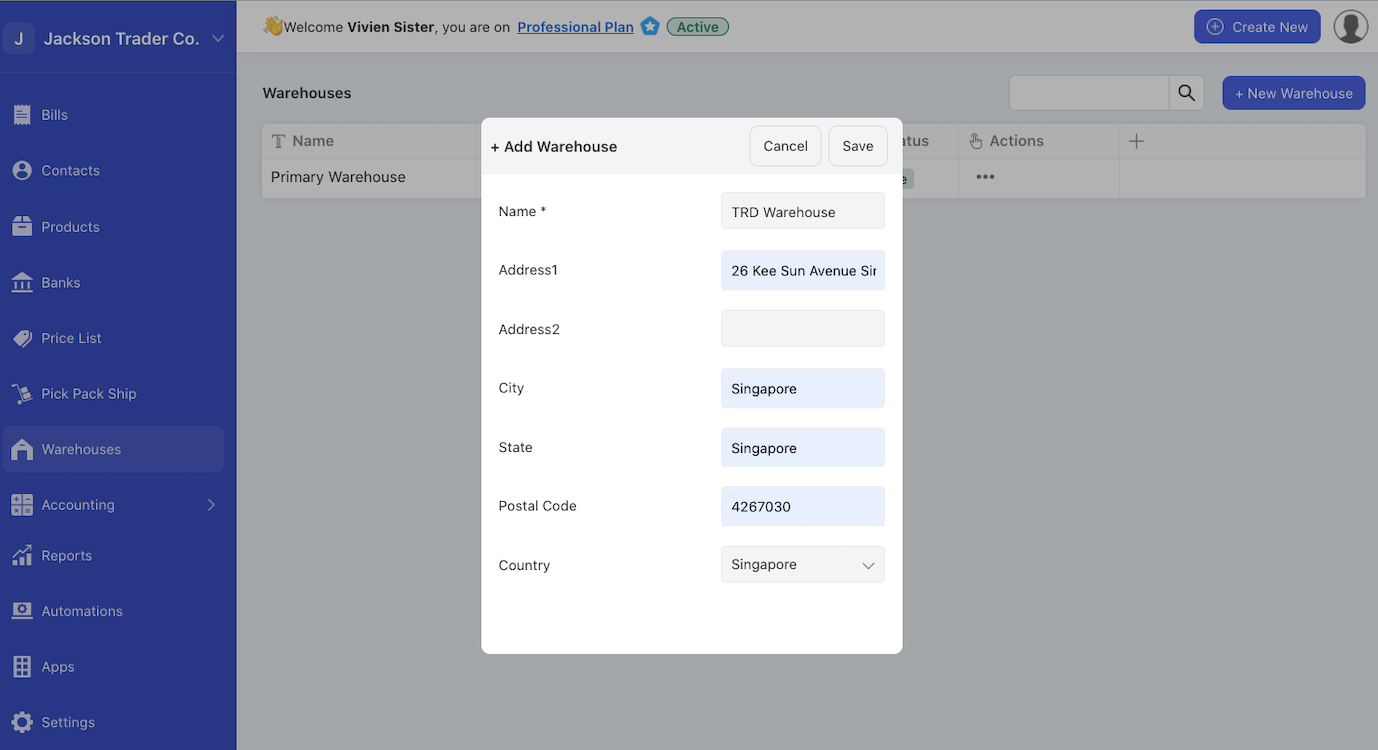
- Name: the name of your warehouse
- Address 1: enter the warehouse address line 1
- Address 2: enter the warehouse address line 2
- City: enter the warehouse city
- State: enter the warehouse state
- Postal code: enter the warehouse postal code
- Country: enter the country your warehouse is located
5. Click on the Save button.
6. You can view the newly added warehouse in the Warehouse Summary List.
How can I set my warehouse as the primary warehouse?
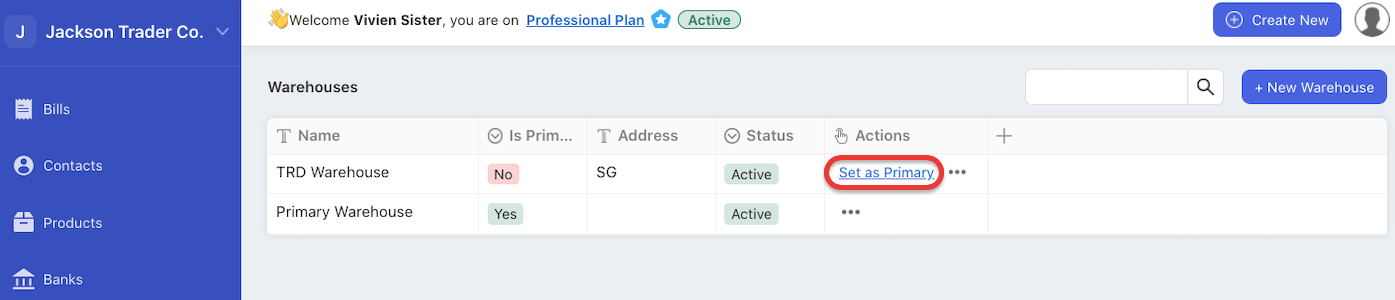
Go to Actions Column and click on the “set as primary” button.
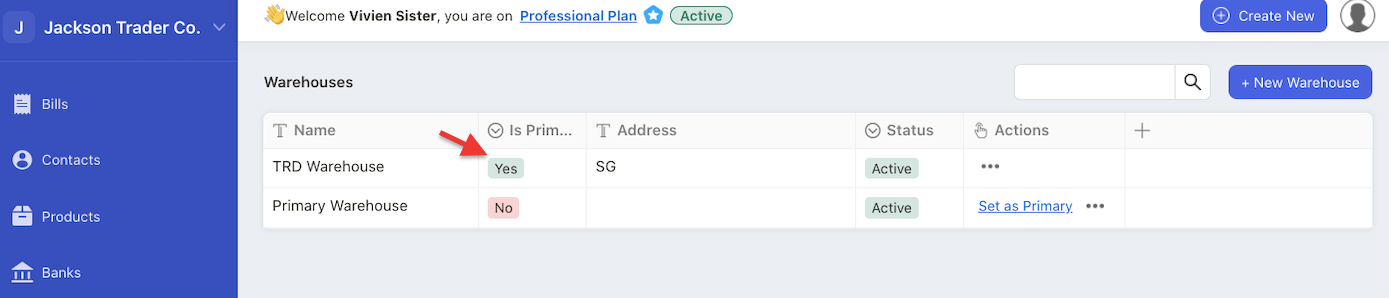
The system will auto-update the respective warehouse as the primary location
How can I edit my warehouse details?
Click on the three dots under the Actions Column and select the edit option.
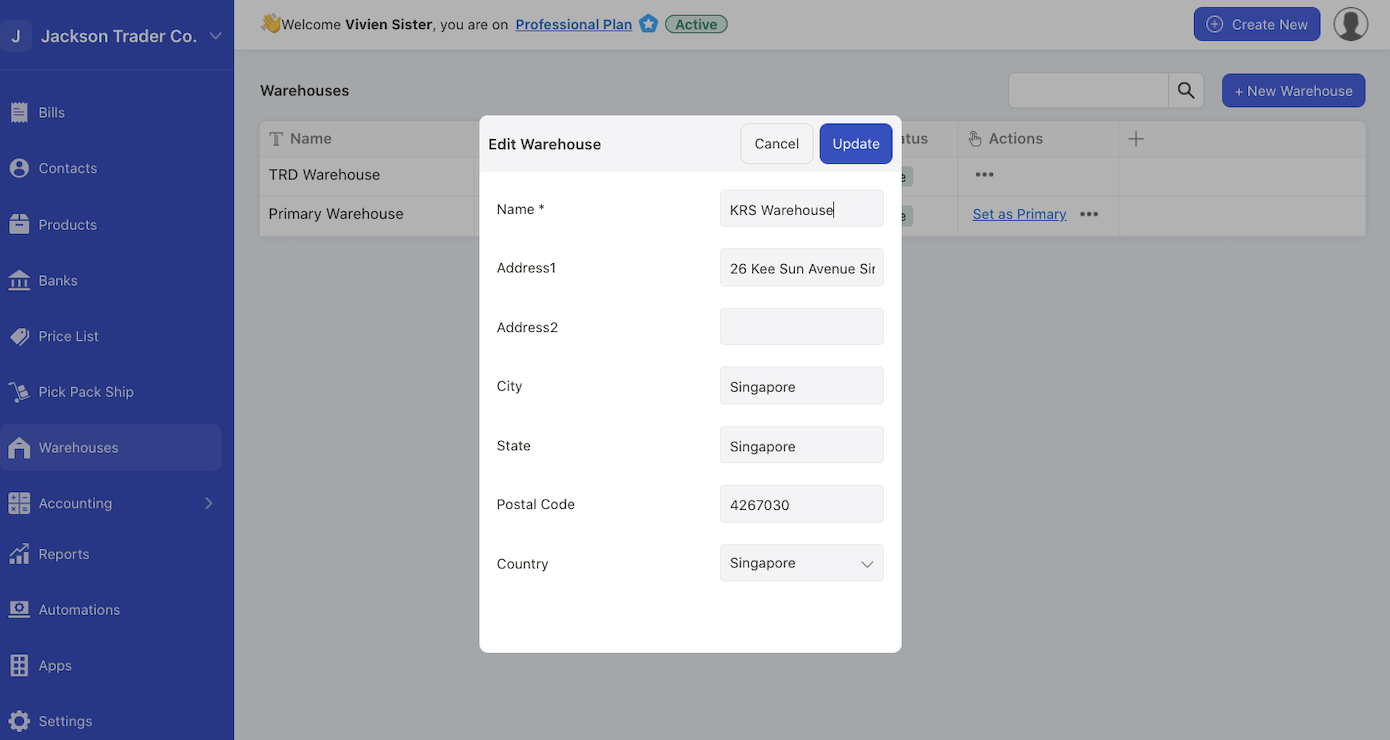
A pop-up will appear and you can amend the information in the pop-up box.
Then, click on the update button.
The system will update the warehouse information as per new changes made.
How can I delete my warehouse?
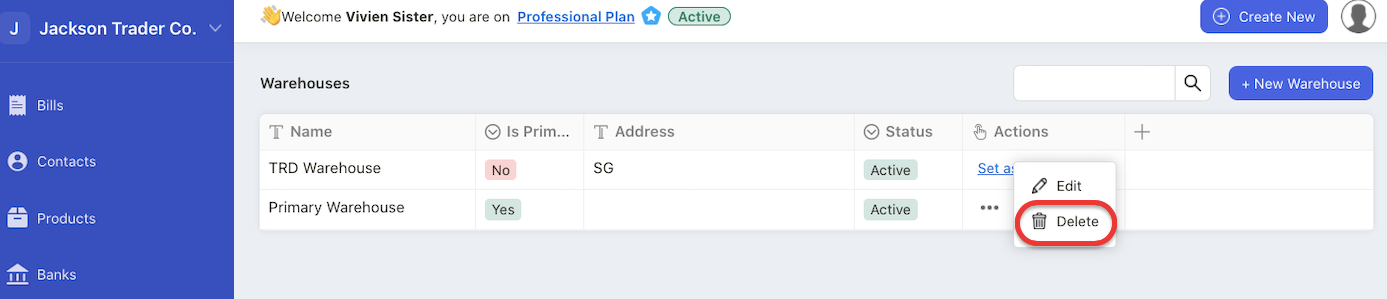
To delete warehouse, click on the three dots and select the delete button.
You cannot delete warehouses that you have stored goods in it.
For example, if you have tag a warehouse to a product, the system will restrict you from deleting this warehouse.
Please note that you cannot delete primary warehouse in the system.
How can I add custom fields in the warehouse module?
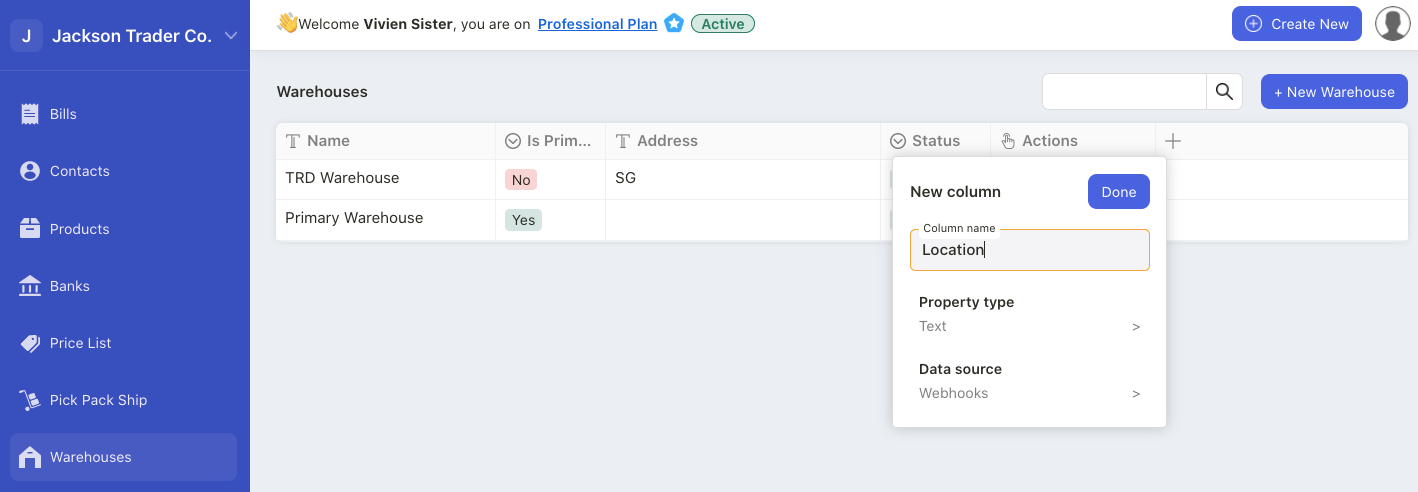
Click on the + icon in the Warehouse Summary List.
Enter the new column name.
Enter the property text; you can choose whether it’s text, number, email, date, select, or multi-select option.
Click on the Done button to save the custom fields.