

Running a business isn’t always a smooth sailing process.
At times, you received compliments from your happy customers praising your products and services. And some other time, your inbox is flooded with emails full of complaints, and feedback, from your customers, venting out their anger and frustration to you.
No matter if you dealing with customer feedback or inquiry, businesses need a ticketing system oversee the entire customer's journey.
To track and manage your customers' interaction and conversation history, businesses can always use the ticketing feature available on Deskera CRM.
How to create a ticket?
Before you create a ticket, make sure that you have configure your support email in the system.
Follow to steps mentioned below to create a ticket in Deskera CRM:
- Go to Services on the sidebar menu.
- Click on Support.
- Next, click on the + Create Ticket.
- Enter the subject and content of the email.
- Fill in the fields on the right-hand side of the screen.
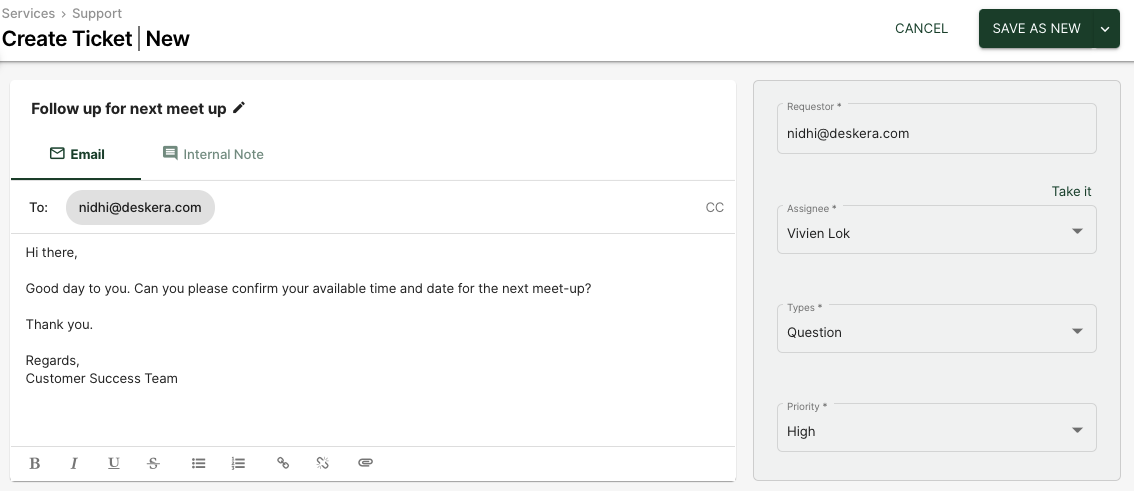
- Requestor: This will be the recipient of the email. Do note that you can only enter the recipient's email on the requestor field, as shown above.
- Assign: The agent assigned in handling this task.
- Types: There are four types of email; Question, Incident, Task, and Problem.
- Priority: Mark the priority of each ticket accordingly; Urgent, Low, Normal, and High.
6. To send the email, click on the drop-down arrow next to the Save As New button:
- Save as New: Initial stage of a new ticket. There's no agent assigned yet to the ticket.
- Save as Open: It means the ticket has been assigned to an agent.
- Save as Pending: This status means that the agent is still waiting for some information from the requestors.
- Save as Solved: This is the last update you need to indicate once the issue/queries have been resolved/answered.
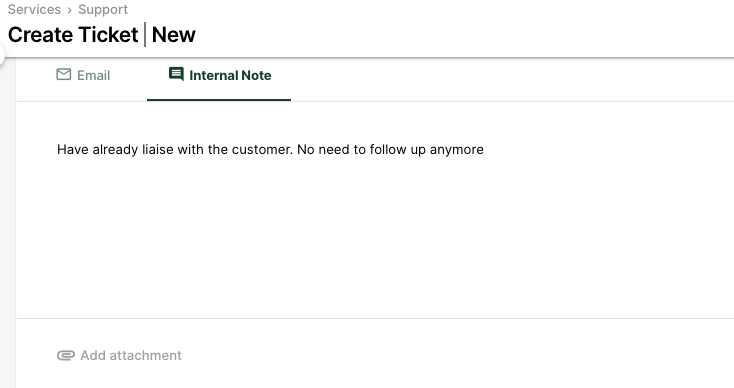
7. You can also insert internal notes and add attachment in the email as well. Internal notes is useful especially if you wish to inform other agents the update of this ticket.
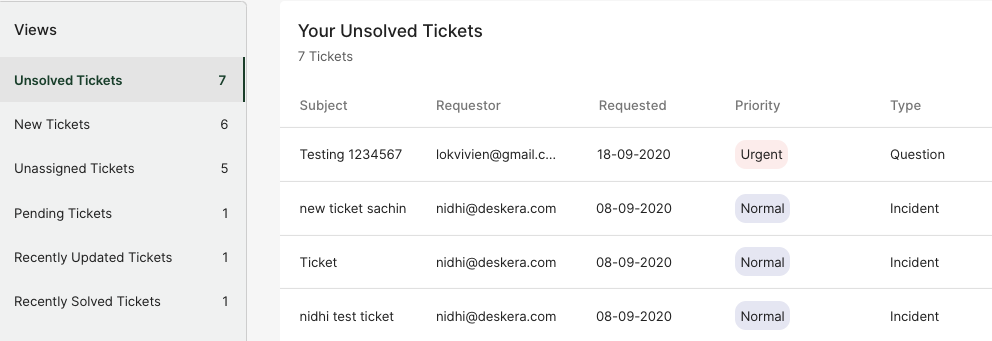
8. Once you click on the Save button, you can view the tickets saved based on the filter on the left-hand side of the page.
Note: Only the admin has the access to the ticketing feature on Deskera CRM.