
The document designer's functionality on Deskera Books is to provide flexibility to our clients to customize and design their invoice, bill, quote, and payment documents as per their preferences.
Follow the steps mentioned below to create a new document template:
- Login to Deskera Books account.
- Click on the Switch To button at the bottom left of the screen. Select Deskera Books.
- On Deskera Books' Main Dashboard, click on Settings via the sidebar menu.
- On the setting page, under general, click on the document template.
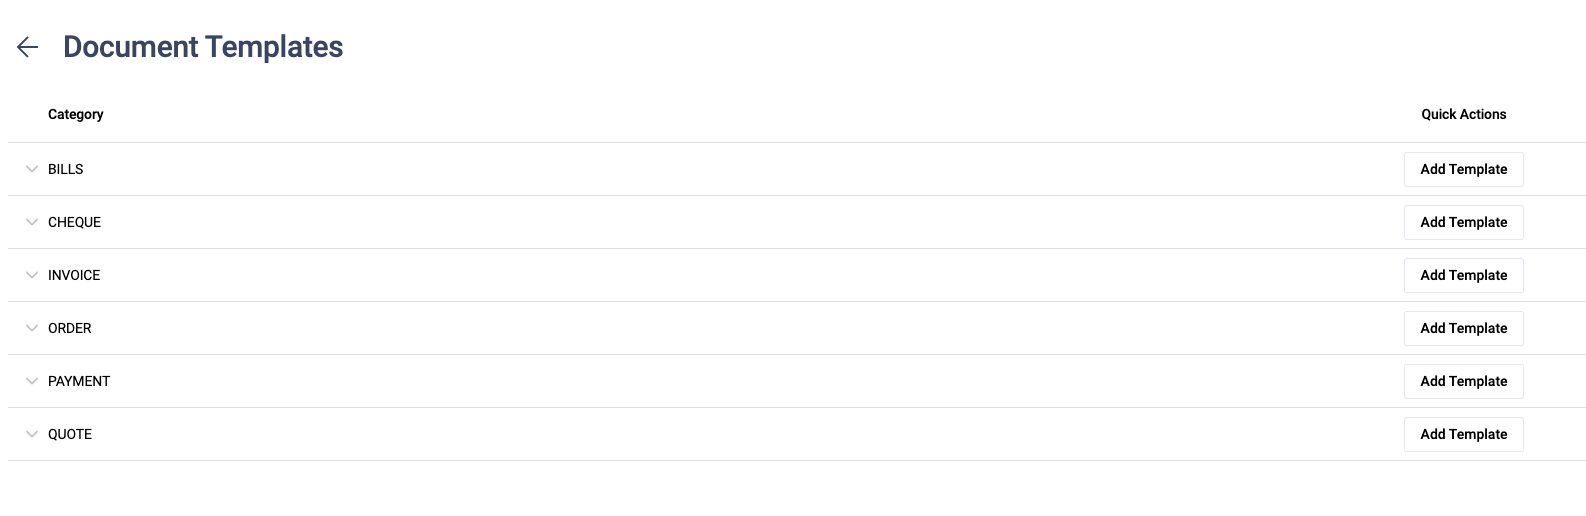
5. On the document template page, you can view templates for Invoices, Bills, Payments, Quotes, Orders, and Cheque.
6. Click on the dropdown of each category to:

- Preview Document
- Download the template
7. Customize the template that you have downloaded.
8. Make sure that you use the placeholder in the documents. You can switch the position or arrangement of the boxes in the document. Besides that, you may also add your company's logo here.
Please note that you will have to import the system's default template and use the placeholder available for a successful mapping. You can refer to the guide here.
9. Next, SAVE the customized template and upload the saved template to the system.

10. You can now also add multiple document templates to the modules, by clicking on the Add Template button.
11. A below screen will pop up where you need to fill in the required details:
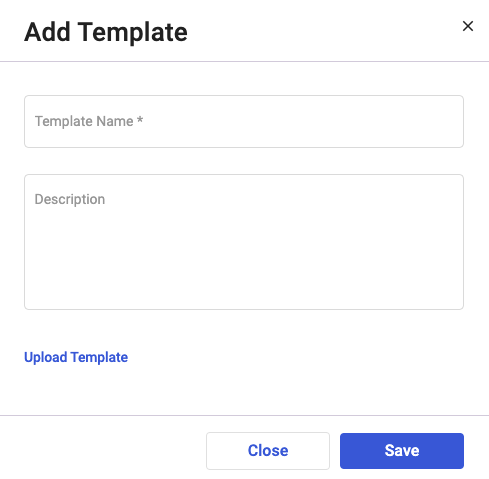
i. Add the Template name and description
ii. Upload the template that you have downloaded from the system.
12. Once this is done you can view the added template under the selected module.
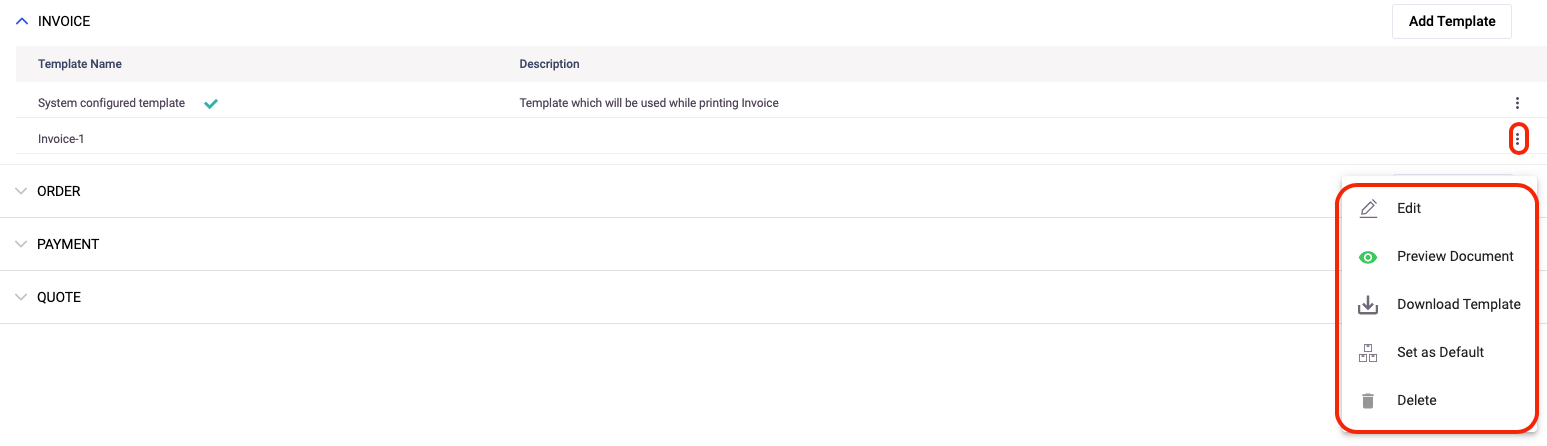
13. For the added template below functions are available, you can:
i. Edit Template: For the added new template if you want to make any changes you can always use the edit option
ii. Download Template: You can download the newly added template and further use it for verification purpose.
iii. Set as Default: For the newly created template you can set it as default, just to avoid adding it every time.
iv. Delete: If you wish to remove the template completely from the system, you can use the delete function.
14. Click on the preview button to view how the document will appear when you print or send the copies to your clients.
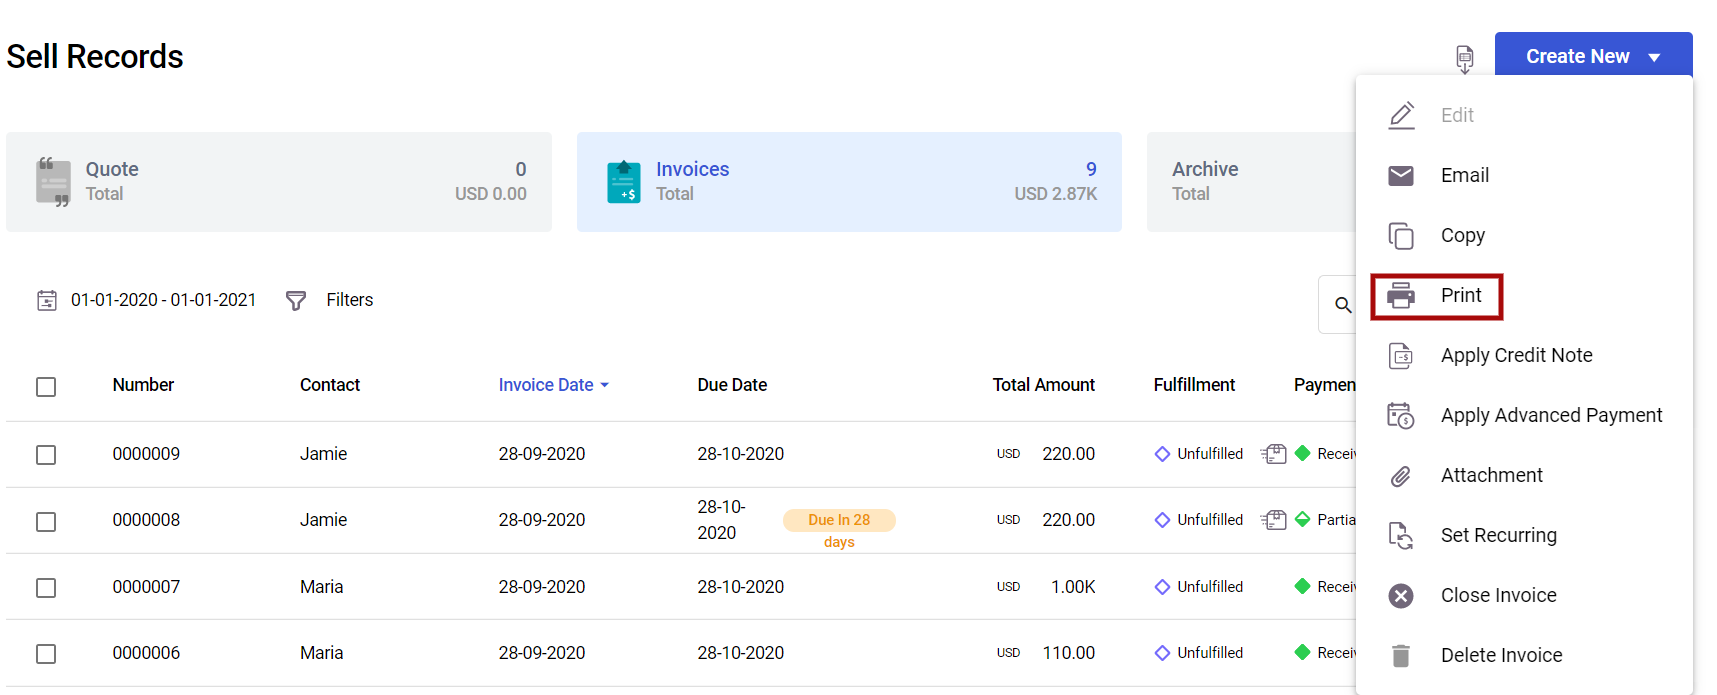
15. Go to the sell and buy tab, select from the selling list, click on the three vertical dots, and choose the 'Print' button.
16. You will see the invoices, bills, payments,cheque, payment receipts, and quotes that are mapped according to the template you have customized and uploaded earlier.
If you are not fond of using the document designer feature, we have another alternative for you. You can use the document generator in Deskera Books.
To find out more, you can refer to the support article below.
 Vivien Lok