
Using Deskera CRM, users can create their own kind of custom fields in addition to the existing fields shown in the system.
Once they have created the new custom fields, you can apply the new fields in the Contacts, Deals, and Activities Modules.
To create custom fields on Deskera CRM, follow these steps:
- Log in to Deskera CRM.
- Select the Settings on the sidebar menu.
- Click on the Custom Fields button.
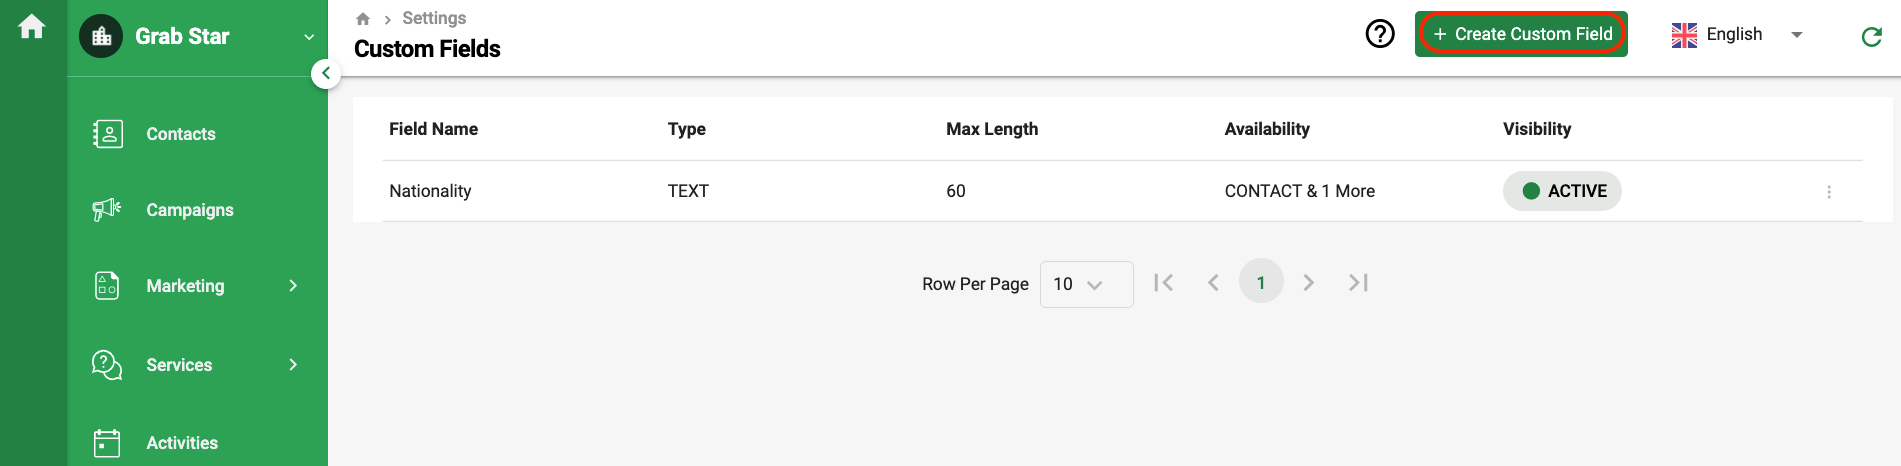
4. On the custom field page, click on the + Create Custom Fields at the top right.
5. Next, fill in the custom fields details such as:
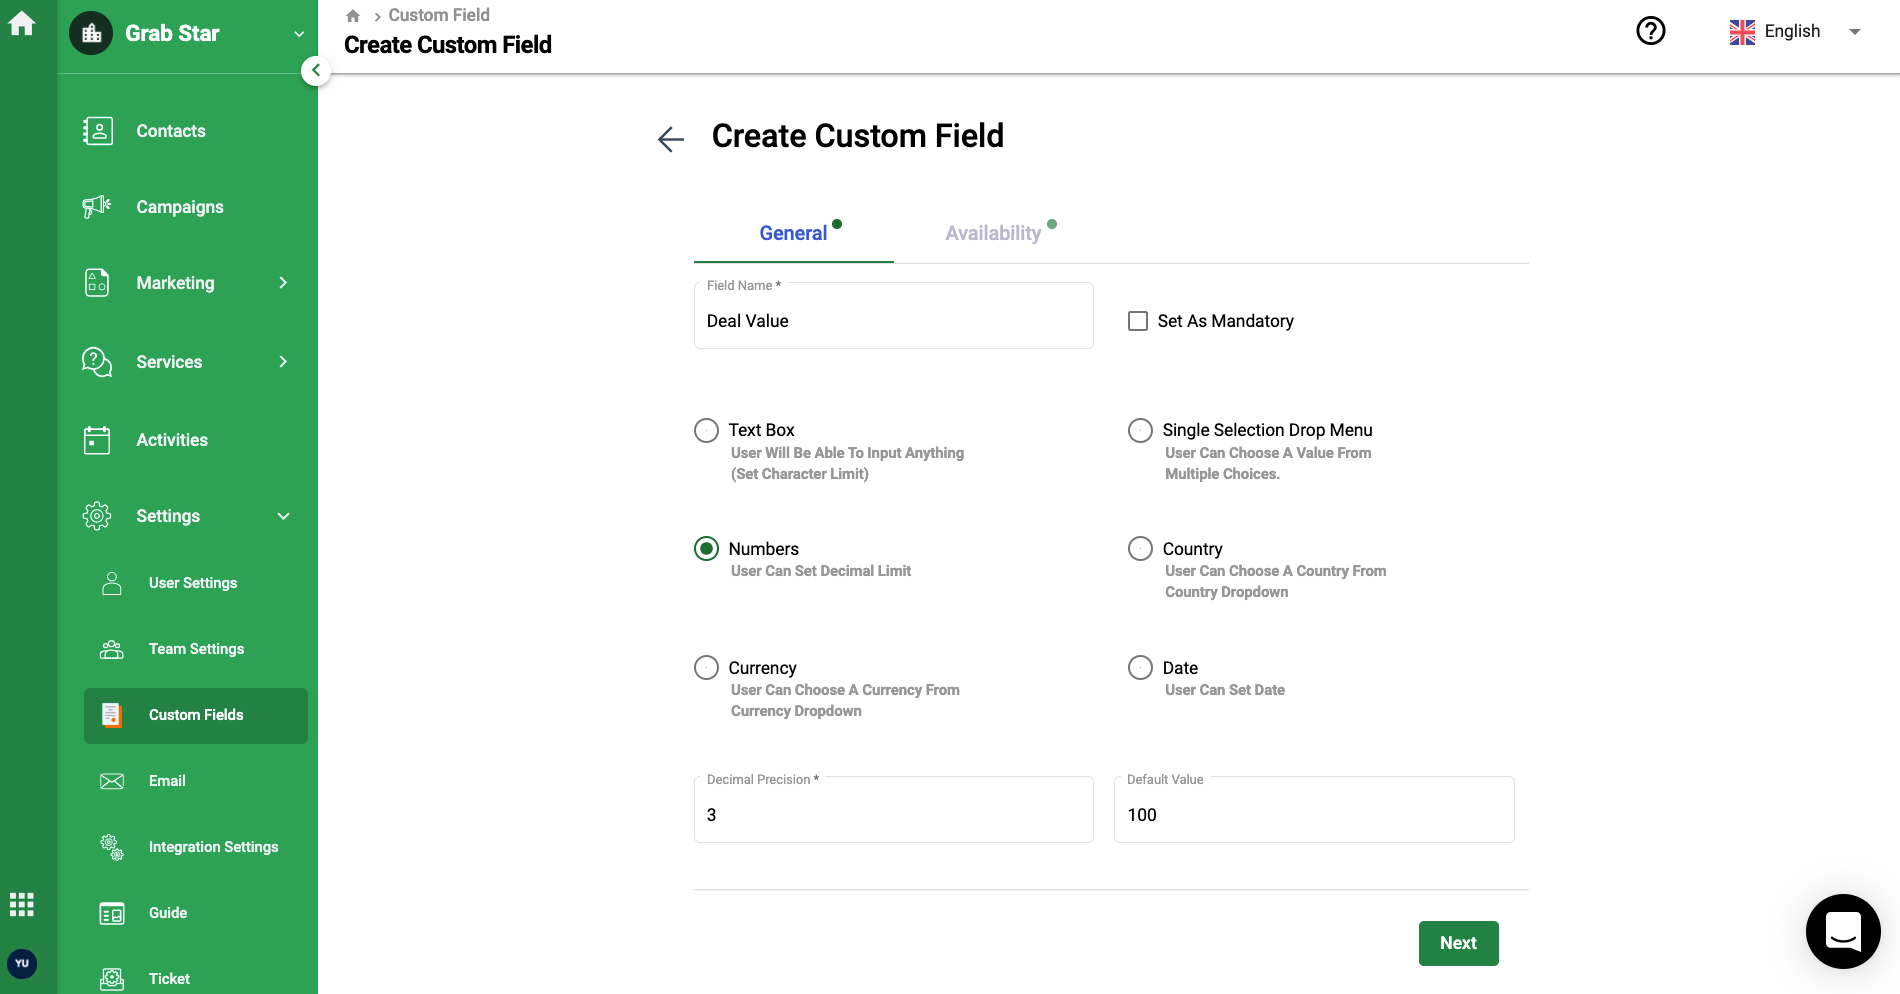
- Enter the field name. Mark this field as mandatory, if required
- Choose the field's type as per the option presented- text box, single selection drop menu, numbers, country, currency, or date
- Fill in the default values below as per the field's type chosen
- Click on the Next button
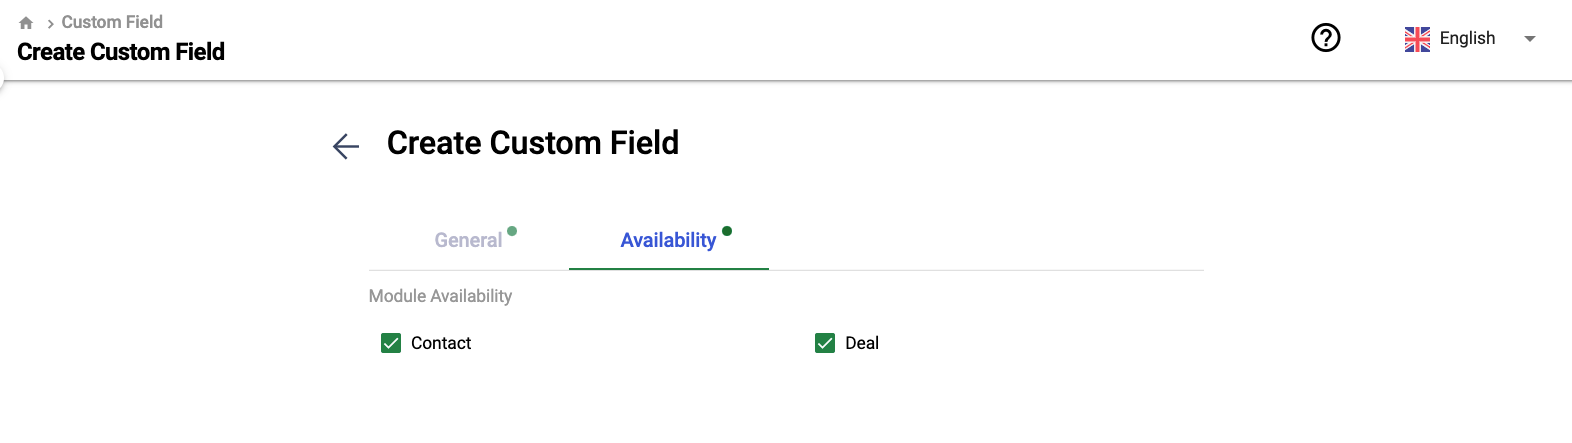
6. Select the Module you wish to assign the custom fields to; this can be contact and deal.
7. Click on the Create button.
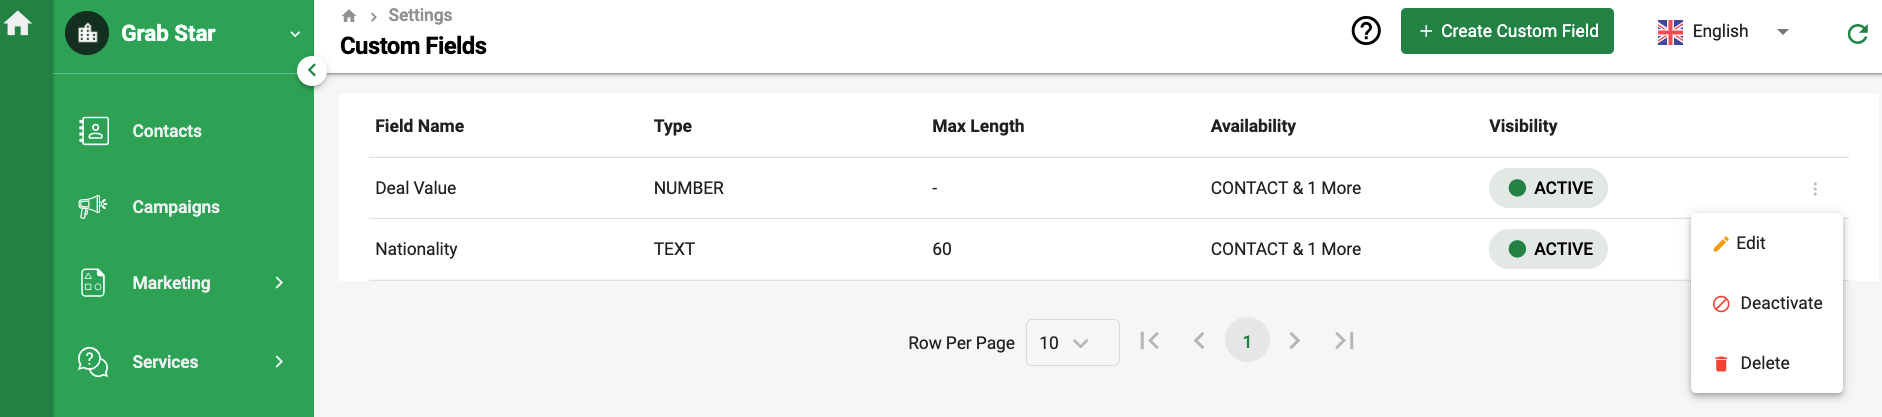
8. After you have completed creating the new custom fields, you can always edit the details of each field, deactivate or delete the fields from the system.
9. Finally, you can apply the custom fields created here in the Contact and Deal Module.