
You can bulk import your contacts and the custom field to Deskera Sales.
Follow the steps below:
- Login to your Deskera account.
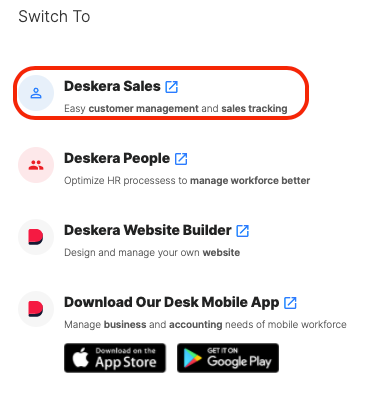
- Click on the Switch To icon at the bottom left of the page >> Select Deskera Sales.
3. This action will direct you to Deskera Sales main dashboard.

4. Go to the Contacts tab at the sidebar. Then click on the Import Contacts button.
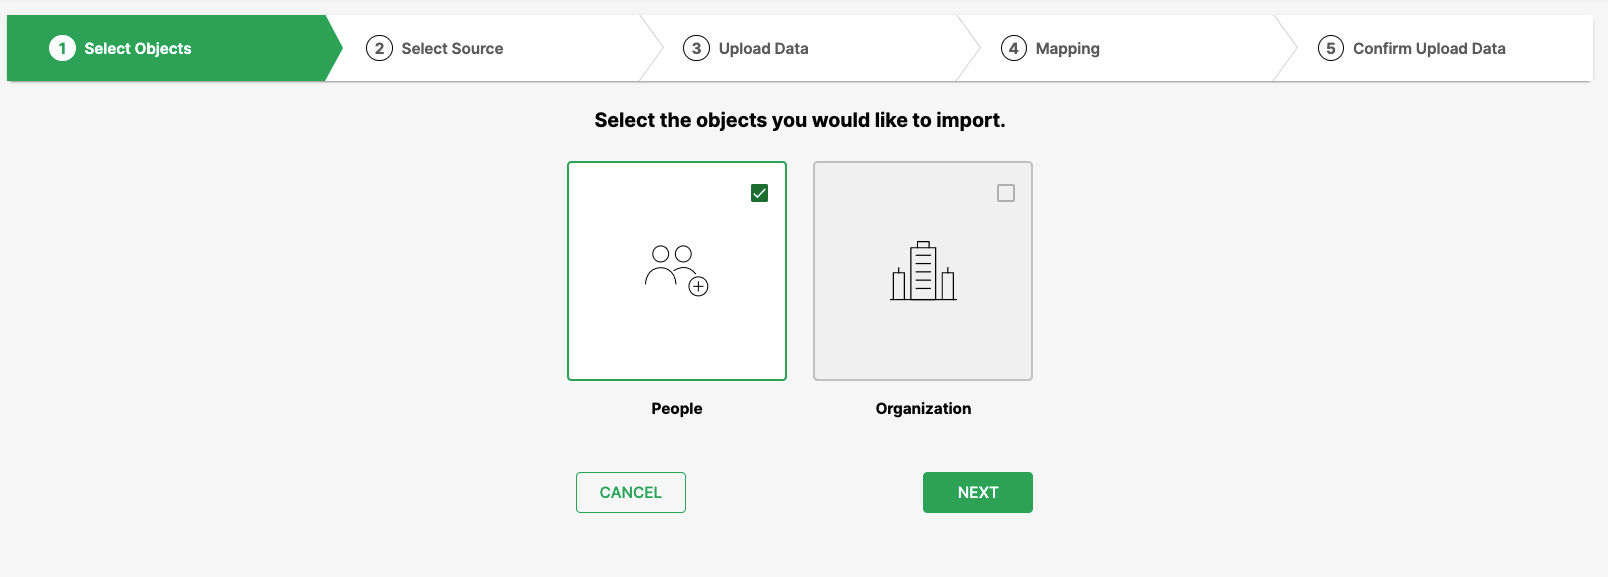
5. Next, select either Person or Organization accordingly and then click on the Next button.
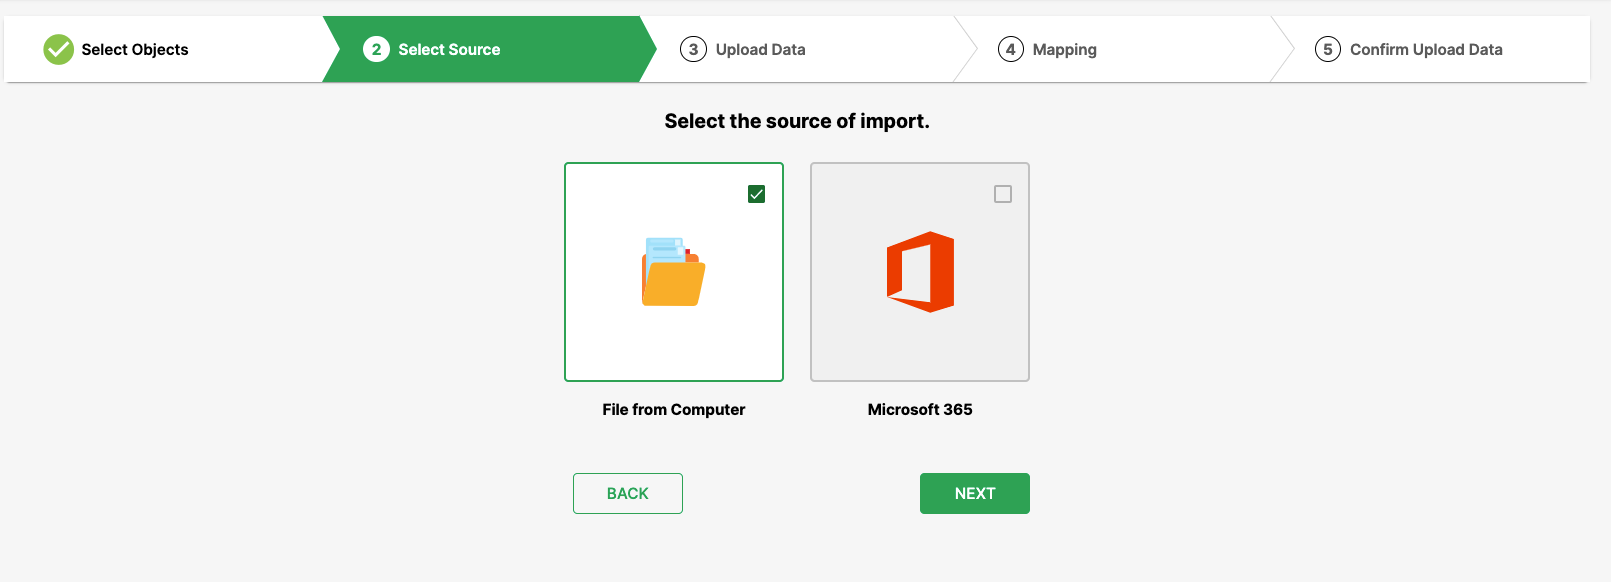
6. Select the source of import, choose either the file from computer or from Microsoft 365.
To connect to Microsoft 365, you can refer to the article here.
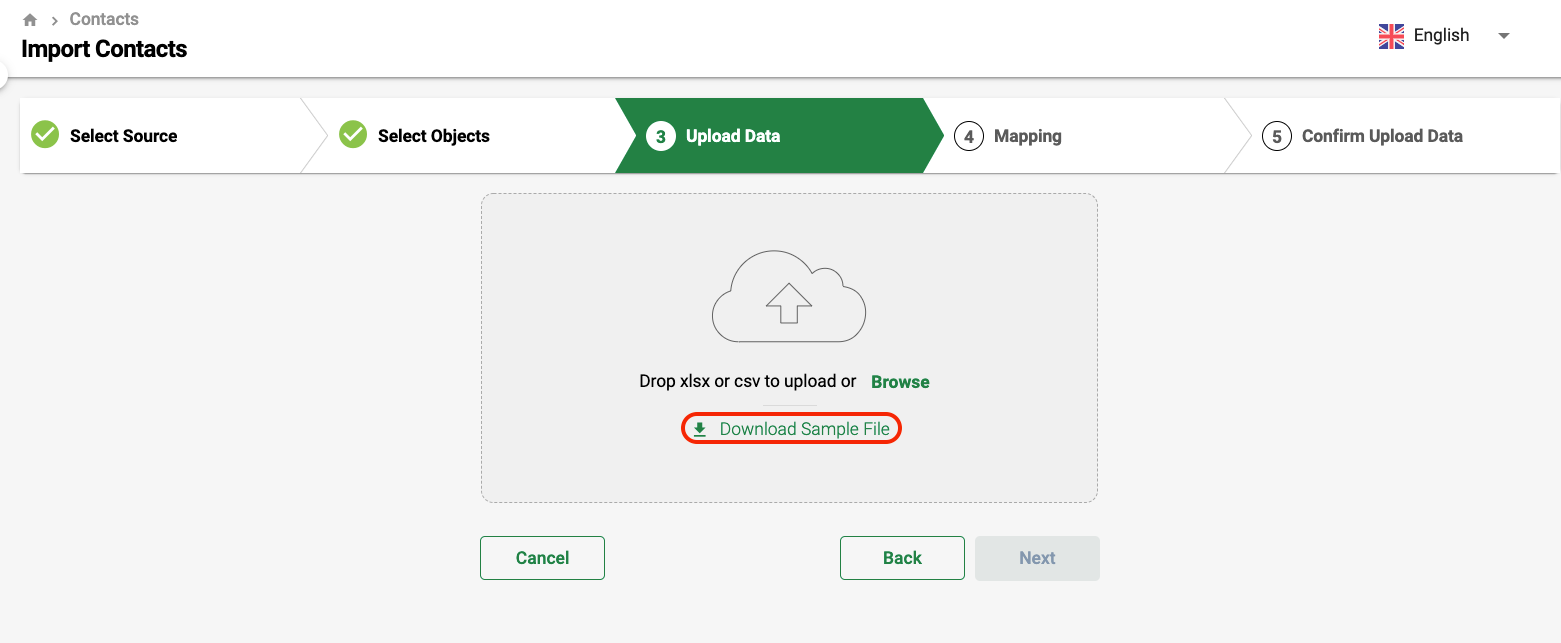
7. If you choose the source of import as File from computer, then you will need to Download the sample import file.
Please note that it's mandatory to use the sample import file from the system in order for a successful mapping.


8. Fill in the details in the sample import file accordingly, and add additional custom fields, if required. Before adding additional column for the custom field, you need to create this in the Custom Field Master.
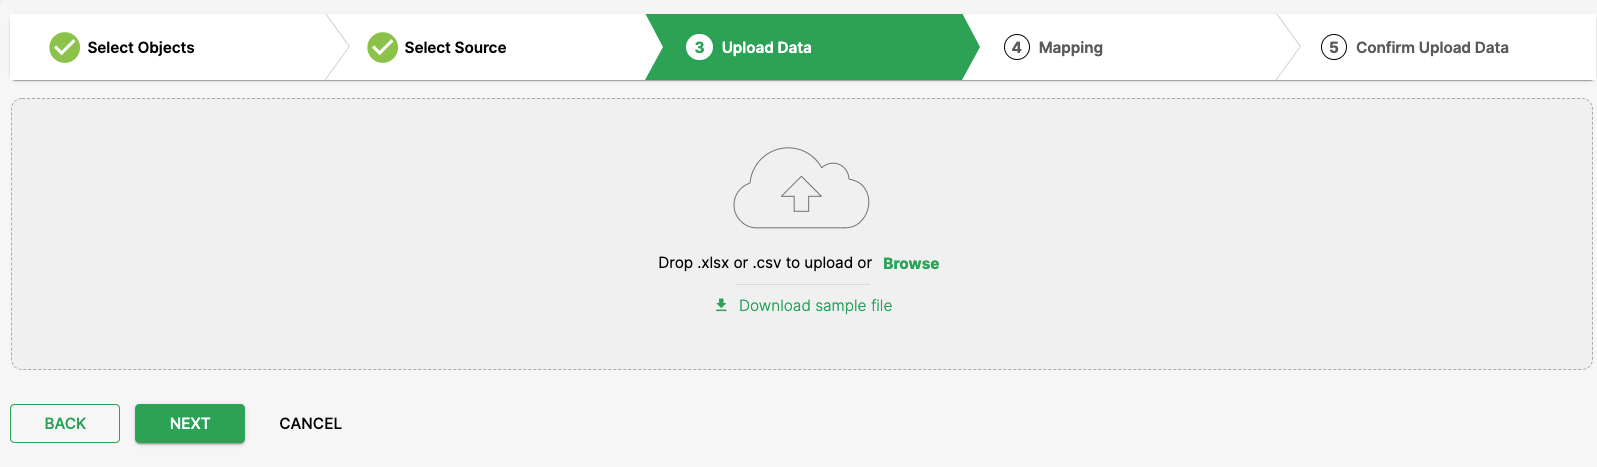
9. Once you have completed filling in the template file, you can either drag and drop the file or click Browse to search for the file and upload them into the system.
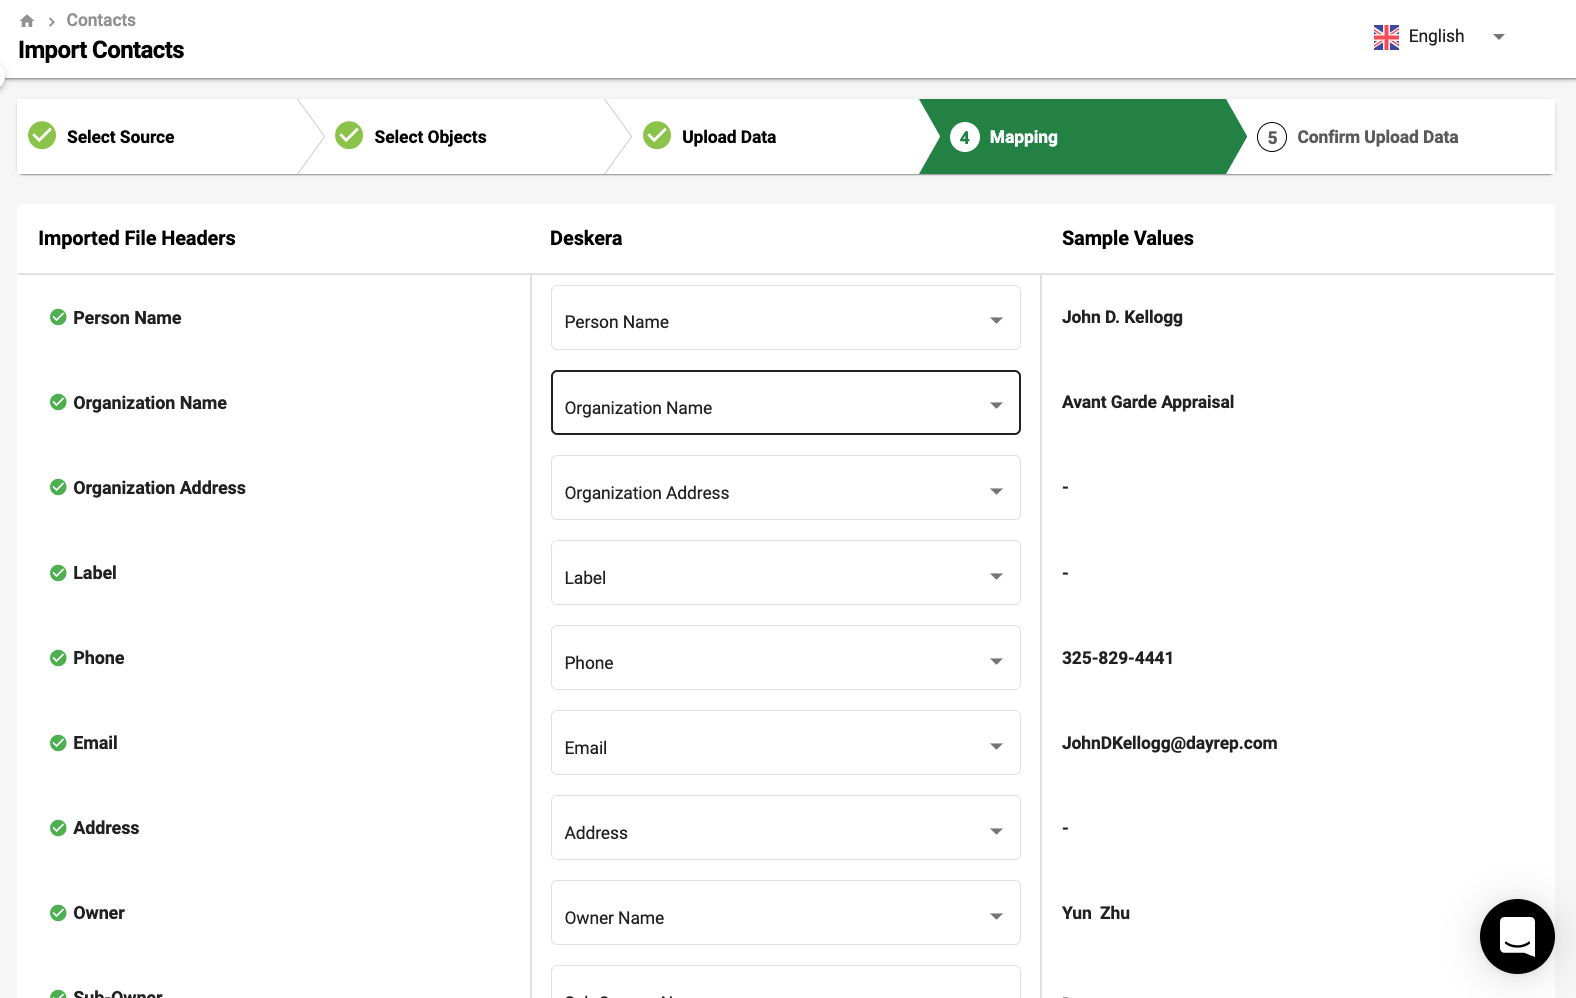
10. Map the imported file header to the sample value in the file. Verify the information and click on the Next button.
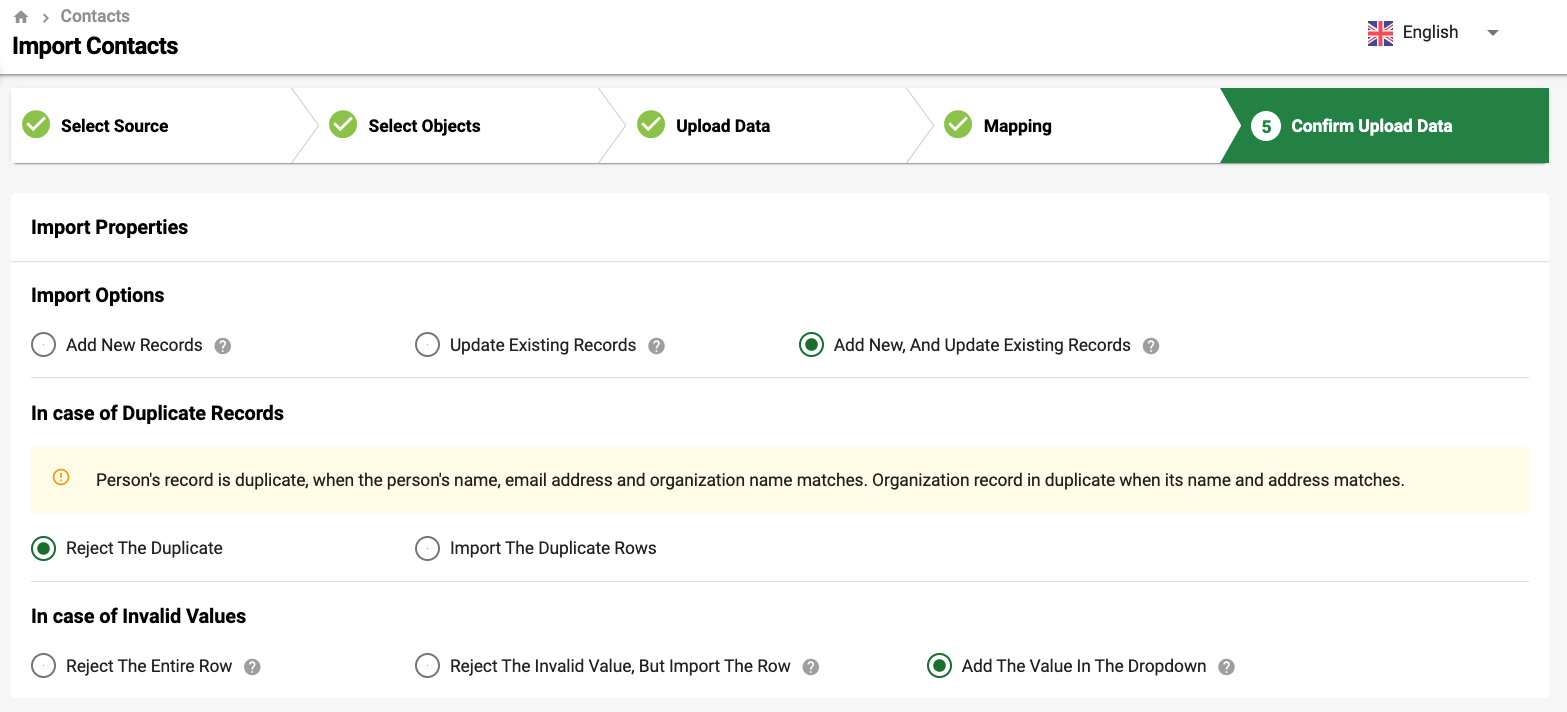
11. In the last stage, ensure that all the details are mapped accordingly. You can set the import properties here. For example, you can choose to add new records, update existing records, or both.
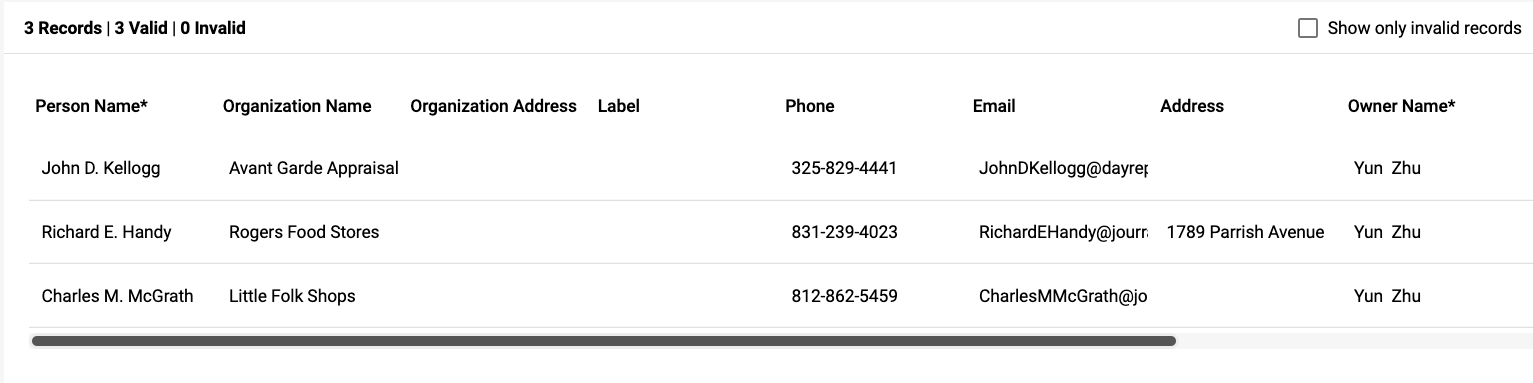
12. You can also amend and add the values for the respective field here.. If the value added is not valid, the value will be marked in red color. Amend the value until the system accept the value indicated here.
13. After verifying all the information and ensure all fields are accepted by the system, click on the Confirm button.
14. Click on Confirm.

15. Go to the Contact window and you should be able to view all the contacts imported to the system.
Note: The system does not allow you to save duplicated contact name. Each contact name should be unique and different. Else, the system will reject the duplicated records.