After all the payroll details are added in Deskera People and when you click on Process Payroll button you need to go through the different payrun stages before processing the final payrun
Below listed are the payrun stages,
1. Select Employee
2. Ready for processing
3. Payroll processed
Let us look at all the above-mentioned stages in detail.
1. Stage 1: Select Employee
Under Select Employee Tab’ you can view list employees for whom the payroll will be processed.
In case, if you see that any employee’s payroll details are missing or want to add a new component you have an option to add the details by selecting that employee and click on the edit button.
Below edit payroll details window will appear where you can add the required details
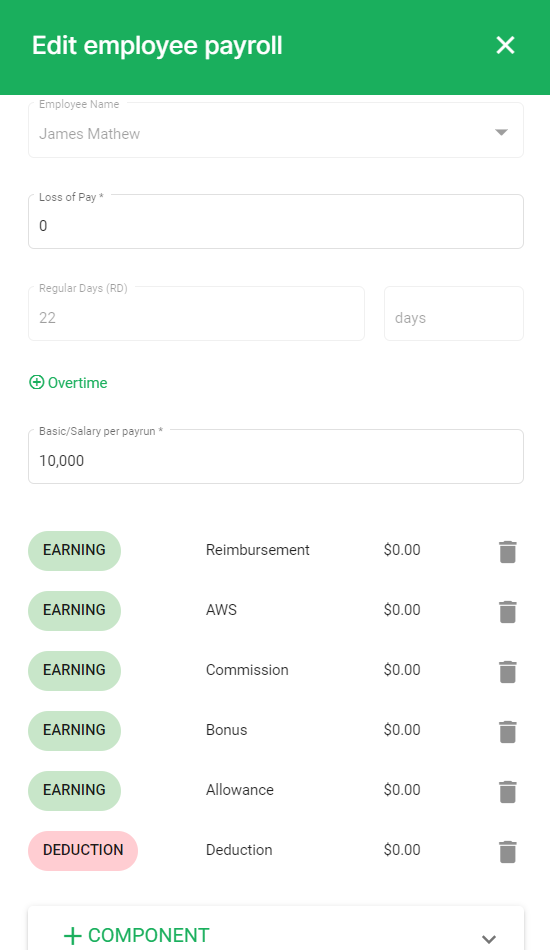
Name: Will be auto-populated
Day off: enter the no of leaves taken, which will get reflected in the Loss of Pay column
Overtime - To add overtime enter the total number of days
Basic Salary: enter a total salary amount
Component list: option to delete the component
Add component: If you wish to add a new component you can do so by clicking on the + Component button and mention the component type and cost
Lastly, click on the Save button to make further additions/deductions from the net pay of an employee.
Once this is done, click in the next button located below the screen under Select employee tab, which will take you to the next payroll stage.
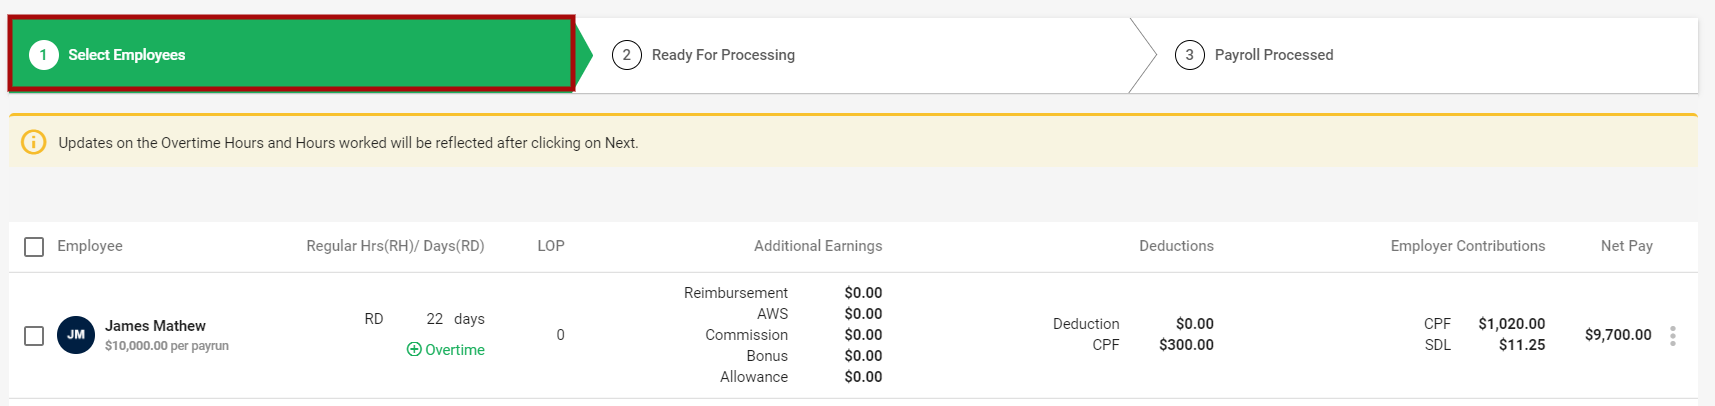
2. Stage 2: Ready for Processing:

Under this stage, you can view the data and confirm the processing of the payroll so that it is ready for payment. All the employees eligible for the payroll are displayed along with their details like,
- Employee: Name of employees
- Regular Hrs(RH)/ Days(RD) - Total number of working days/HRS
- Loss of pay: due to leaves, etc.
- Additional earnings: All the earnings components along with the value of the component
- Deductions: All the deduction components along with the value of the component
- Employee Contribution - Compliance Details will be reflected
- Net Pay: NP = Total Earnings – Total Deductions
Once all this data has been verified click on the ‘Process Payment’ tab and a below message will pop up before you make the final payment,

This message is a confirmation that you have reviewed the payroll information and it is 100% correct. If you are sure about this, click on the ‘YES’ button which will take you to the last stage, and the final payment will be paid to your employees.
3. Stage 3: Payroll Processed:
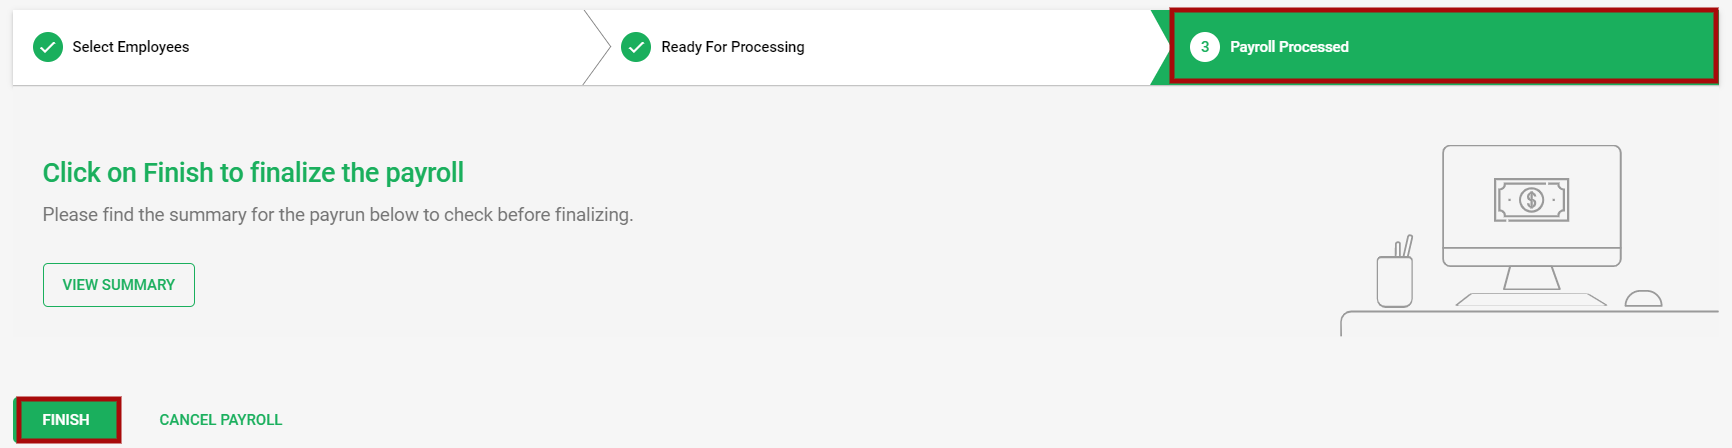
Payroll processed is the last stage in the payrun. In this stage, you will be able to view the summary of payroll with details, total payroll cost, net pay, employer contribution and payrun date.
Lastly, click on the ‘Finish’ Tab for the final Payroll run. It Will redirect you to the main payrun dashboard where you can see the status changed to Processed.
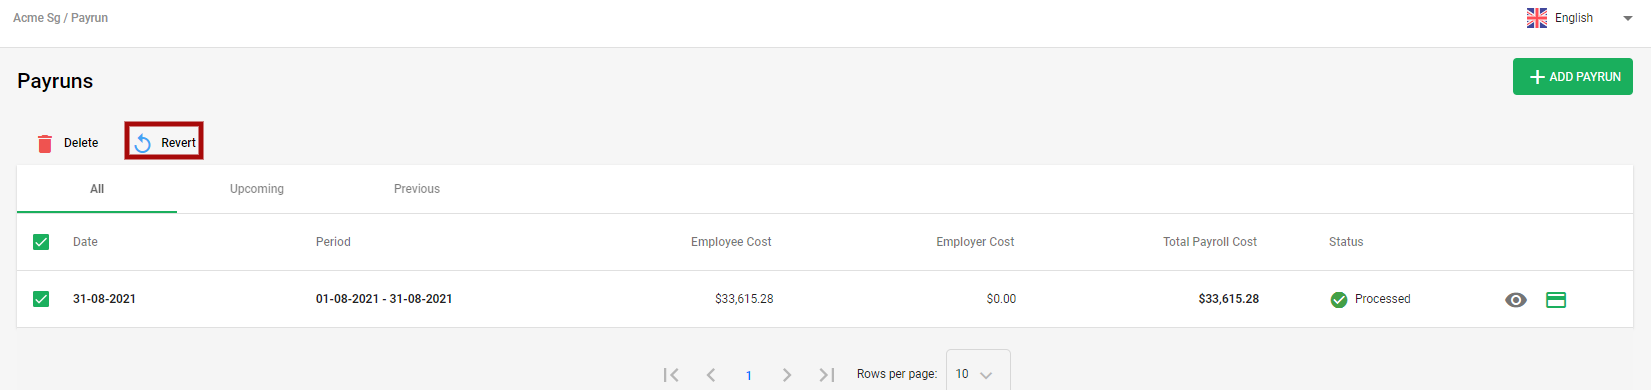
Revert Payrun
If incase, you want to change any payroll information after processing the payrun, you can do so by clicking on the Revert button. This will revert the entire processed payrun for all employees in the system.
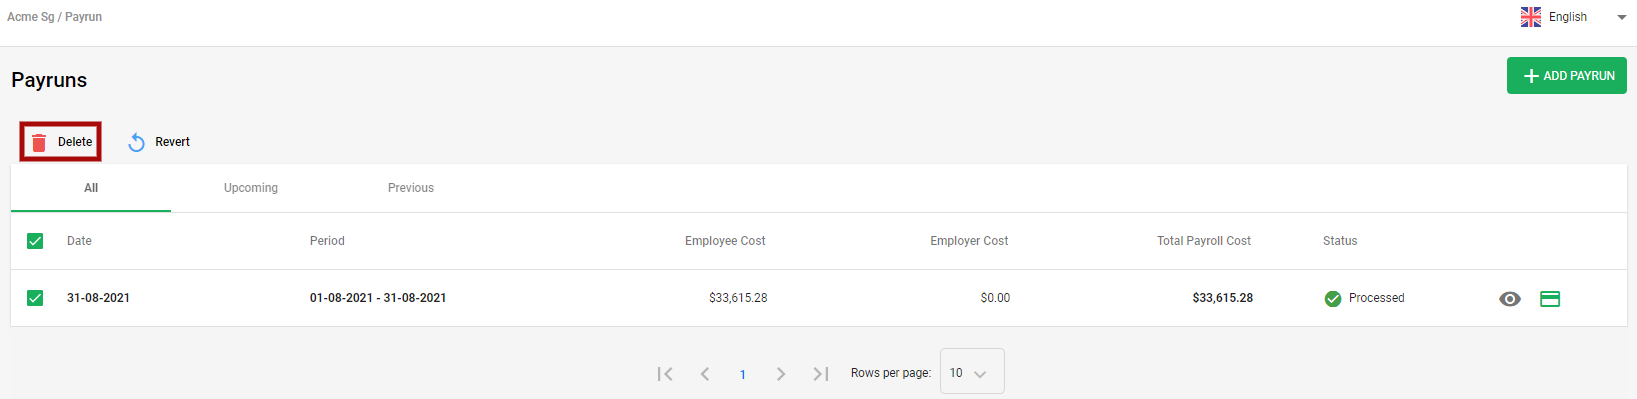
Delete Payrun
If incase, you have wrongly processed the payrun, and want to remove it completely from the system, you can do so by clicking on the Delete Button. This will delete the entire processed payrun for all employees in the system.
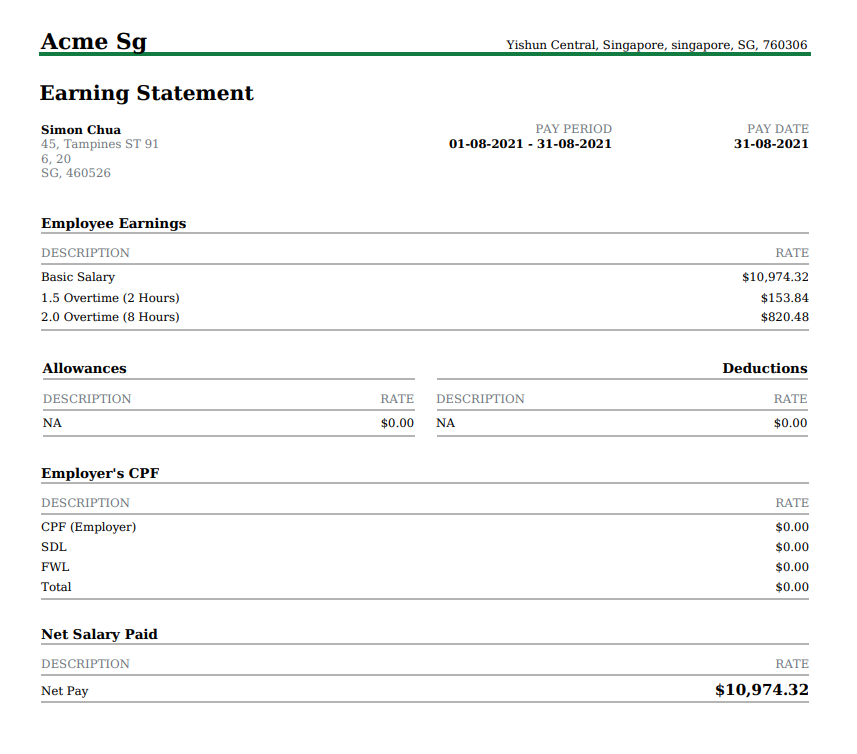
How to Generate Payslip for Employees Using Deskera People?
After the payrun is processed, you can generate the Payslip for employees with below simple steps,
- Go to employees>>Employee List>> click on the employee>>under Recent Paystubs,

2. Click on the page icon to download the payslip in PDF format.
3. Now in the Payslip apart from other details you can also view the Overtime (OT) Rate.