

Expense is an outflow of money to a person, group or financial institution for purchasing goods and services.
Aside from creating a direct expense manually, Deskera users have the flexibility to create a pre-payment in the system. Pre-payments are any future expenses that you paid in advance but they are not used up or expired yet.
How to create a pre-payment?
- Go to the Accounting tab on the sidebar menu.
- Click on the Expense Tab.
- Click on the dropdown arrow next to the 'Create' button on the top right of the page.
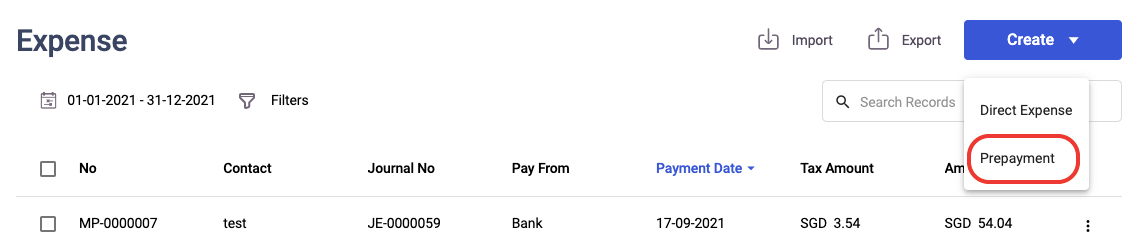
4. Next, click on the pre-payment button.
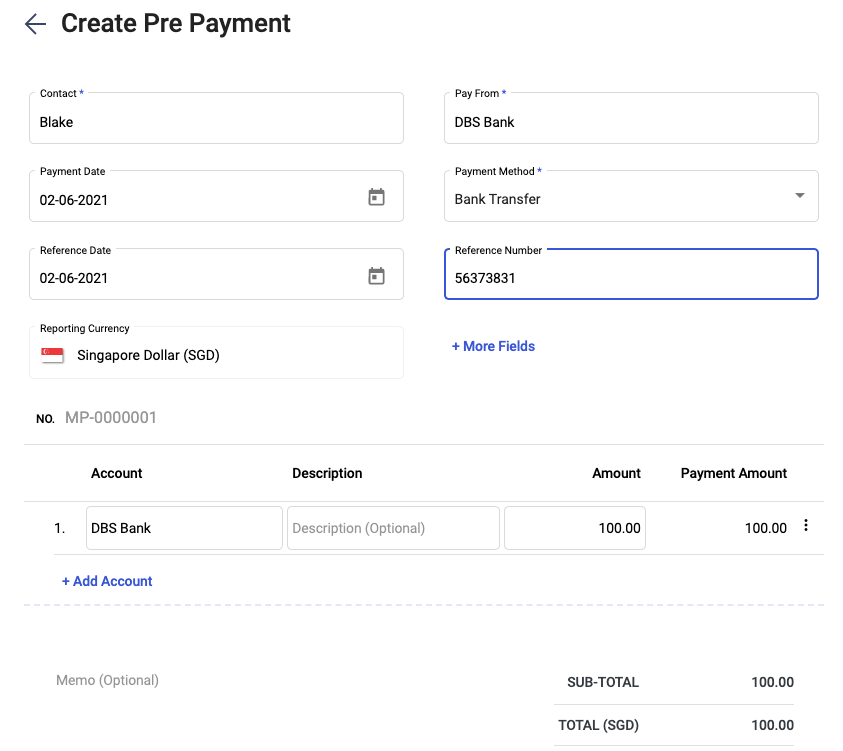
5. Fill in the contact, choose the account to pay from, and the payment date. If you select a cheque, bank, or card, you will need to fill in the reference number and reference date.
6. Next, select the account related to the expense, the amount, and tax applied if.
7. Fill in a short description of the expense in the memo box at the bottom of the page and click Save.
8. To apply the pre-payment to your vendors, go to the Buy Module.
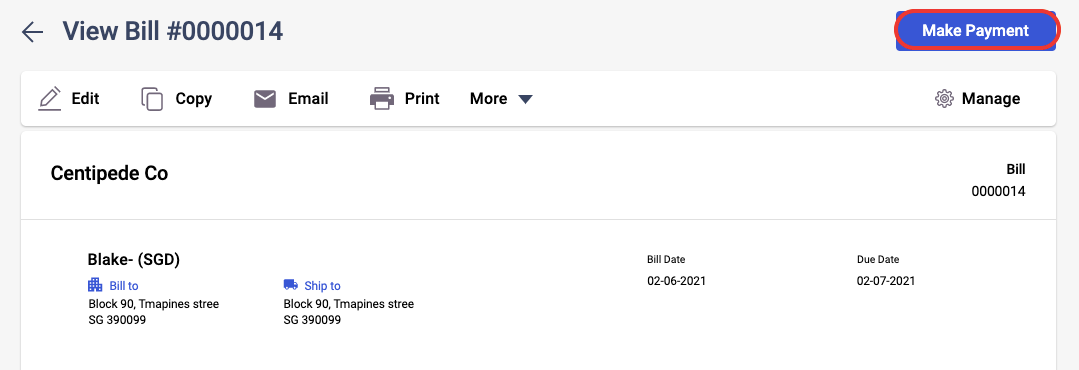
9. Click on the specific Bills and on the Bill page, click on the make payment button.
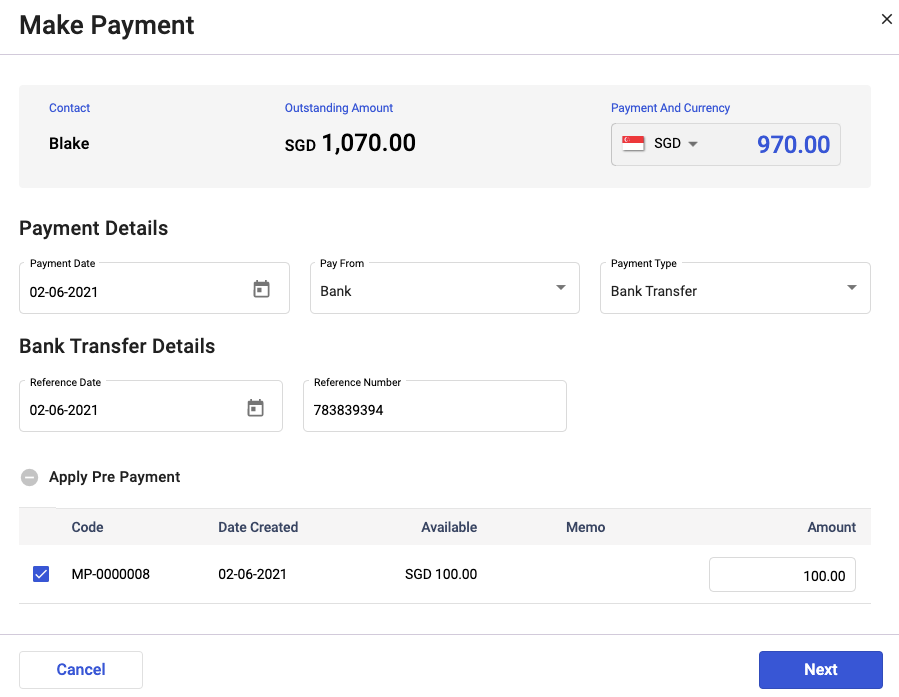
10. A pop-up will appear, fill in the amount you wish to pay in advance. The amount here is based on the total amount you've indicated in the Expense Module previously.

11. Once done, click on the Next button and select Pay button.
12. Hover your mouse on the payment record, you can view the bin icon, and click on it to delete the pre-payment record that you have applied earlier.
How to import prepayment records to Deskera Books?
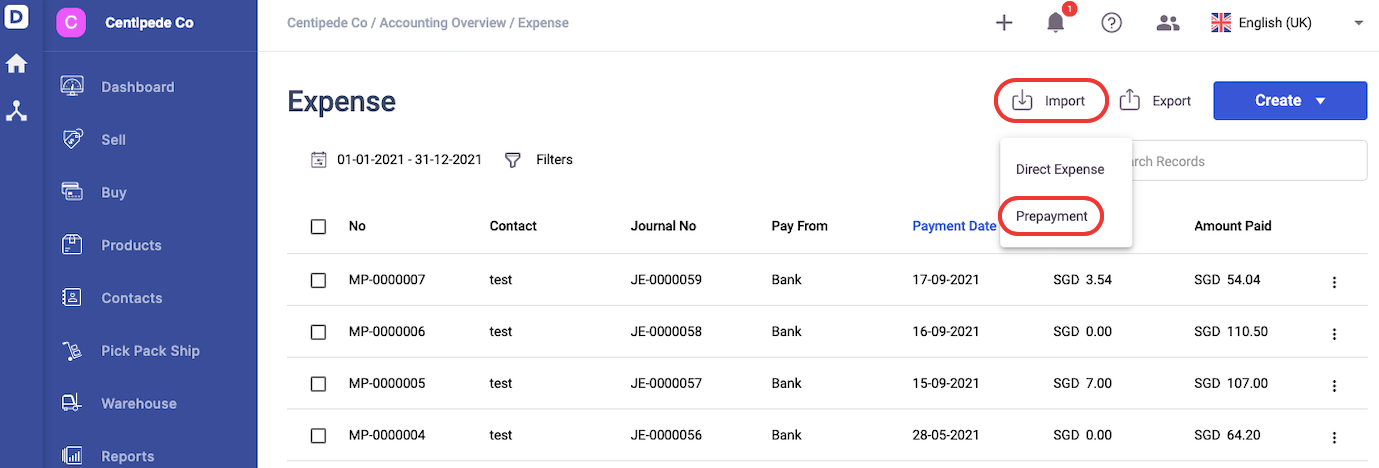
- In the expense tab, click on the import button.
- Next, click on the prepayment button.
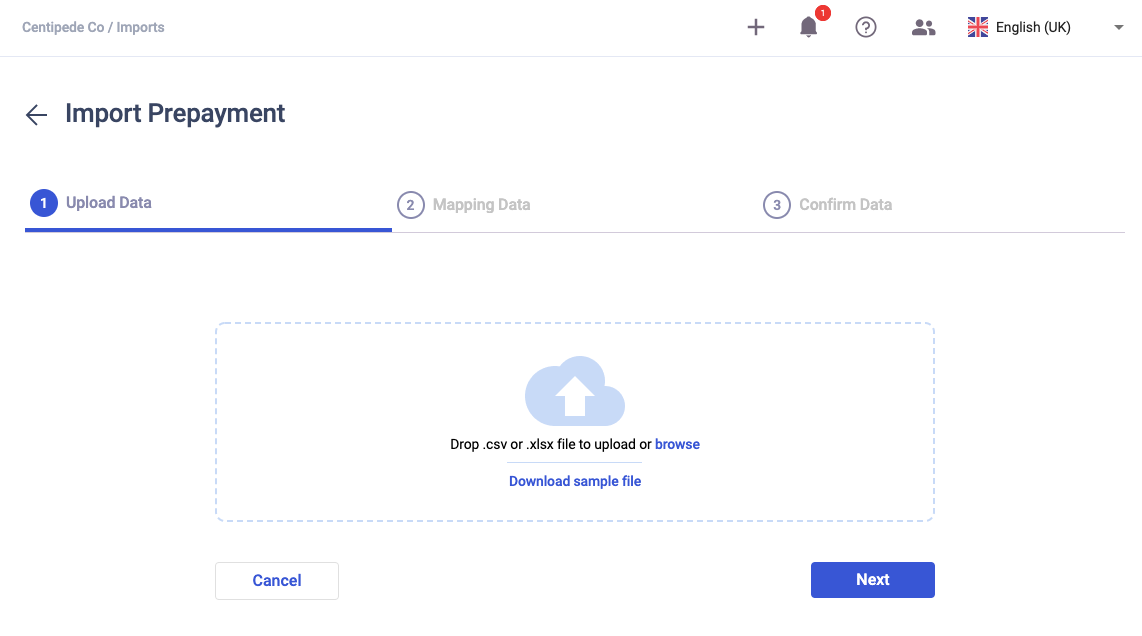
3. You are required the download the sample file here. It's compulsory to use the file from the system.
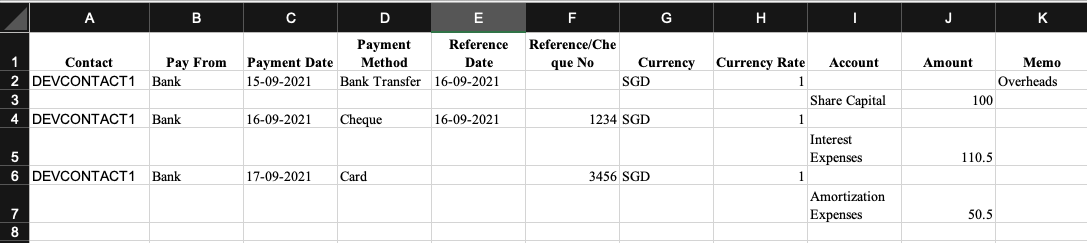
4. Open the sample import file and fill in the fields as per the screenshot above. Please create the contact name and account in the system's Contact Module/COA module before entering the details here.
5. Save the updated sample file and upload this to the system.
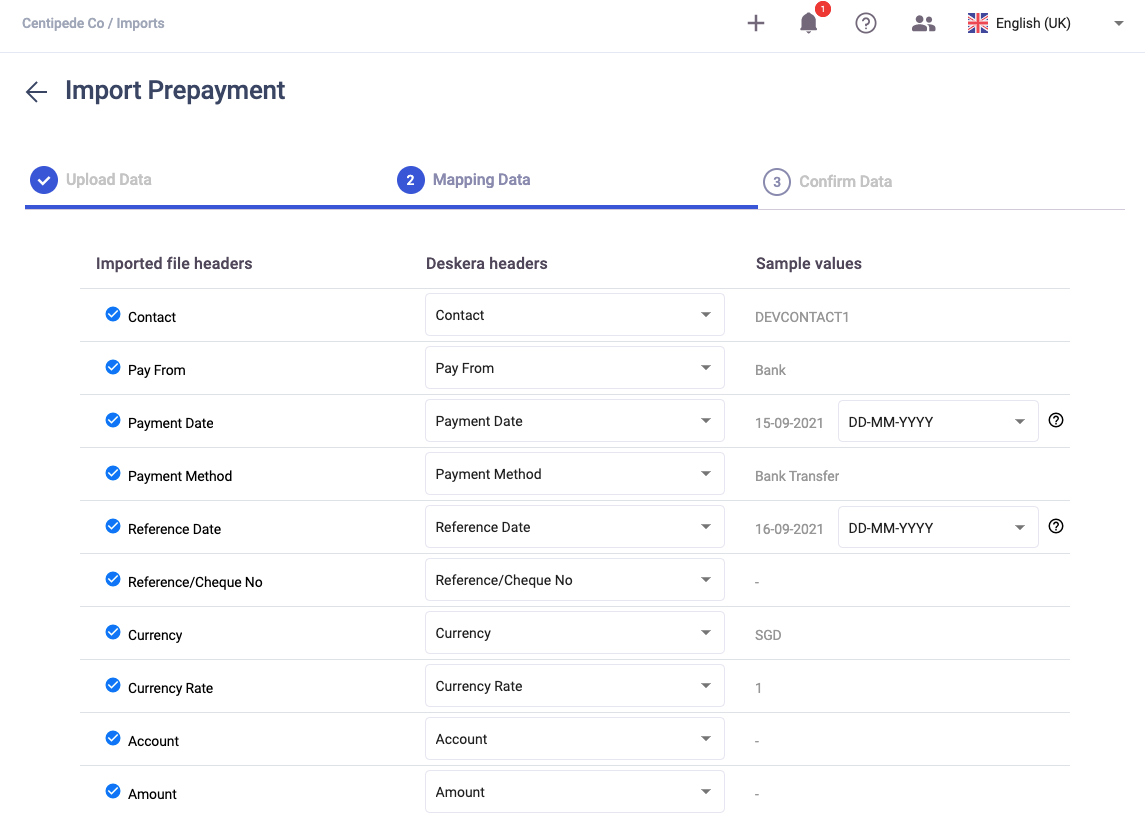
6. Match the imported file header to Deskera headers. Cross check the values reflected here with the values in the sample import file. Here you are allowed to change the date format of the transactions.
7. Click on the Submit button.
8. Finally, in the confirmation screen, you can edit the sample values and click on the Submit button to import your prepayment records to the system.