

Setting a recurring invoice and bill document is not uncommon when running a business.
Some of your customers continuously purchase from you as they're interested in your products, whereas you continue purchasing from your vendors as your inventory runs low.
Hence, setting a recurring invoice and bill document on a predefined schedule in Books+ helps you reduce your manual tasks indefinitely.
To set-up recurring invoice and bill document, you can follow the steps below:
- Login to your Books+ account.
- Click on Invoices or Bills Module via the sidebar menu.

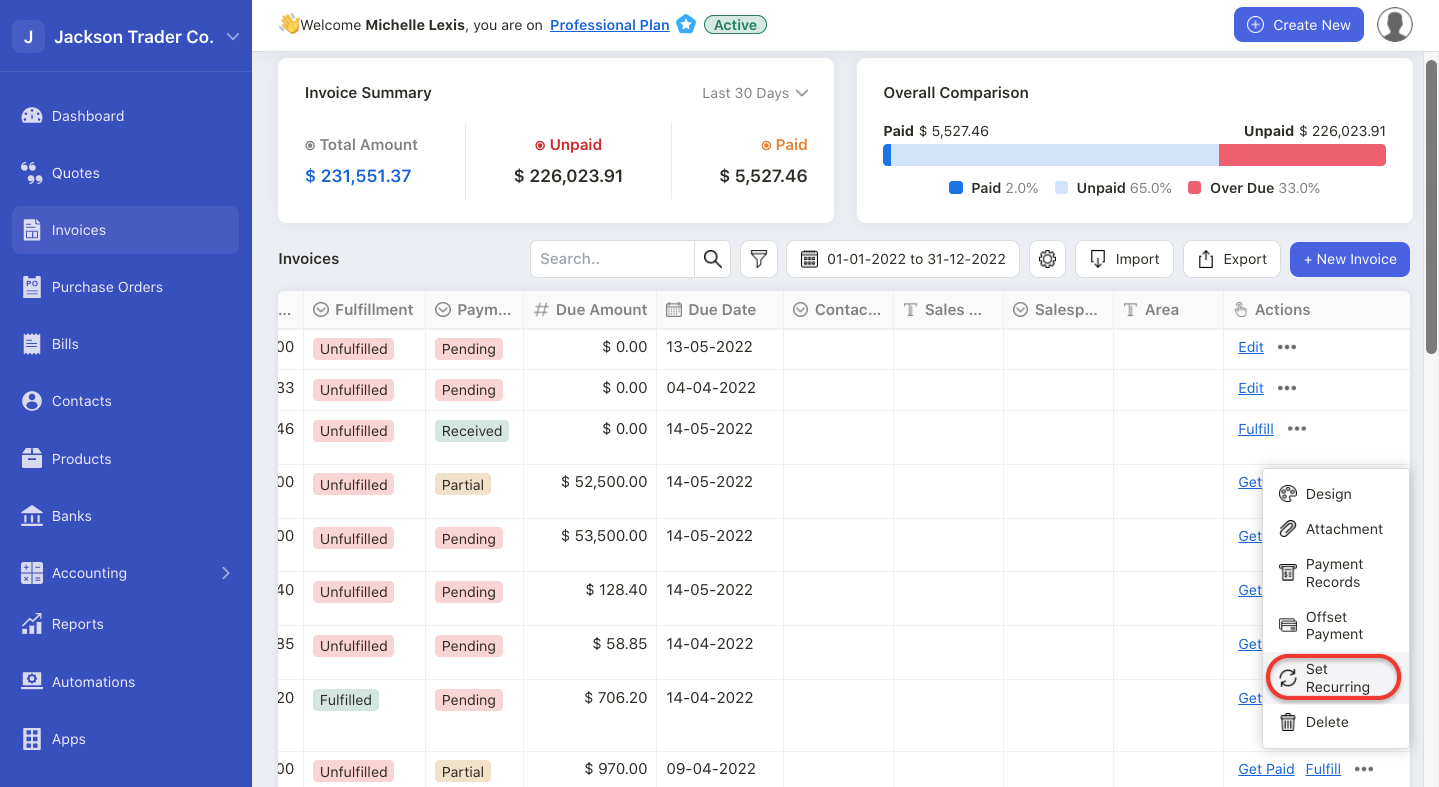
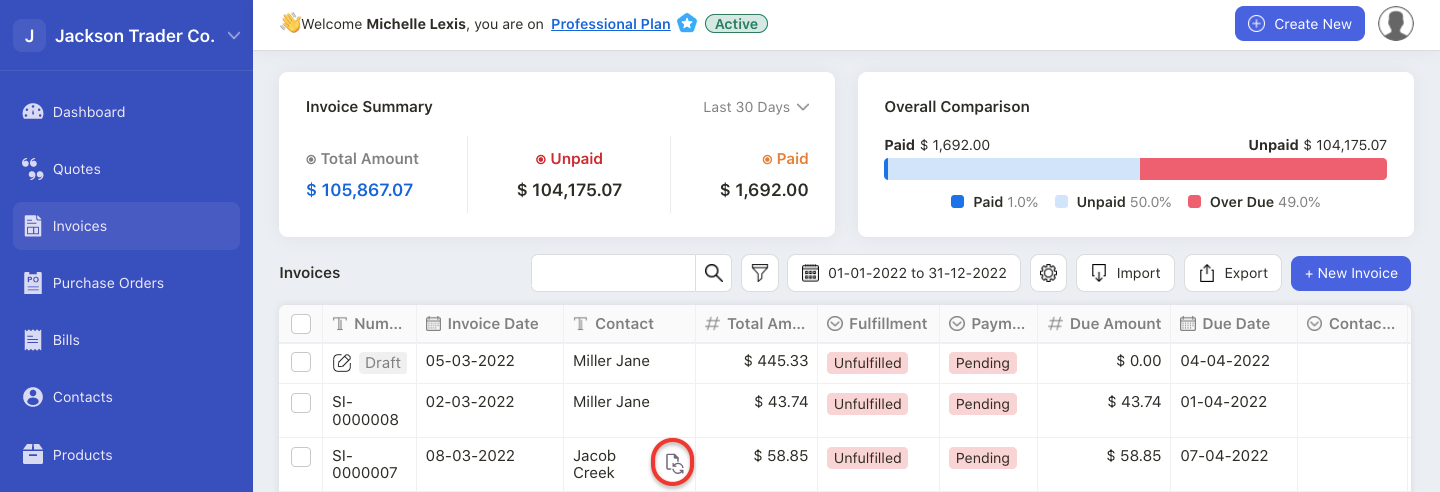
3. Click on the three dots to open the action menu.
4. Select Set Recurring button.
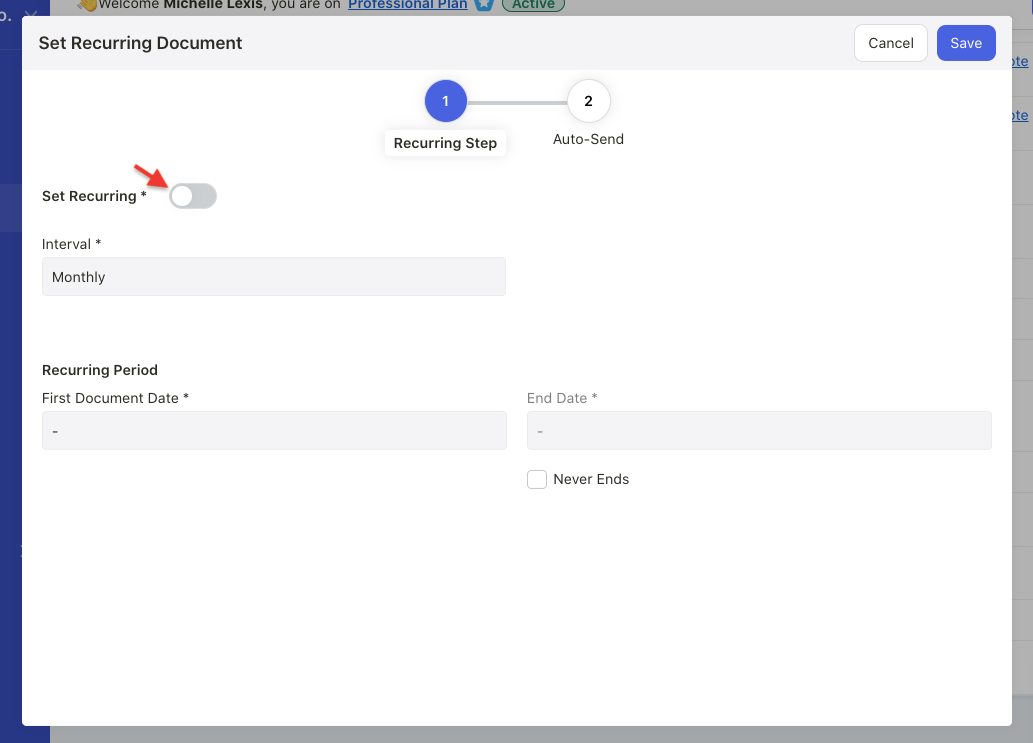
5. A pop-up menu will appear:
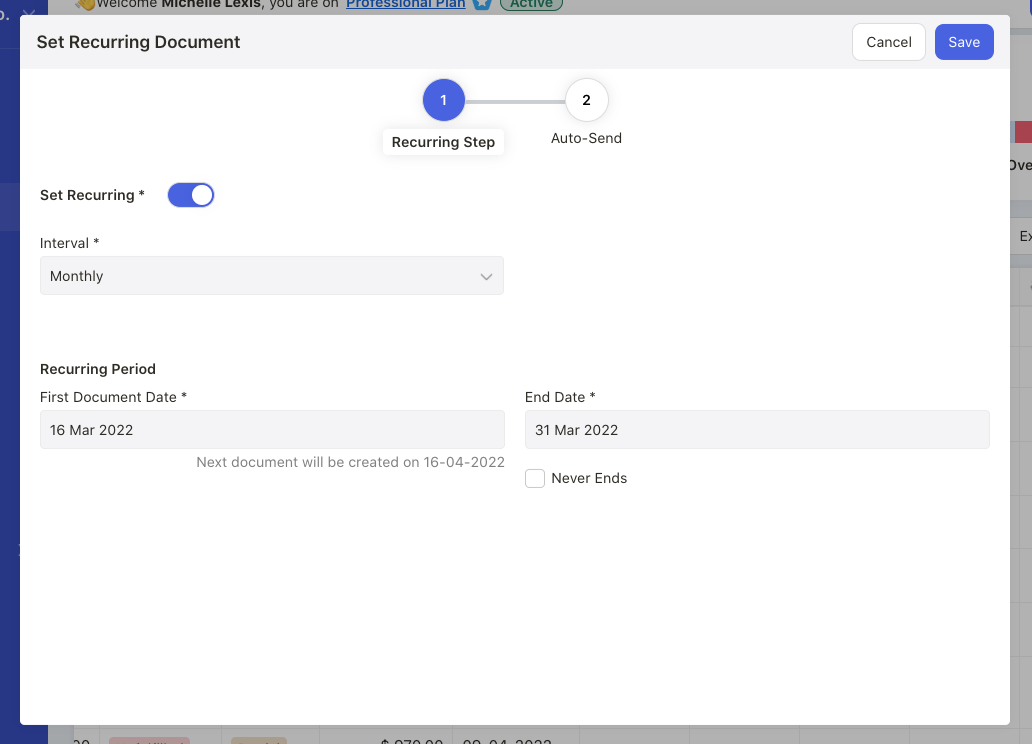
- Enable the recurring toggle
- Enter the first document date. This has to be greater than today’s date
- Enter the ending date to stop the recurring invoice
- Enable the "never ends" checkbox , if you intend to set the recurring invoices continuously
6. Next, click on the auto-send button. In the auto-send page, enter the following details:
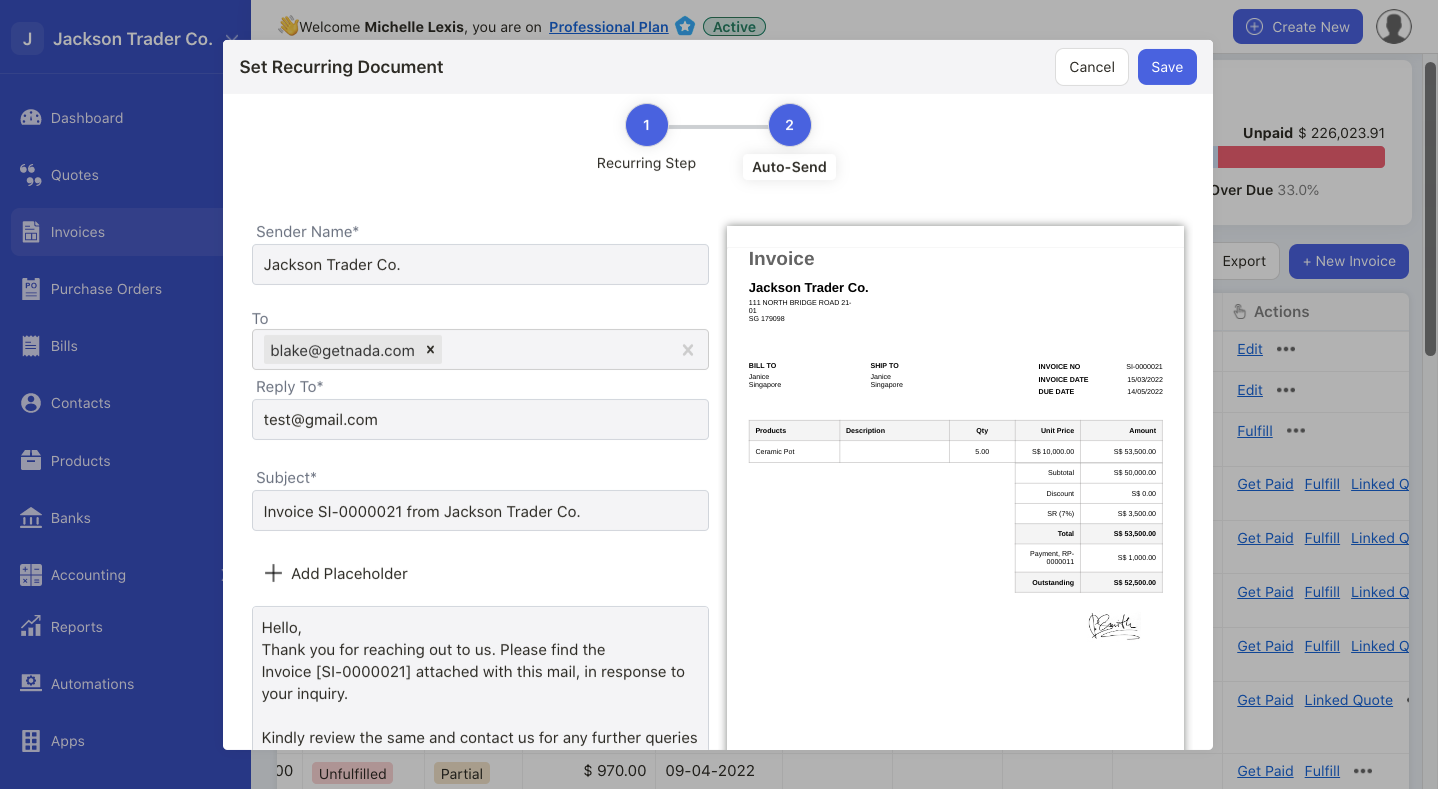
- Sender name: This is your company name. You can change the sender name
- To: Enter the recipient email
- Reply to: Enter the reply-to email
- Subject: Enter the email's subject
- Placeholder: Add placeholders in the email’s body in order for the system to auto-compute the data
- Email body: You can edit the content in the email's body
- Enable the checkbox if you wish to send a copy of the email to yourself (owner’s email ID)
7. On the right hand side view, you can see that invoice/bill template attached in your email as well.
8. Click on the save button.
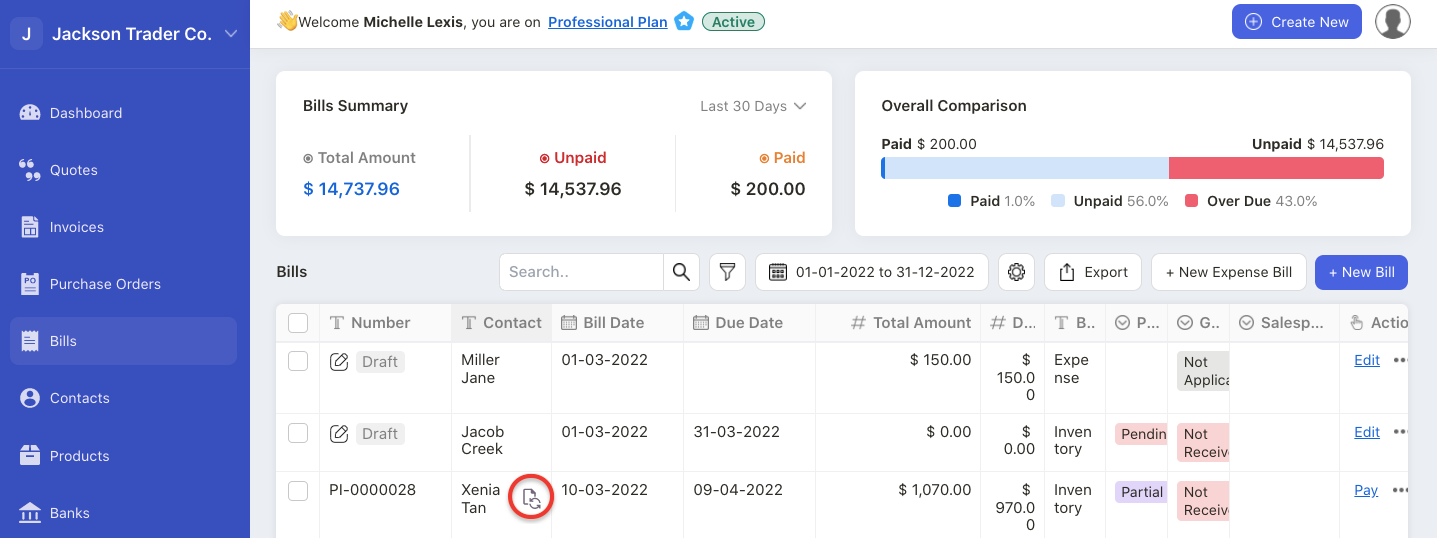
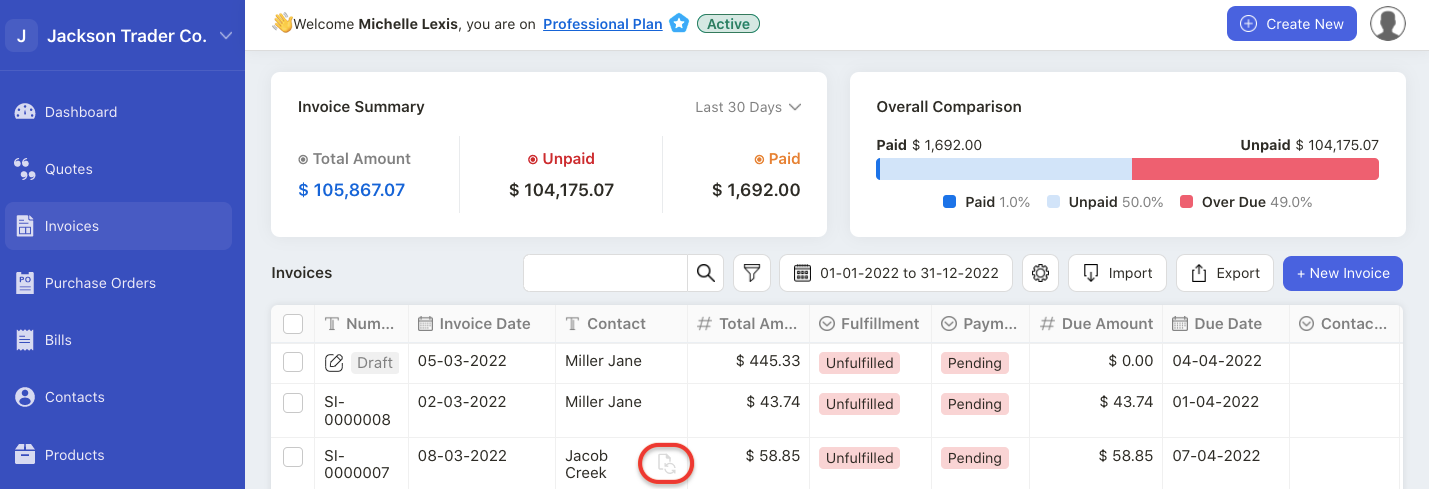
9. After saving the information, you can view the recurring icon for that respective invoice/bill in your Invoice Summary List/Bill Summary List.
How can I disable the recurring invoice and bill document?
- Click on the three dots of the respective document with the recurring invoice/bill activated.
- Select Set Recurring option
- A pop-up menu will appear.
4. Disable the set recurring toggle in the pop-up box.
5. Click on the save button.
6. The system will disable the recurring invoice/nill of the respective invoice/bill number.