
After you have created a contact successfully in Deskera CRM, next you will need to learn on how to edit and delete the contact in the system.
Follow the steps stated below:
- Go to your Deskera CRM account.
- Go to Contacts via the sidebar menu.
- Select the contact's checkbox to open the action boxes.
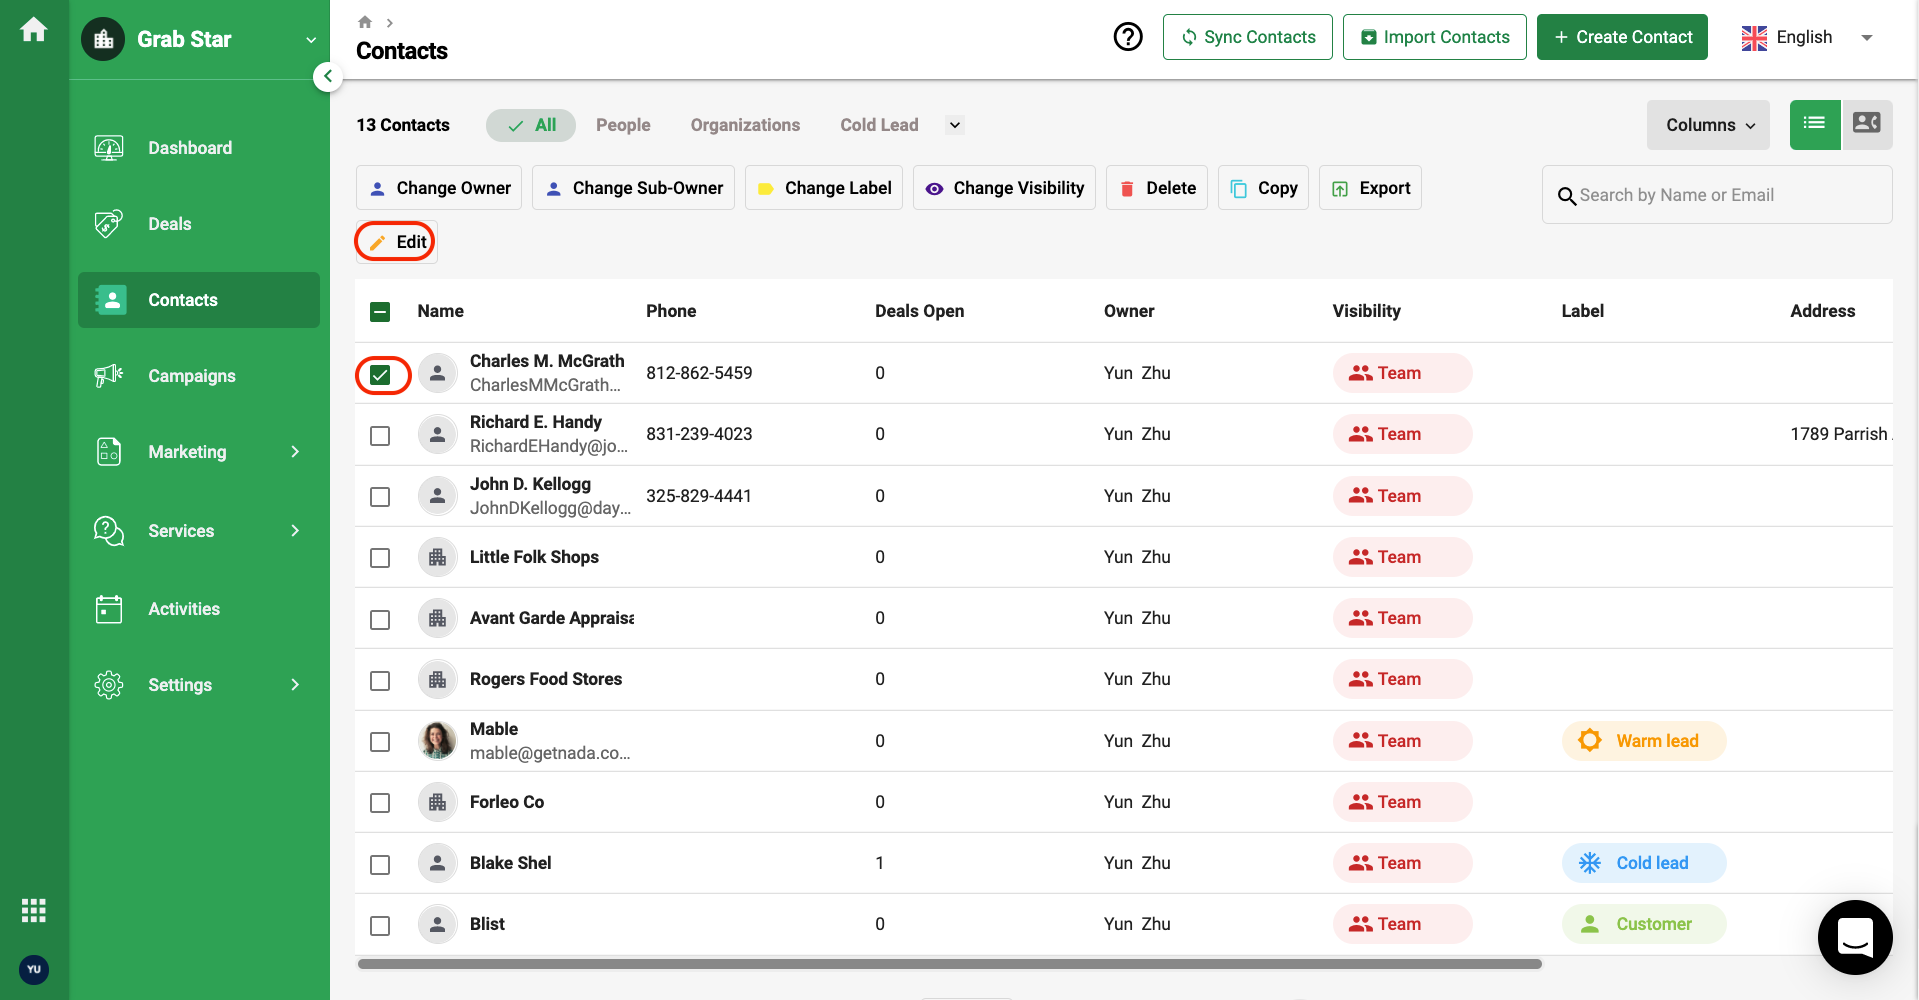
4. Click on the Edit icon.
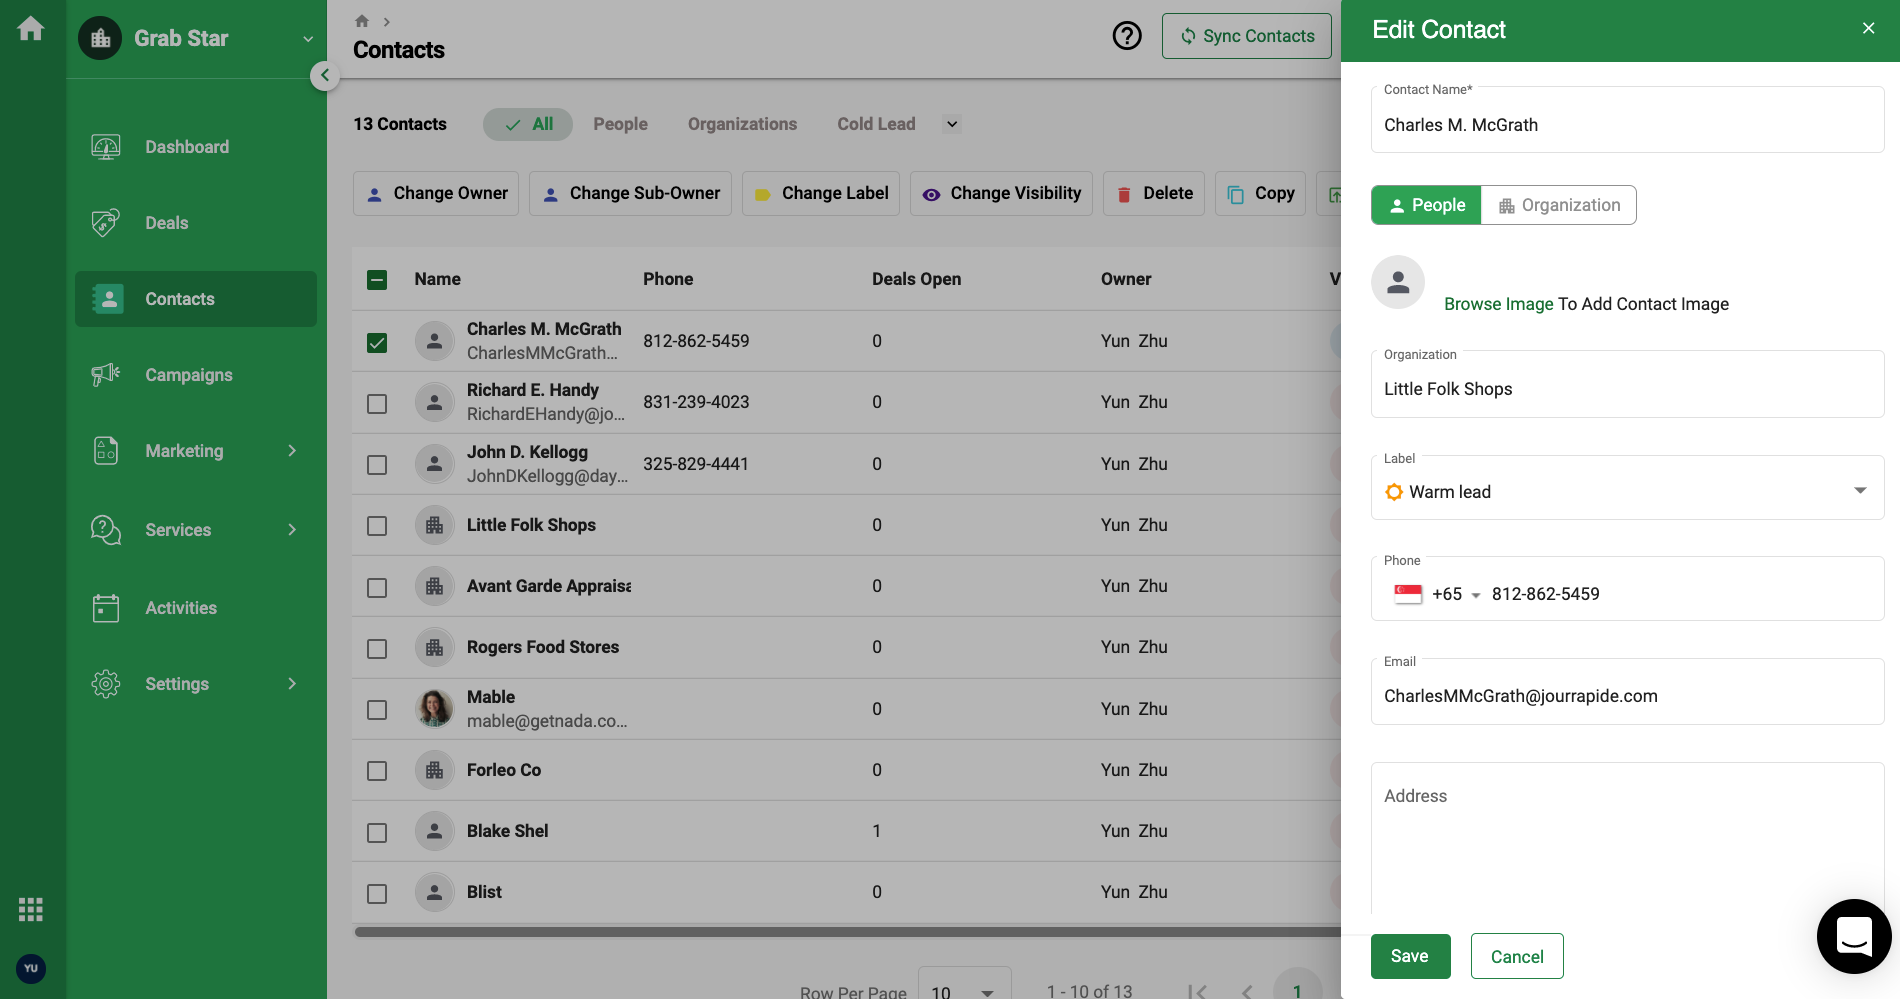
5. A slider will open at the right-hand side of the screen. Edit the contact's details in the respective fields as shown.
6. Click on the Save button.

7. Click on the respective action buttons as per the image above to change the owner, change the sub-owner, change label, change visibility, delete, create a duplicate contact or export the contact in .xls or .csv file.
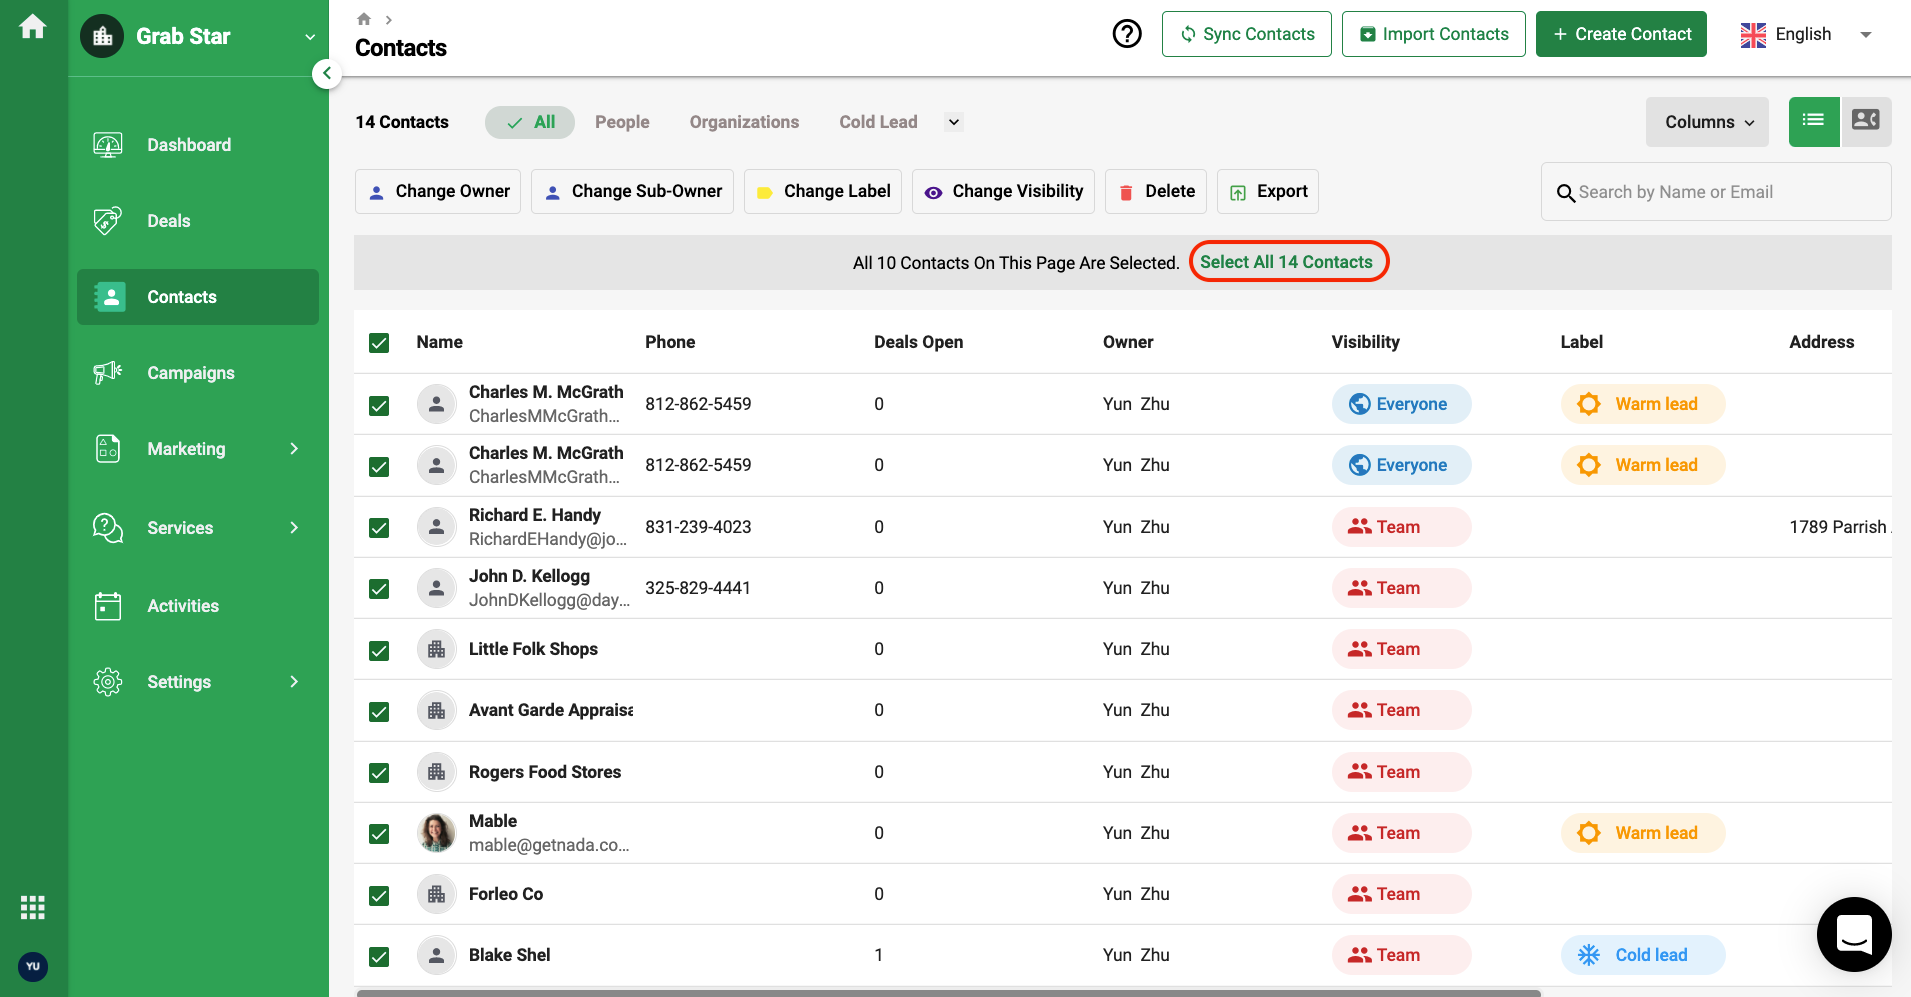
8. You can select all the contact's checkboxes on the first page and then, click on the select all contacts in the Contact Module to perform bulk actions.
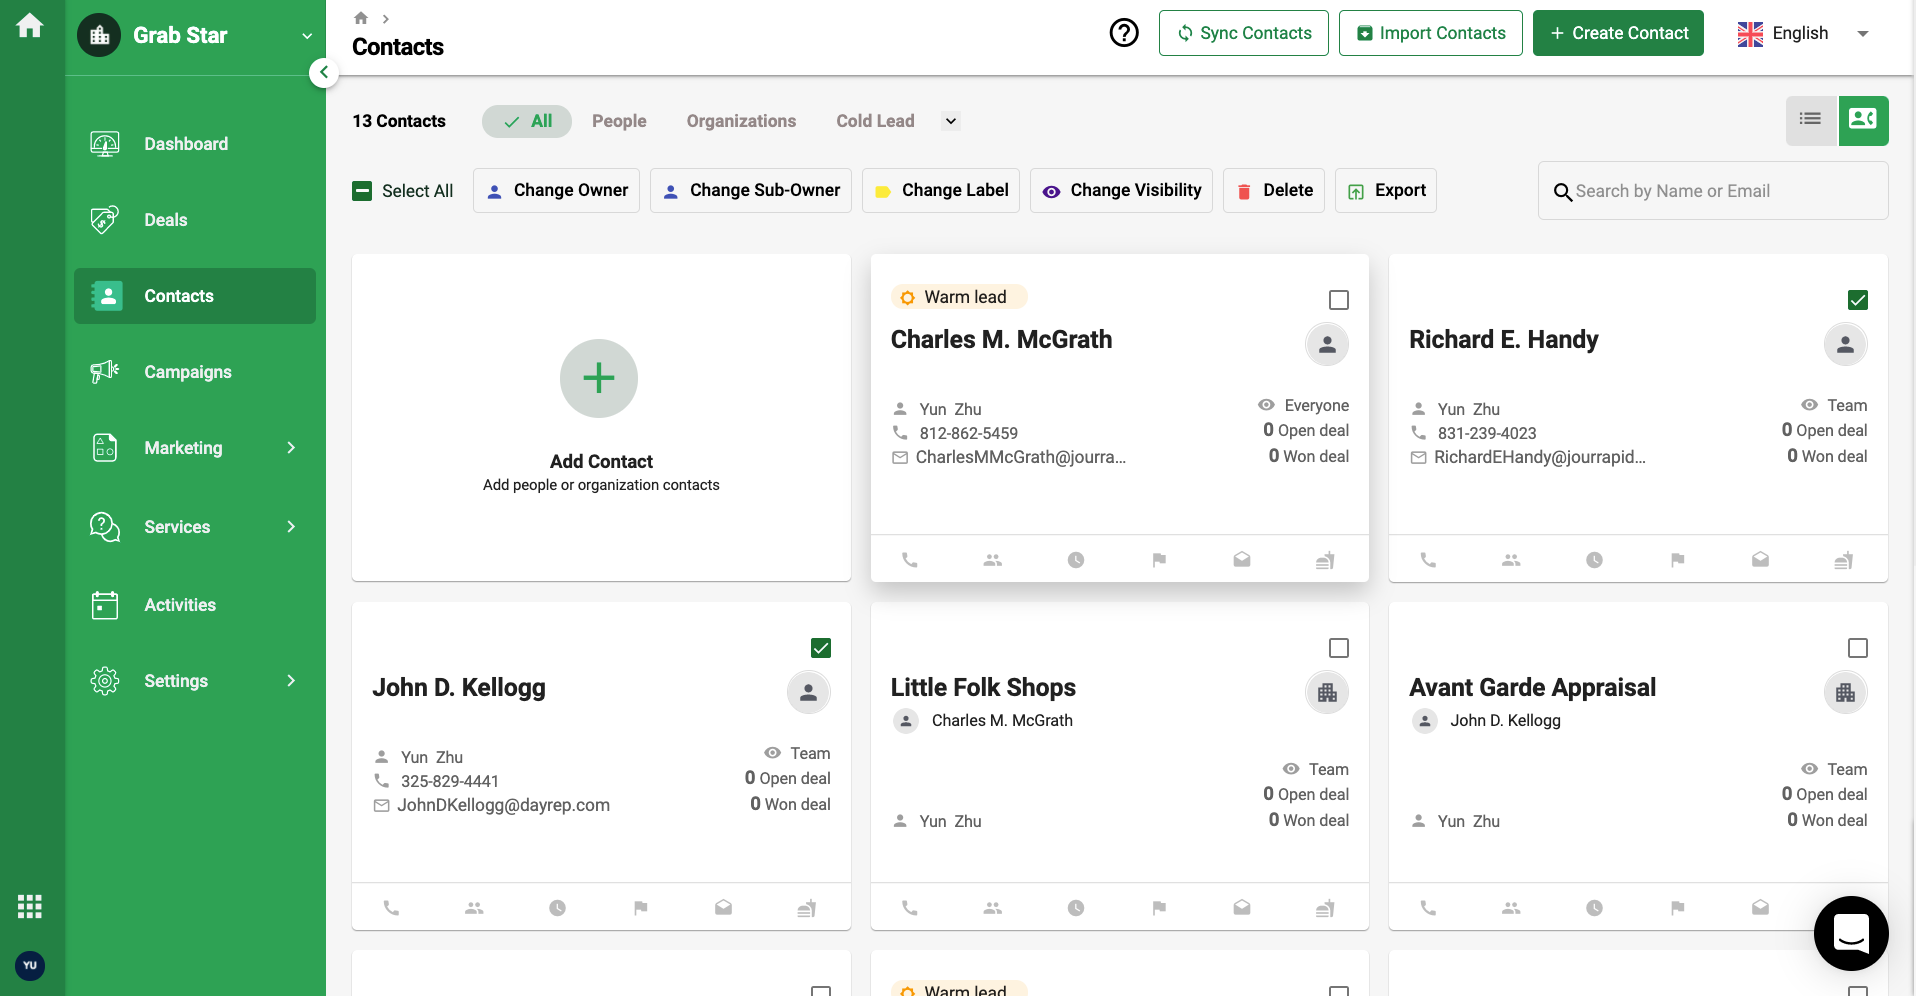
9. For contact in the card view layout, tick the checkbox at the top right to open the action buttons.