One of the essential accounting software features is allowing the users to connect to their bank feeds for smoother business transactions.
This article covers the step-by-step guide on adding a bank in Deskera and connecting your bank account using Plaid, Yodlee, and SaltEdge.
Let's begin.
How do I add a Bank?
Follow the steps mentioned below:
- Login to your Deskera account.
- Click on the Switch To button at the bottom left of the screen >> Select Deskera Books
- On Deskera Books main dashboard, click on the Bank tab via the sidebar menu.

4. Click on the Add Bank Account button.
5. This action will open the slider on the right-hand side of the screen.
6. Fill in the fields, as shown below:
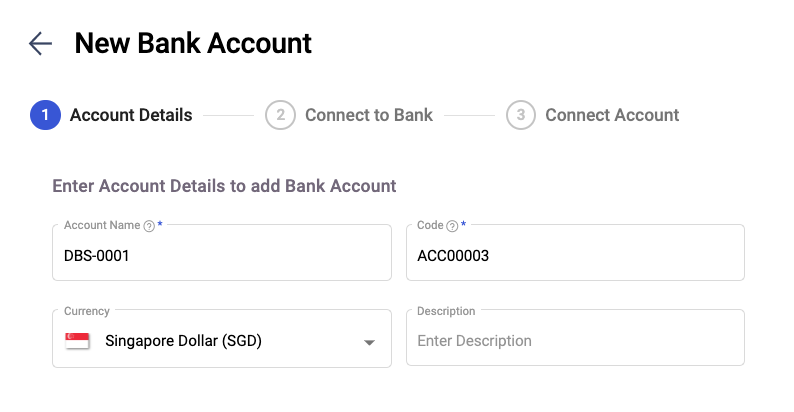
- Code - The bank code
- Name - Your bank account name
- Description - Short note describing the bank account
- Currency - The base currency in the bank account
7. Click on the Save and Next button.
How do I connect to my bank?
- In the following screen, you can connect to your bank account using our third-party service providers:
- SaltEdge - For bank connection in the South East Asia countries such as Indonesia, Myanmar, Thailand, Malaysia, Singapore, Philippines, Hong Kong, Vietnam, and India (SaltEdge is no longer available for connection from 1 November 2021 onwards)
- Plaid - For bank connection in USA and Canada
- Yodlee - Other than the above countries
Your bank will be connected using the default service provider populated based on your company's tax residency.
You can refer to the list of bank connections supported by Plaid, Yodlee, and SaltEdge here.
A) Connect Using Plaid
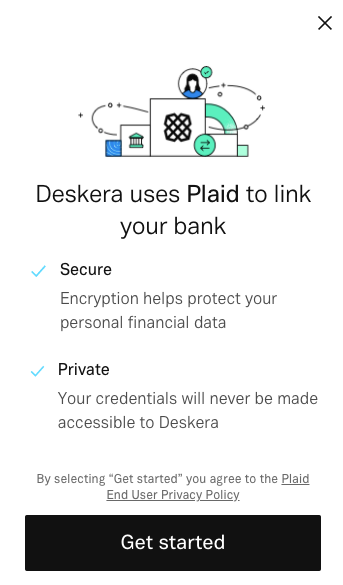
- If you are connected to your bank via Plaid, you will be prompted with the message below. Click Get Started.
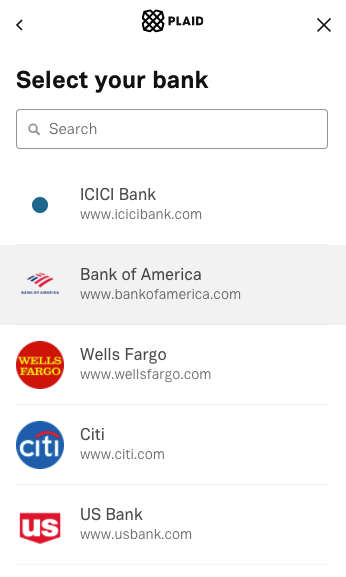
2. Select your financial institution here or you can use the search bar function to find your bank.
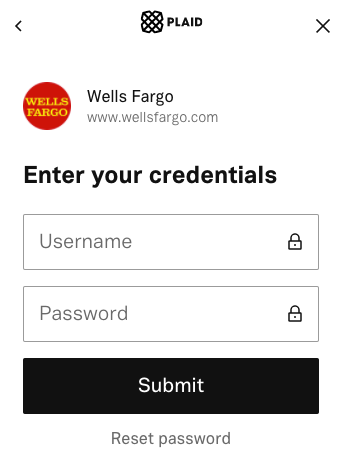
3. Enter your bank account credential and click Submit.
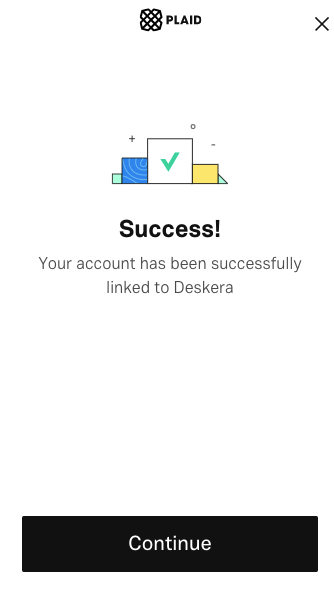
4. Once you have linked your bank account using Plaid, you can view the image below. Click on the Continue button.
5. Next, select the bank account that you wish to connect to Deskera Books.
6. Click Connect.

7. In the Bank Overview List, you can view your bank account successfully linked via Plaid.
B) Connect Using Yodlee
- If your connected to your account using Yodlee, the system will prompt you with the image below.
- Please read the term and conditions before linking your bank account to Deskera Books.
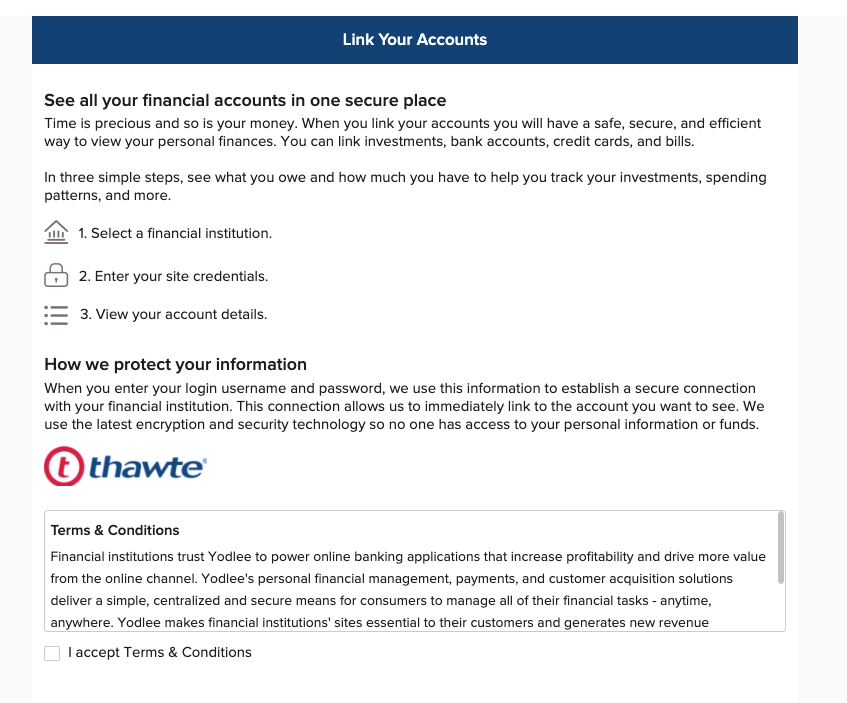
3. You need to agree to the Terms and Conditions as stated before you can proceed further. Once you agreed to the T&C mentioned, click on the Get Started button.
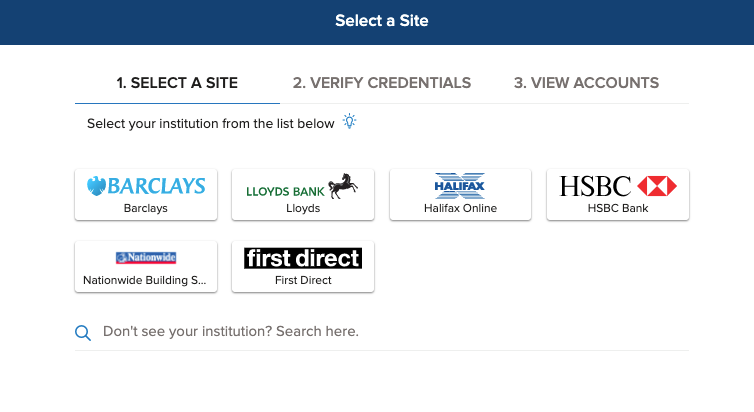
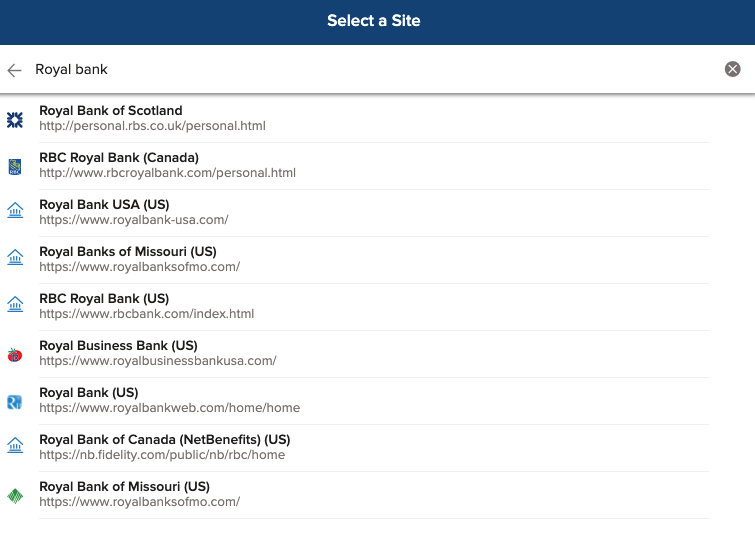
4. Next, select the site to connect to your bank account here. If you couldn't find your bank here, you can use the search bar to find your bank.
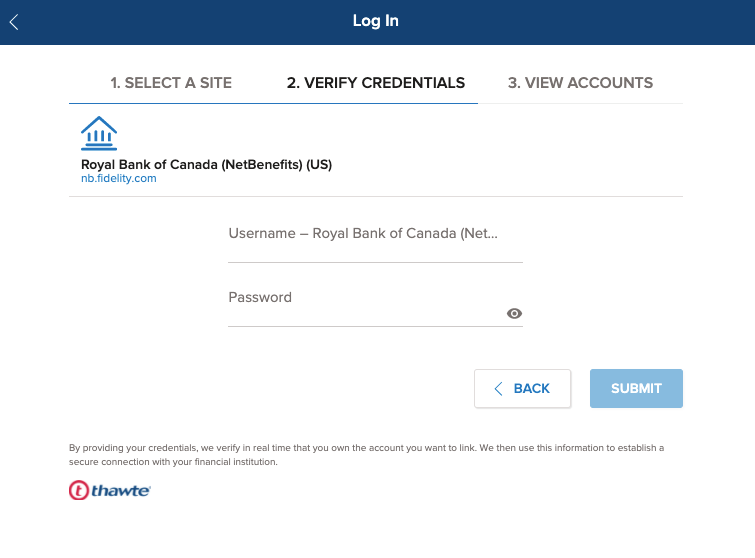
4. After selecting your bank, enter your bank account credential here. Press submit.
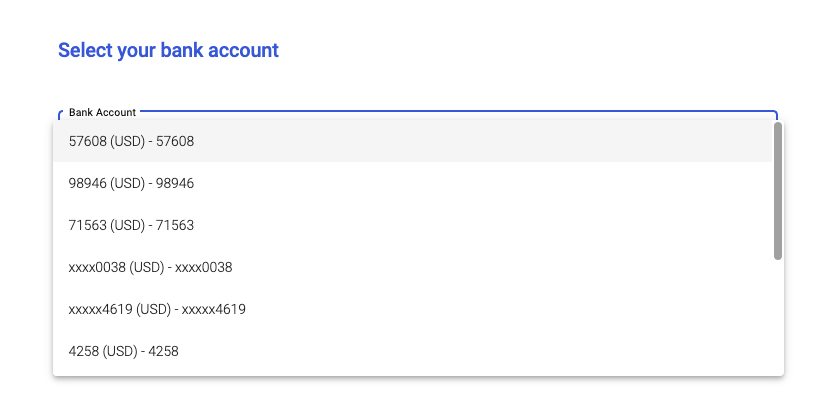
5. Choose your bank account reflected here >> Click Connect
6. After you have successfully linked your bank account via Yodlee, go to Bank Record. You can view the bank account linked via Yodlee on this page.

C) Connect Using SaltEdge
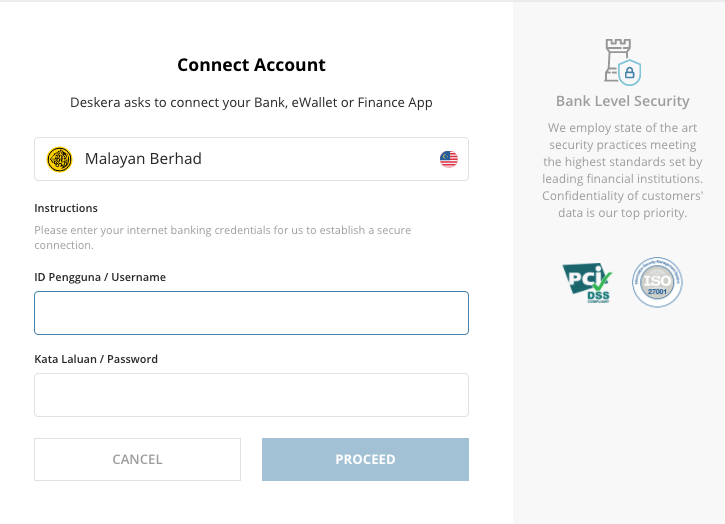
- Enter your bank account name on the search bar.
- Select your bank account.
- Enter your bank account credential here.
- Click Proceed.
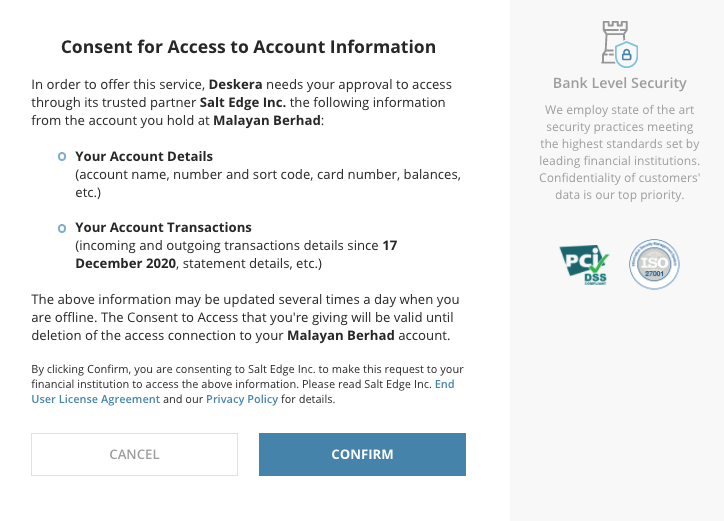
5. In the following step, give SaltEdge the permission to access to your account by clicking on the Confirm button.
6. After that, your bank account will be added successfully to Deskera Books.
7. You can always refresh your bank account from time to time. Deskera Books will automatically update the bank feeds a maximum of two sync cycles daily.
Note: For your first connection, sometimes it will take longer than 24 hours, as our third party service provider will need time to sync the data.
Hence, please check if the bank feeds are reflecting in Deskera Books after 2-3 business days, if you didn't see the immediate result.
Can I edit my bank details?
You can edit your bank details following the steps mentioned here:
- Click on the checkbox of the preferred bank.

2. Click Edit.
3. This action will open the slider. Edit the fields on this page.
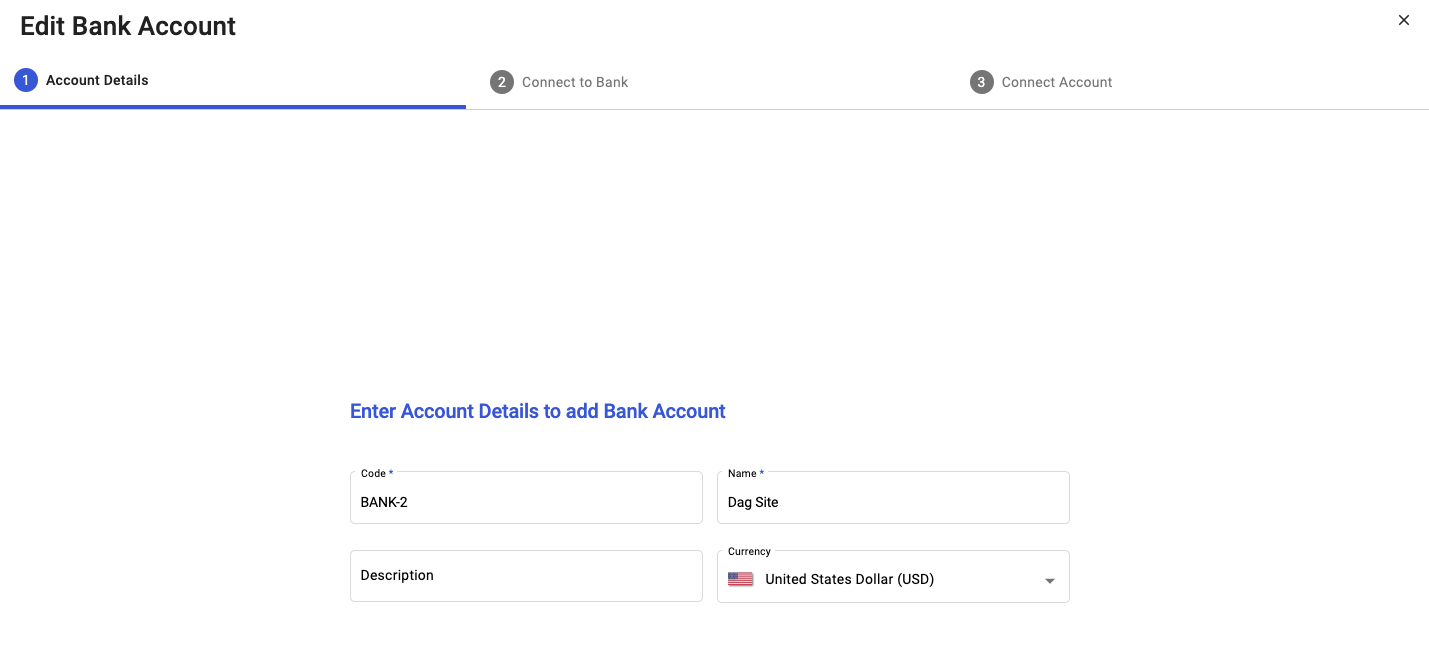
3. Click Save and Next.
How can I disconnect my bank account from Plaid and Yodlee?
To disconnect a bank from Plaid, Yodlee and SaltEdge, you can click on the respective bank's three dots as shown.
Click on the Disconnect button.

Please note that disconnecting your bank account from Plaid, Saltedge and Yodlee will discontinue the system from fetching your bank feeds to Deskera Books.
What is the difference between the deactivate and disconnect button?
Deactivating your bank account will change the status of your bank account to inactive.

It means you won't be able to use this bank account in other Deskera Books' Modules.
For example, if you have deactivated the Bank with code ACC10001, you cannot select this Bank under the Receive Payment field for Sell Record.
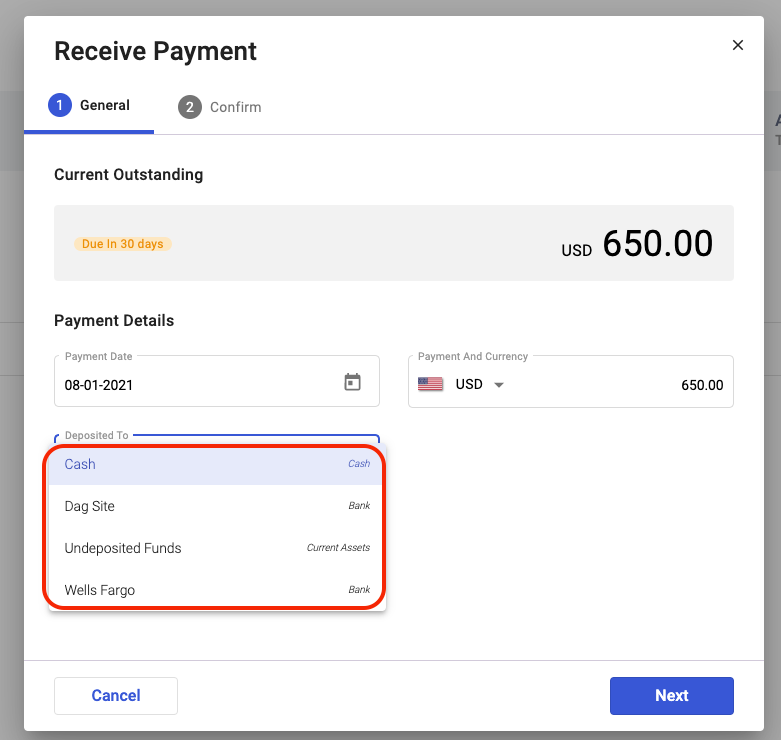
If you choose to disconnect your bank account from Plaid and Yodlee, the bank account will remain active in the system.
Hence, you can still choose this bank account from the drop-down menu in all the modules in Deskera Books.
How can I delete the bank account?
To delete your bank account, click on the respective bank's three dots. Select the Delete button.

Please note if your bank account is already in use in other modules, you cannot delete the bank account. The system will notify you that the bank is already in use.
How can I import my bank statement to my bank in Deskera Books?
In case you couldn't find your bank using our third party service providers, you can choose to import your bank statement manually.
- Go to your bank details screen.
- Click on the Bank Transactions tab.
- In the bank transactions tab, you can view your bank transactions here.
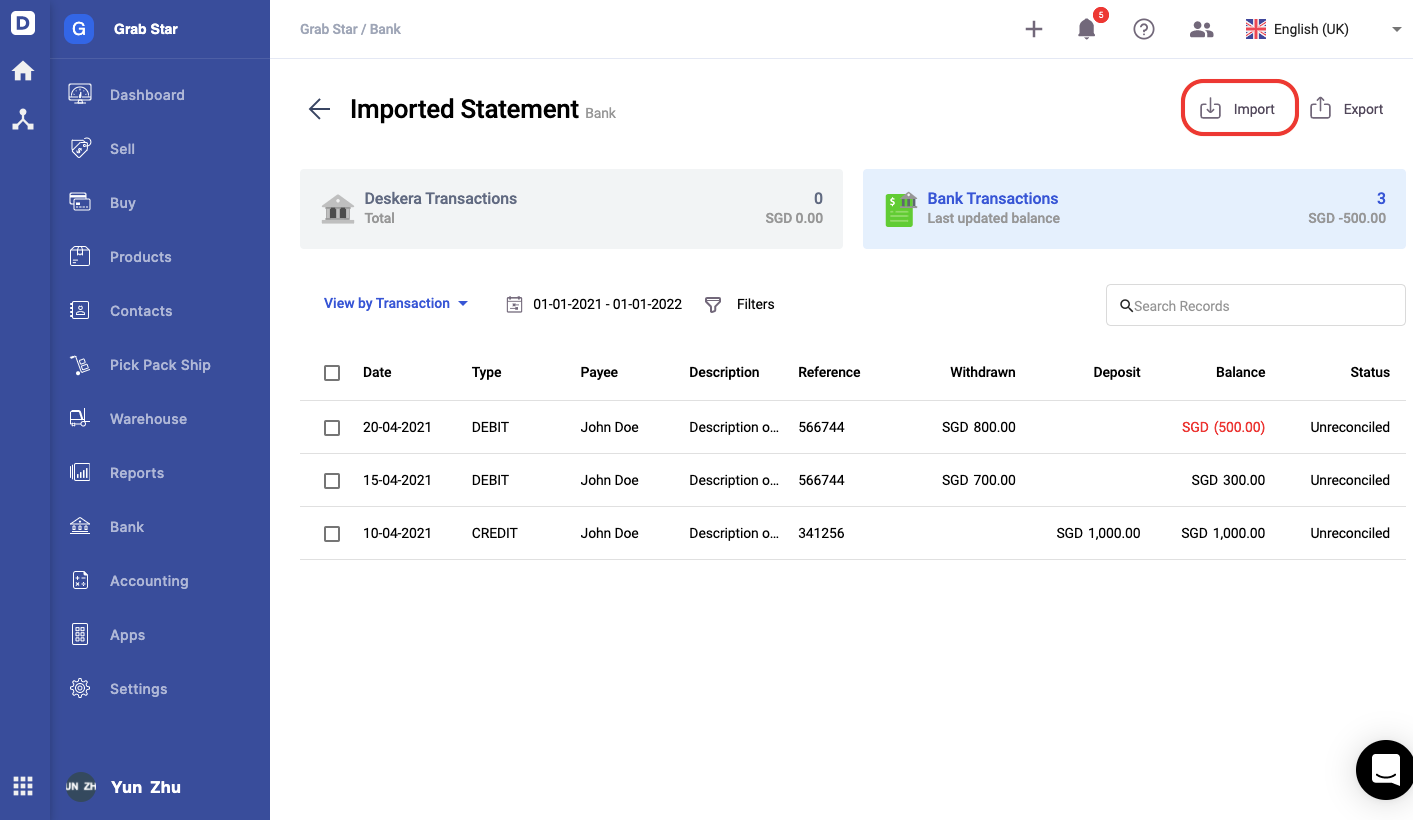
4. Click on the Import button.
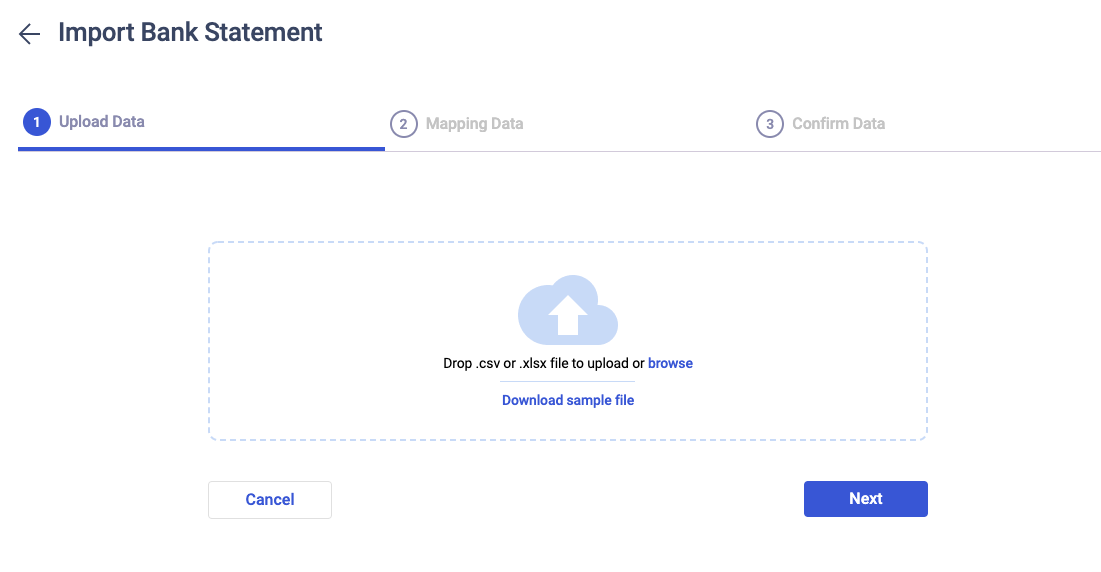
5. In the following screen, download the sample import file. It's mandatory to use the sample file from the system for a successful mapping.
6. Fill in the fields in the sample import file. Ensure that the date column is set to text format. Once you are done filling in the fields, upload the .xlsx /.csv file to the system. Click Next.
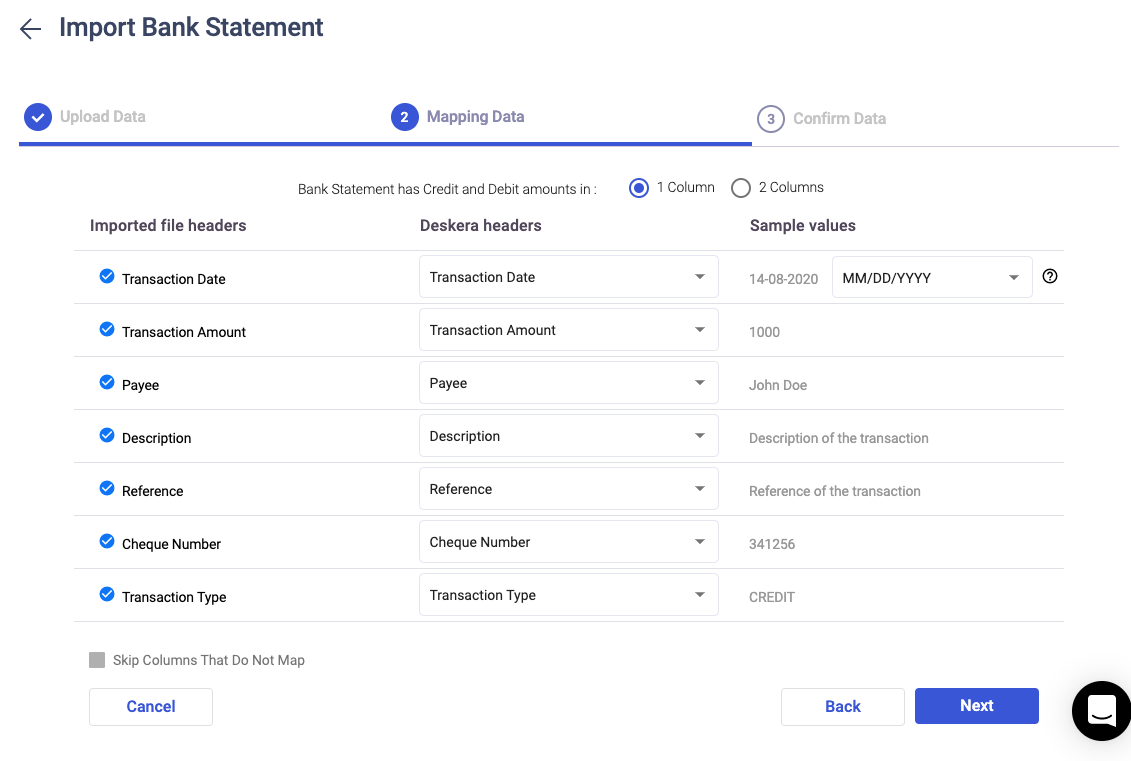
7. In the mapping data stage, you can choose whether your bank statement has credit and debit amounts showing in one column or two columns. Change the date format that you wish the transactions will appear in the system.
8. Once you have verified all the information, click on the Next button.
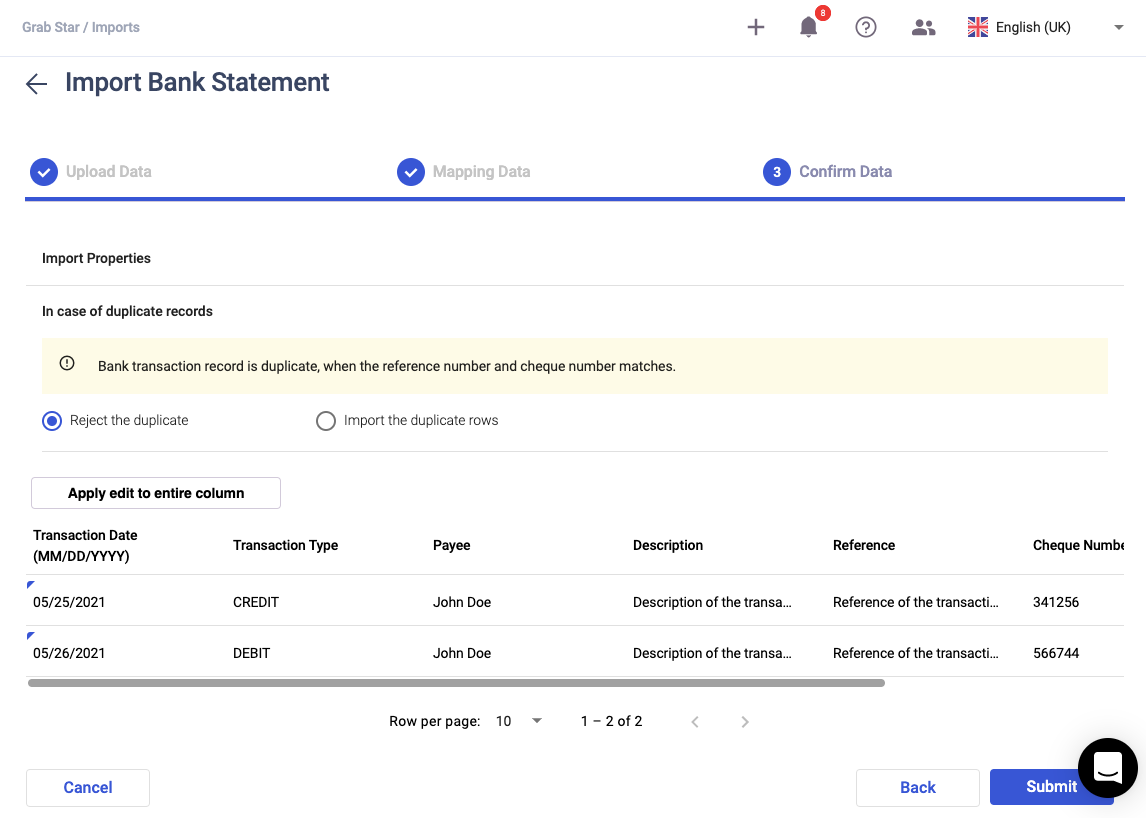
9. On the confirm data stage, you can modify the values in each column. Ensure that all the values are valid. Then, click on the submit button.
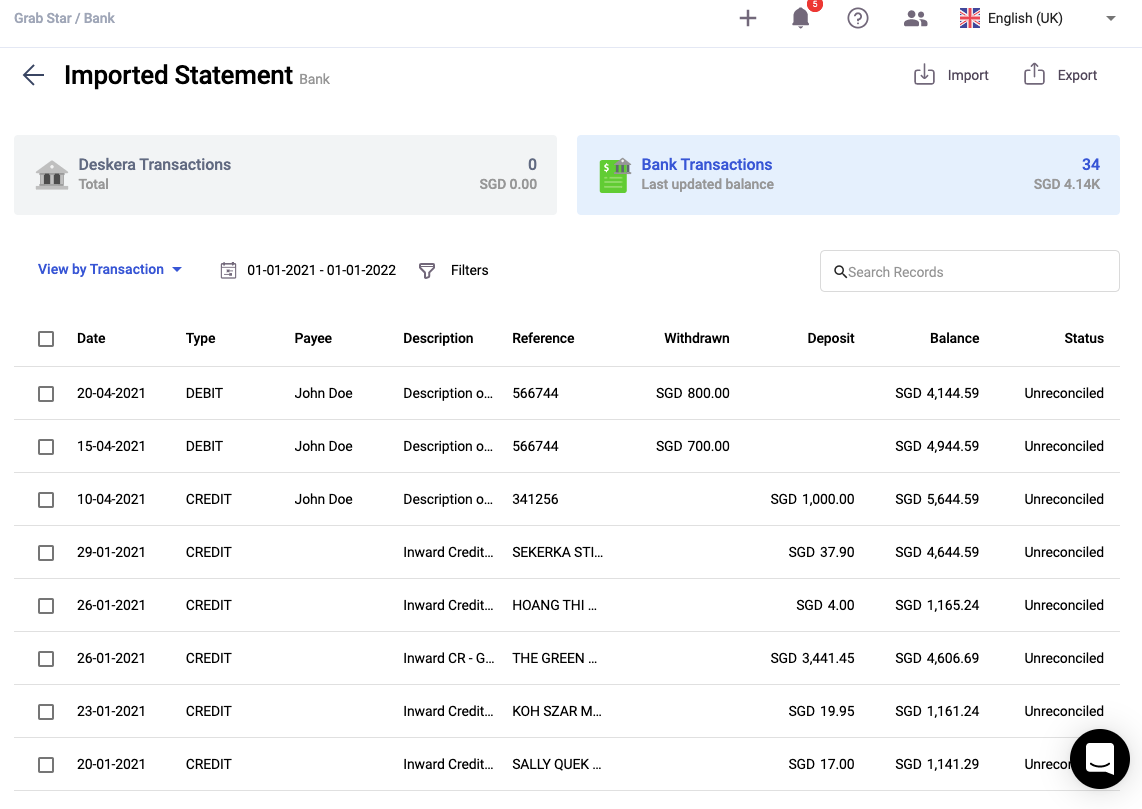
10. Your bank statement will be reflected in the system under the bank details screen.
What if I cannot connect to my bank using the default service provider?
If you are not able to find your bank using the default service provider populated, you can always switch to other service providers.
Follow the steps below to do so:
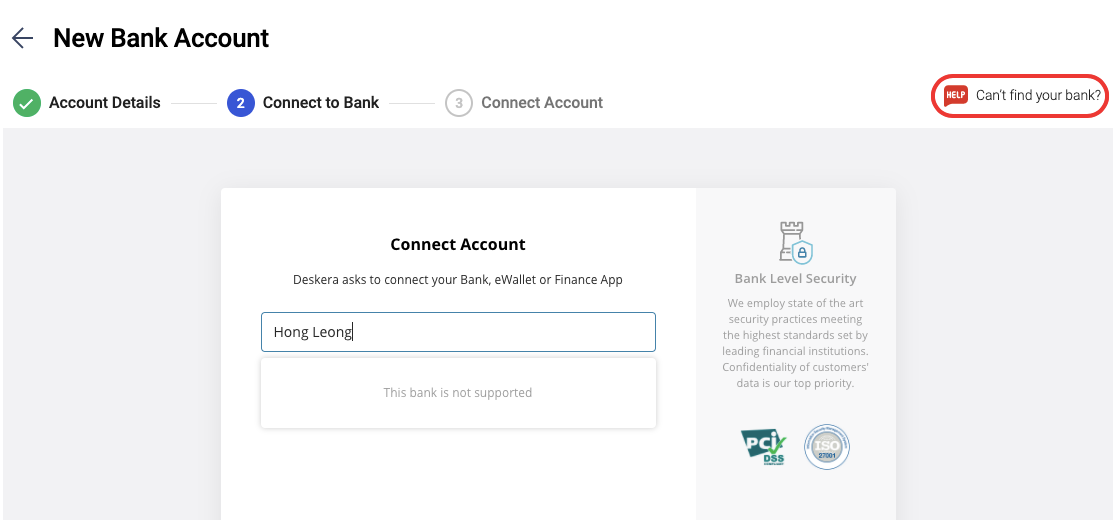
- Click on Can't find your bank button in the connect to bank window.
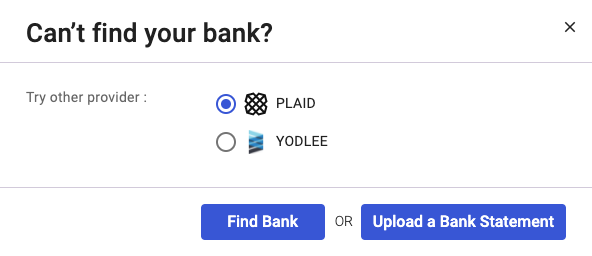
2. A pop-up will appear and you can select other providers such as Plaid or Yodlee. Then, click on the Find Bank button.
3. If your bank is not listed here by the service providers, you will then have to manually import your bank statement to the system by clicking on the upload a bank statement button.
If you wish to learn more about connecting your bank account to Stripe, read more here.

