
Getting paid back fully and in time, starts with issuing clear and accurate invoices to your clients.
A helpful, free program that can help you streamline this invoice creation process is Microsoft Excel.
Now, you may be thinking: isn’t Excel used for complicated spreadsheets and graphs? Yes, but it’s only one of the many functions of the program.
Excel also comes with a gallery of customizable invoice templates you can use to generate different types of invoices for your small business accounting. The software also allows you to make your own invoice from scratch, in case templates aren’t what you prefer.
In this guide, we will show you exactly how to create an invoice in Excel, both from a template and from a blank sheet.
Read on to learn about:
- How to Make an Invoice from an Excel Template
- How to Create Your Own Invoice Template in Excel
- Blank Excel Invoice Templates for Business
- Automate Invoicing with Invoice Management Software
How to Make an Invoice from an Excel Template
Creating an invoice in Excel from a template is a pretty simple and straightforward process.
Templates usually come with premade instructions that guide you through what each section of the document needs to include. Also, the design can be easily personalized with your brand colors, logo, and preferred font.
Here’s the step-by-step guide on how to make an invoice from an Excel template:
Step 1: Search and Select an Invoice Template
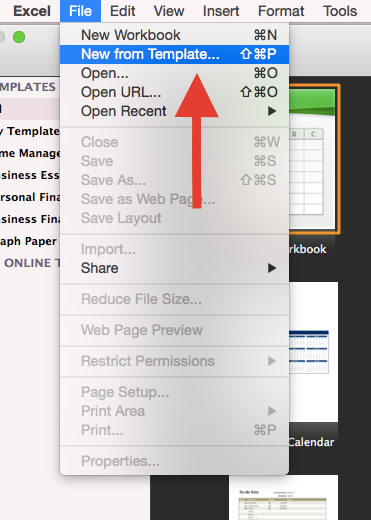
After you’ve launched and opened Microsoft Excel on your PC, look for the File menu at the top left of the page. From there, click on New from Template to find the Excel Workbook Gallery.
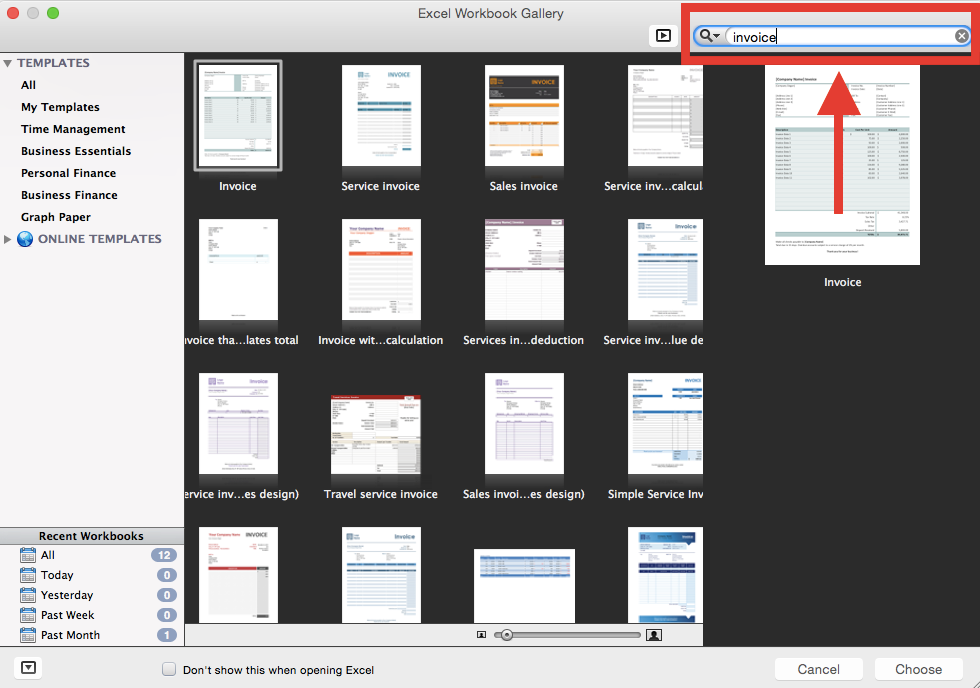
In the gallery, use the search bar at the top right of the page to type the word “invoice”. A list of invoice templates should appear. Check out their preview, and scroll down the list until you’ve found the right template for your business.
To pick the template, either double-click on it or click on it once and press the Choose button at the bottom of the page.
Step 2: Edit and Customize the Excel Invoice Template
Before you start editing and customizing the template, make sure it fits your needs and involves all of the appropriate elements of an invoice.
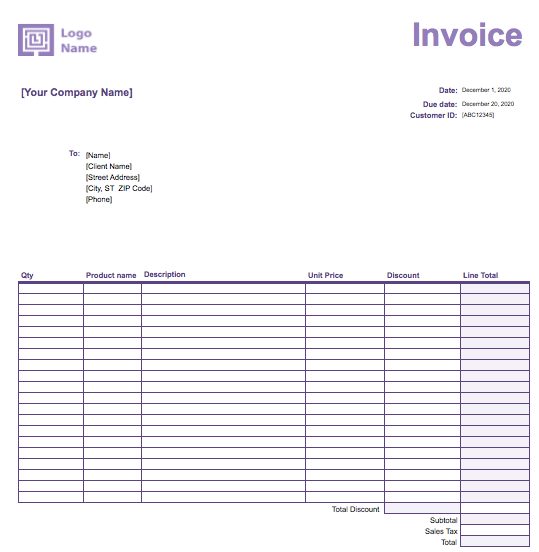
An invoice template should always have:
- The word “invoice” part of the header
- Company name, and contact information
- Client name and contact details
- Payment due date
- Invoice issue date
- Unique invoice number
- Itemized list of products and services with a brief description
- Subtotal for every product or service
- Payment terms
- Any taxes or discounts
- The total amount due
To learn more about all of the information you need to include in your invoice, head over to our guide on how to make an invoice.
After you’ve double-checked all of the sections, and added any missing pieces, it’s time to start personalizing the template.
Start by designing the template with your business colors, logo, and preferred font, by using the Home menu formatting features at the top of the page.
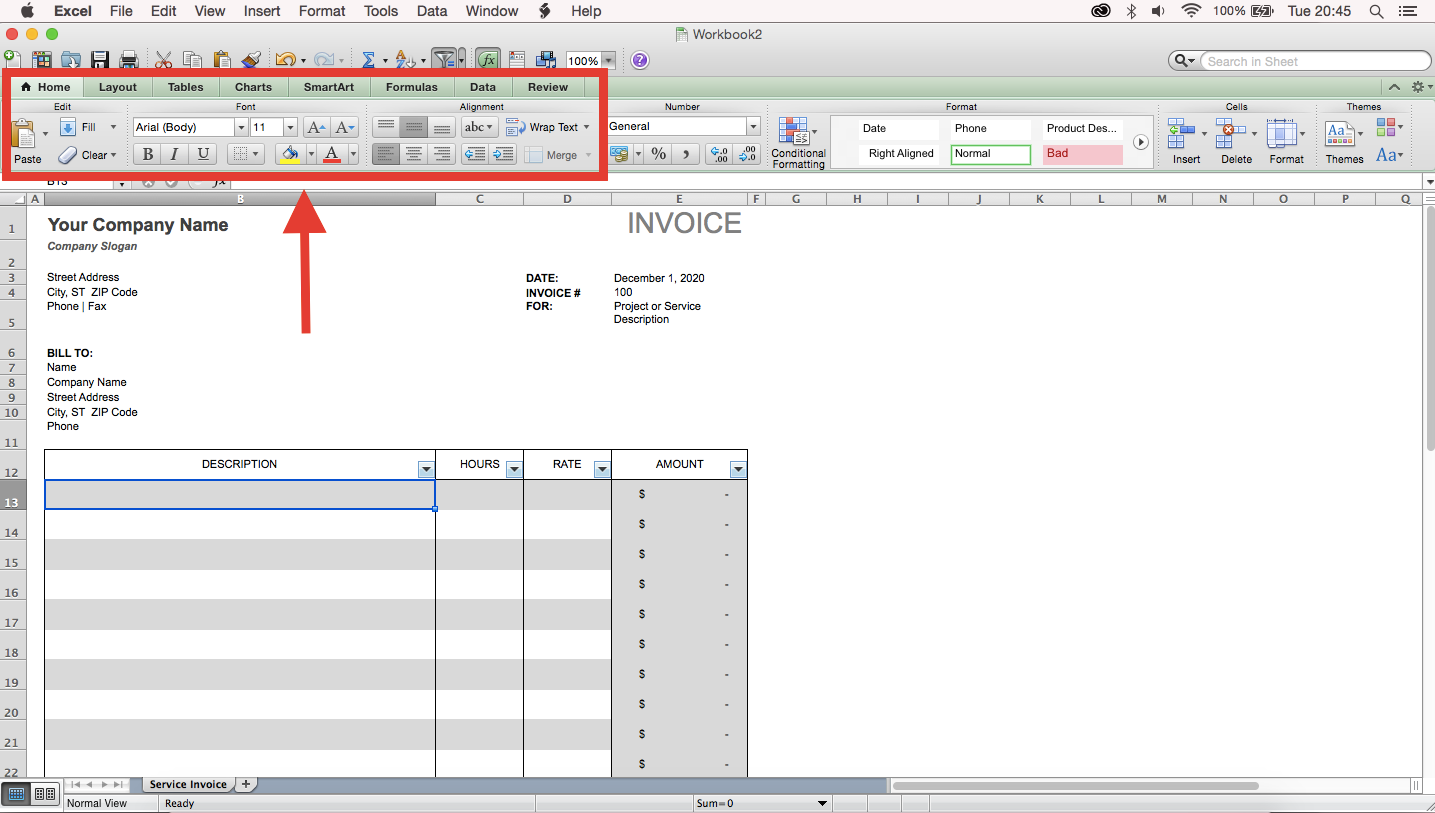
Then, add in the purchase details.
As you can see in the image below, the invoice template already has instructions on what information to include in each section.
Fill in the entire invoice with the corresponding details of the purchase you’re billing, and you’re done! You’ve created an invoice from an Excel template.
Step 3: Save and Send the Invoice
To save your finished invoice, click on File and then Save As.
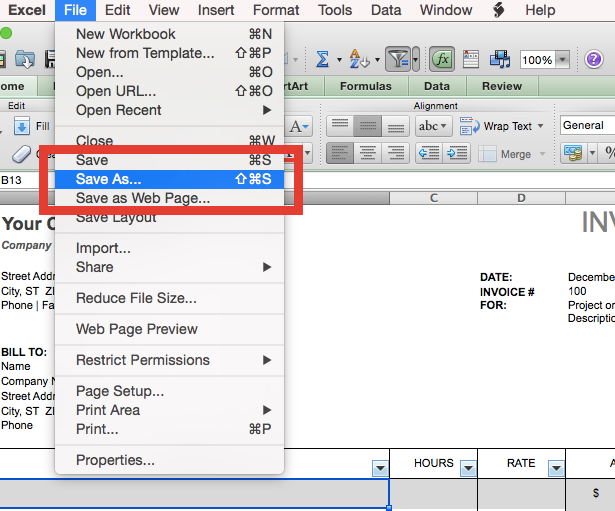
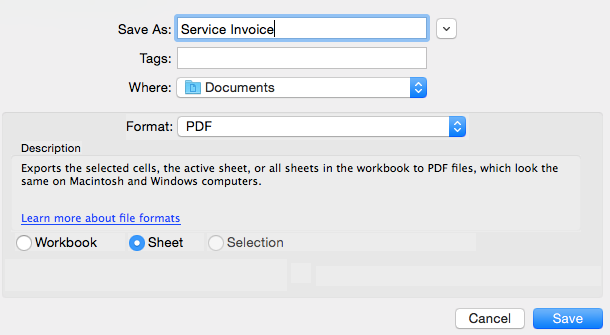
A popup will appear, prompting you to name the invoice and to choose the type of format to save it in.
We recommend saving the invoice in PDF, to avoid any document compatibility issues and make sure the client receives an uneditable, and clear invoice.
After you’ve saved the document, it’s time to send it out and get paid!
There are three main ways to send out an invoice: physically by fax or in person, via email, or through invoicing software.
Read our guide on how to send an invoice, to learn the best way to send an invoice that saves your business time and money.
How to Create Your Own Invoice Template in Excel
If you want to go the extra mile and manually make your own invoice template in Excel, follow this step-by-step guide:
Step 1: Open a New Blank Workbook
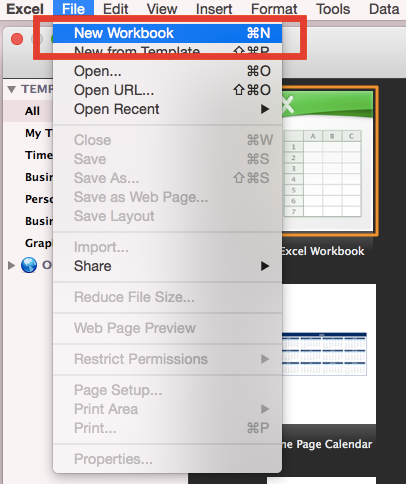
To open a blank workbook on Excel, press on File and then New Workbook. Skip this step, if when you enter Excel, it automatically opens up a blank spreadsheet.
Step 2: Remove Gridlines
Removing gridlines gives you a cleaner sheet to work with, however, this step is optional.
You can keep the format as it is, or remove gridlines in the end once you’re done creating the invoice.
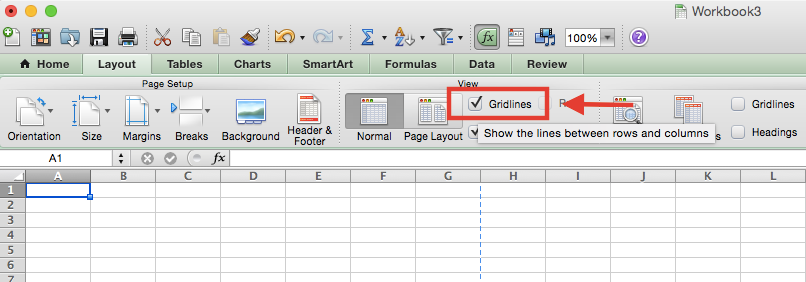
To do so, go to the Layout menu, and on the View section uncheck the Gridlines box.
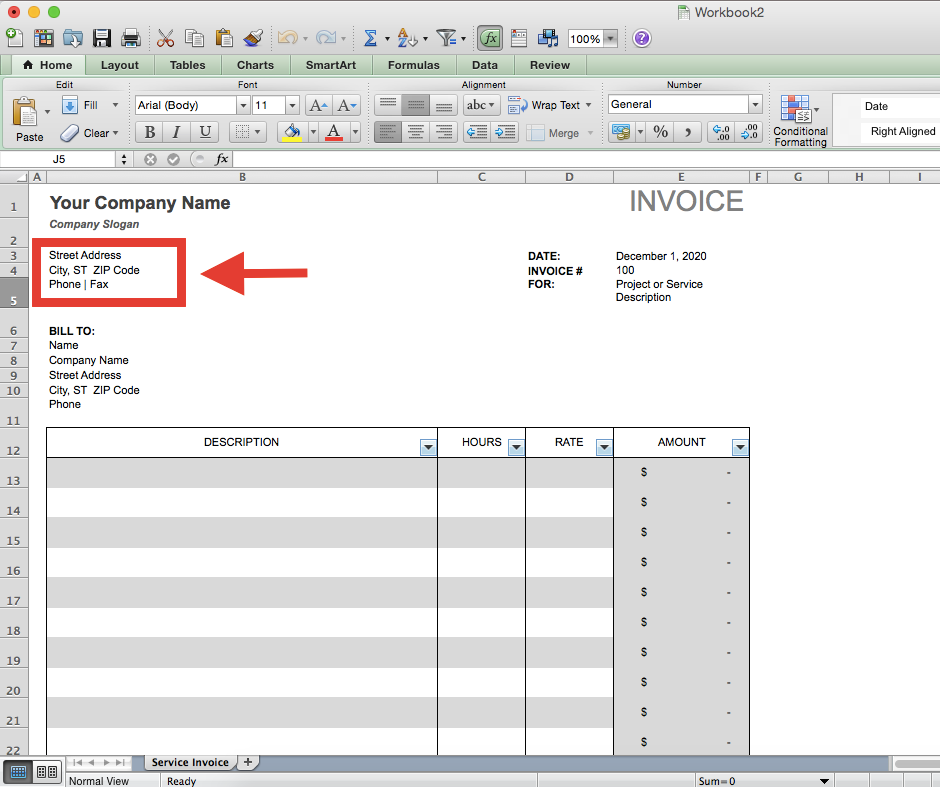
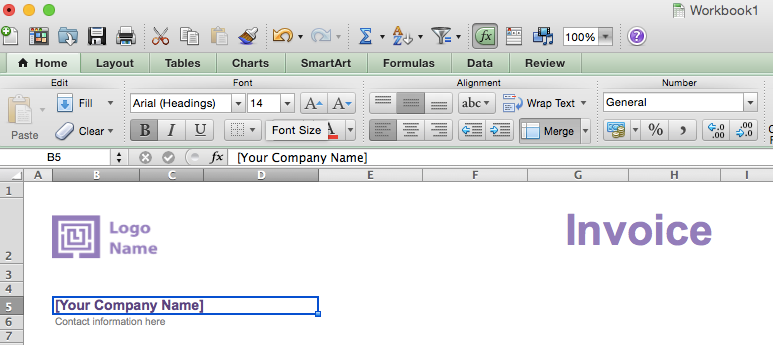
Step 3: Create an Invoice Header
The elements of an invoice header include:
- The word “invoice”
- Business name and contact information, such as the street address, city, phone number, fax, and email.
- Your business logo (if you have one)
Enter all of these details on the sheet, with the color, font, and font size you prefer, like the example below.
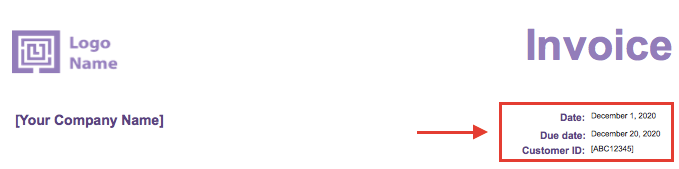
Step 4: Add Invoice Payment Due Date & Invoice Number
On the right side of the header, make three lines detailing the billing date, payment due date, and unique invoice number.
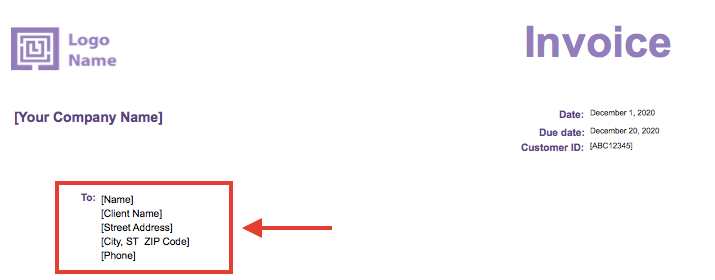
Step 5: Enter the Client’s Contact Information
Client contact details include the client’s name, street address, city, and phone number. Preface this section with the words “invoice to” or just “to”, and then fill in all of the details.
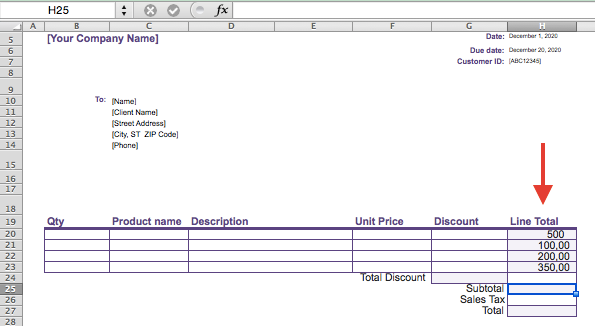
Step 6: Create an Itemized List of Services and Products
An itemized list of services and products includes:
- Name and description of the service/product.
- Price per unit
- Quantity purchased
- Discounts and taxes
- Subtotal for each line of product
- Total amount due
The easiest way to create this list is by adding in a table, with a column and row for every element.
Do this by going to Tables, and clicking on New.
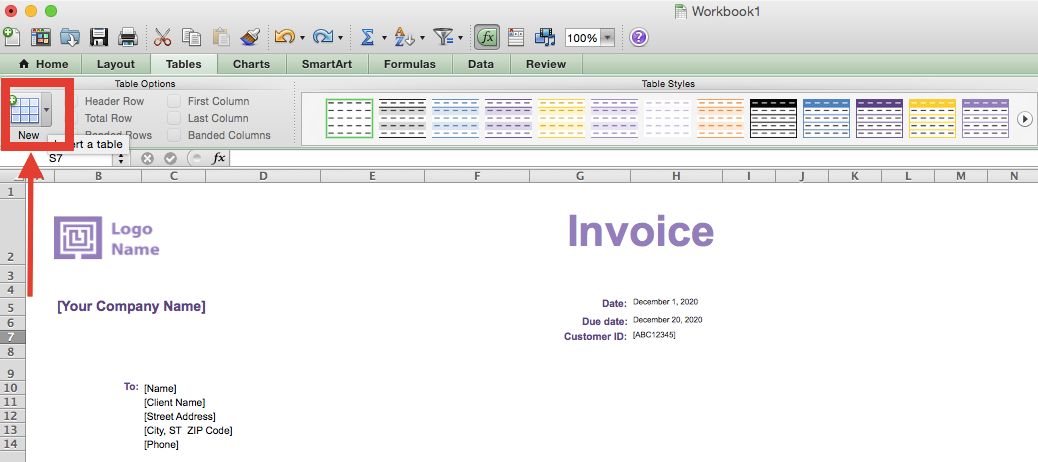
Then, you can personalize the table colors with the color scheme you prefer, by using the Table Styles feature on the top left of the same Table menu.
After choosing the design, fill in the table with the appropriate details of the sale. By now, your invoice should be looking something like this:
Now, keep in mind that these elements are the standard components of a regular sales invoice. Extra details might need to be included in an invoice, depending on the type of industry, client, and products you’re selling.
Step 7: Use the SUM Function to Calculate the Total
If you want to simplify math calculations, you can insert a SUM function in your worksheet, which automatically adds up your totals.
For example, let’s say you want to find out the subtotal of the line totals shown in the image below.
All you have to do is submit the SUM formula on the formula builder, which is located right next to the fx symbol at the top of the page.
In our case, we want to find the sum of our line totals placed in between cell H20 to H23. So, the SUM formula would be: =SUM(H20:H23)
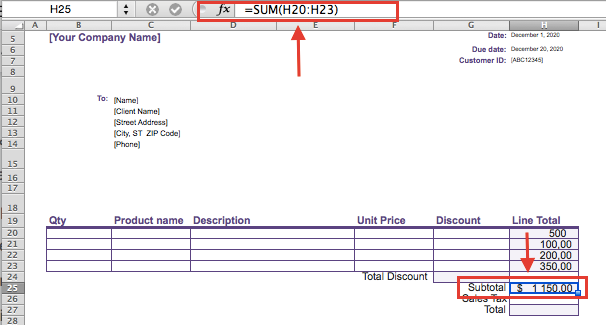
Repeat this process to automatically add up your tax and the ending total amount as well.
Step 8: Include payment terms and other additional notes
At the bottom of the invoice, include your payment terms with a short “thank you” note.
Step 9: Save and Send Your Finished Invoice
Save the completed invoice as a PDF file, by following the steps we previously explained.
Then send it out to your customer with the preferred method, and finally get paid!
Blank Excel Invoice Templates for Business
Here is our selection of some of the free and downloadable invoice templates in Excel, you can use to create invoices for your small business accounting:
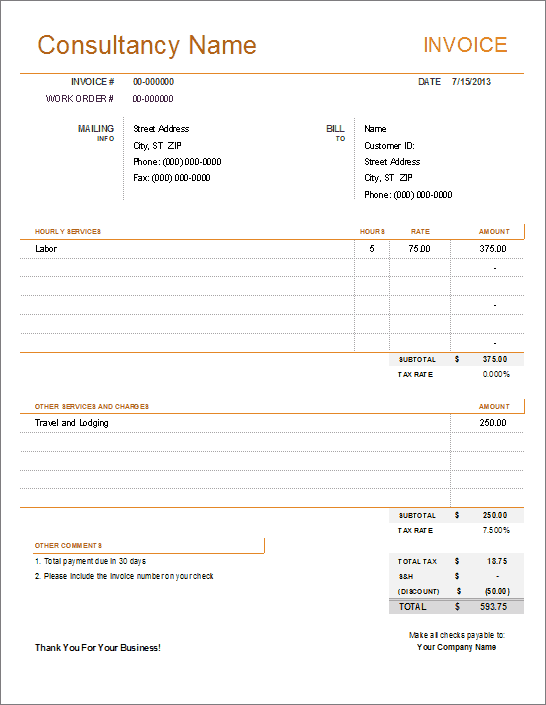
1. Time-based Service Excel Invoice Template
If your small business bills services by the hour, or from any other time-basis, this professional and clear service invoice template has everything you need. The document offers an itemized table of services with a column for the hours, rate, and amount you’re charging.
It also comes with a built-in SUM function that automatically calculates your subtotal, sales tax, and ending total.
Where to find it: Microsoft Templates Gallery

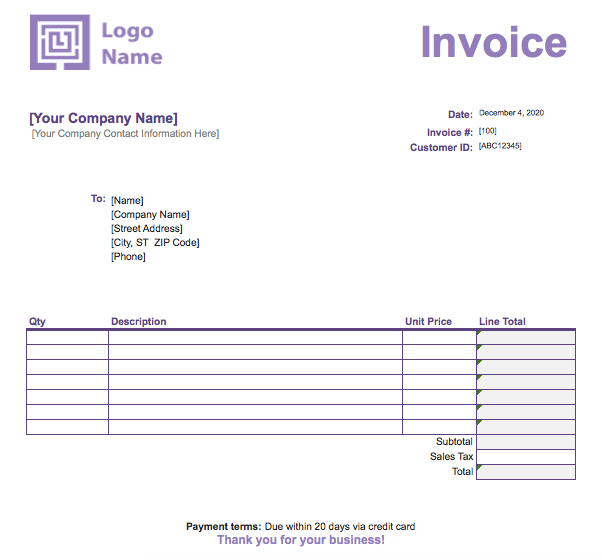
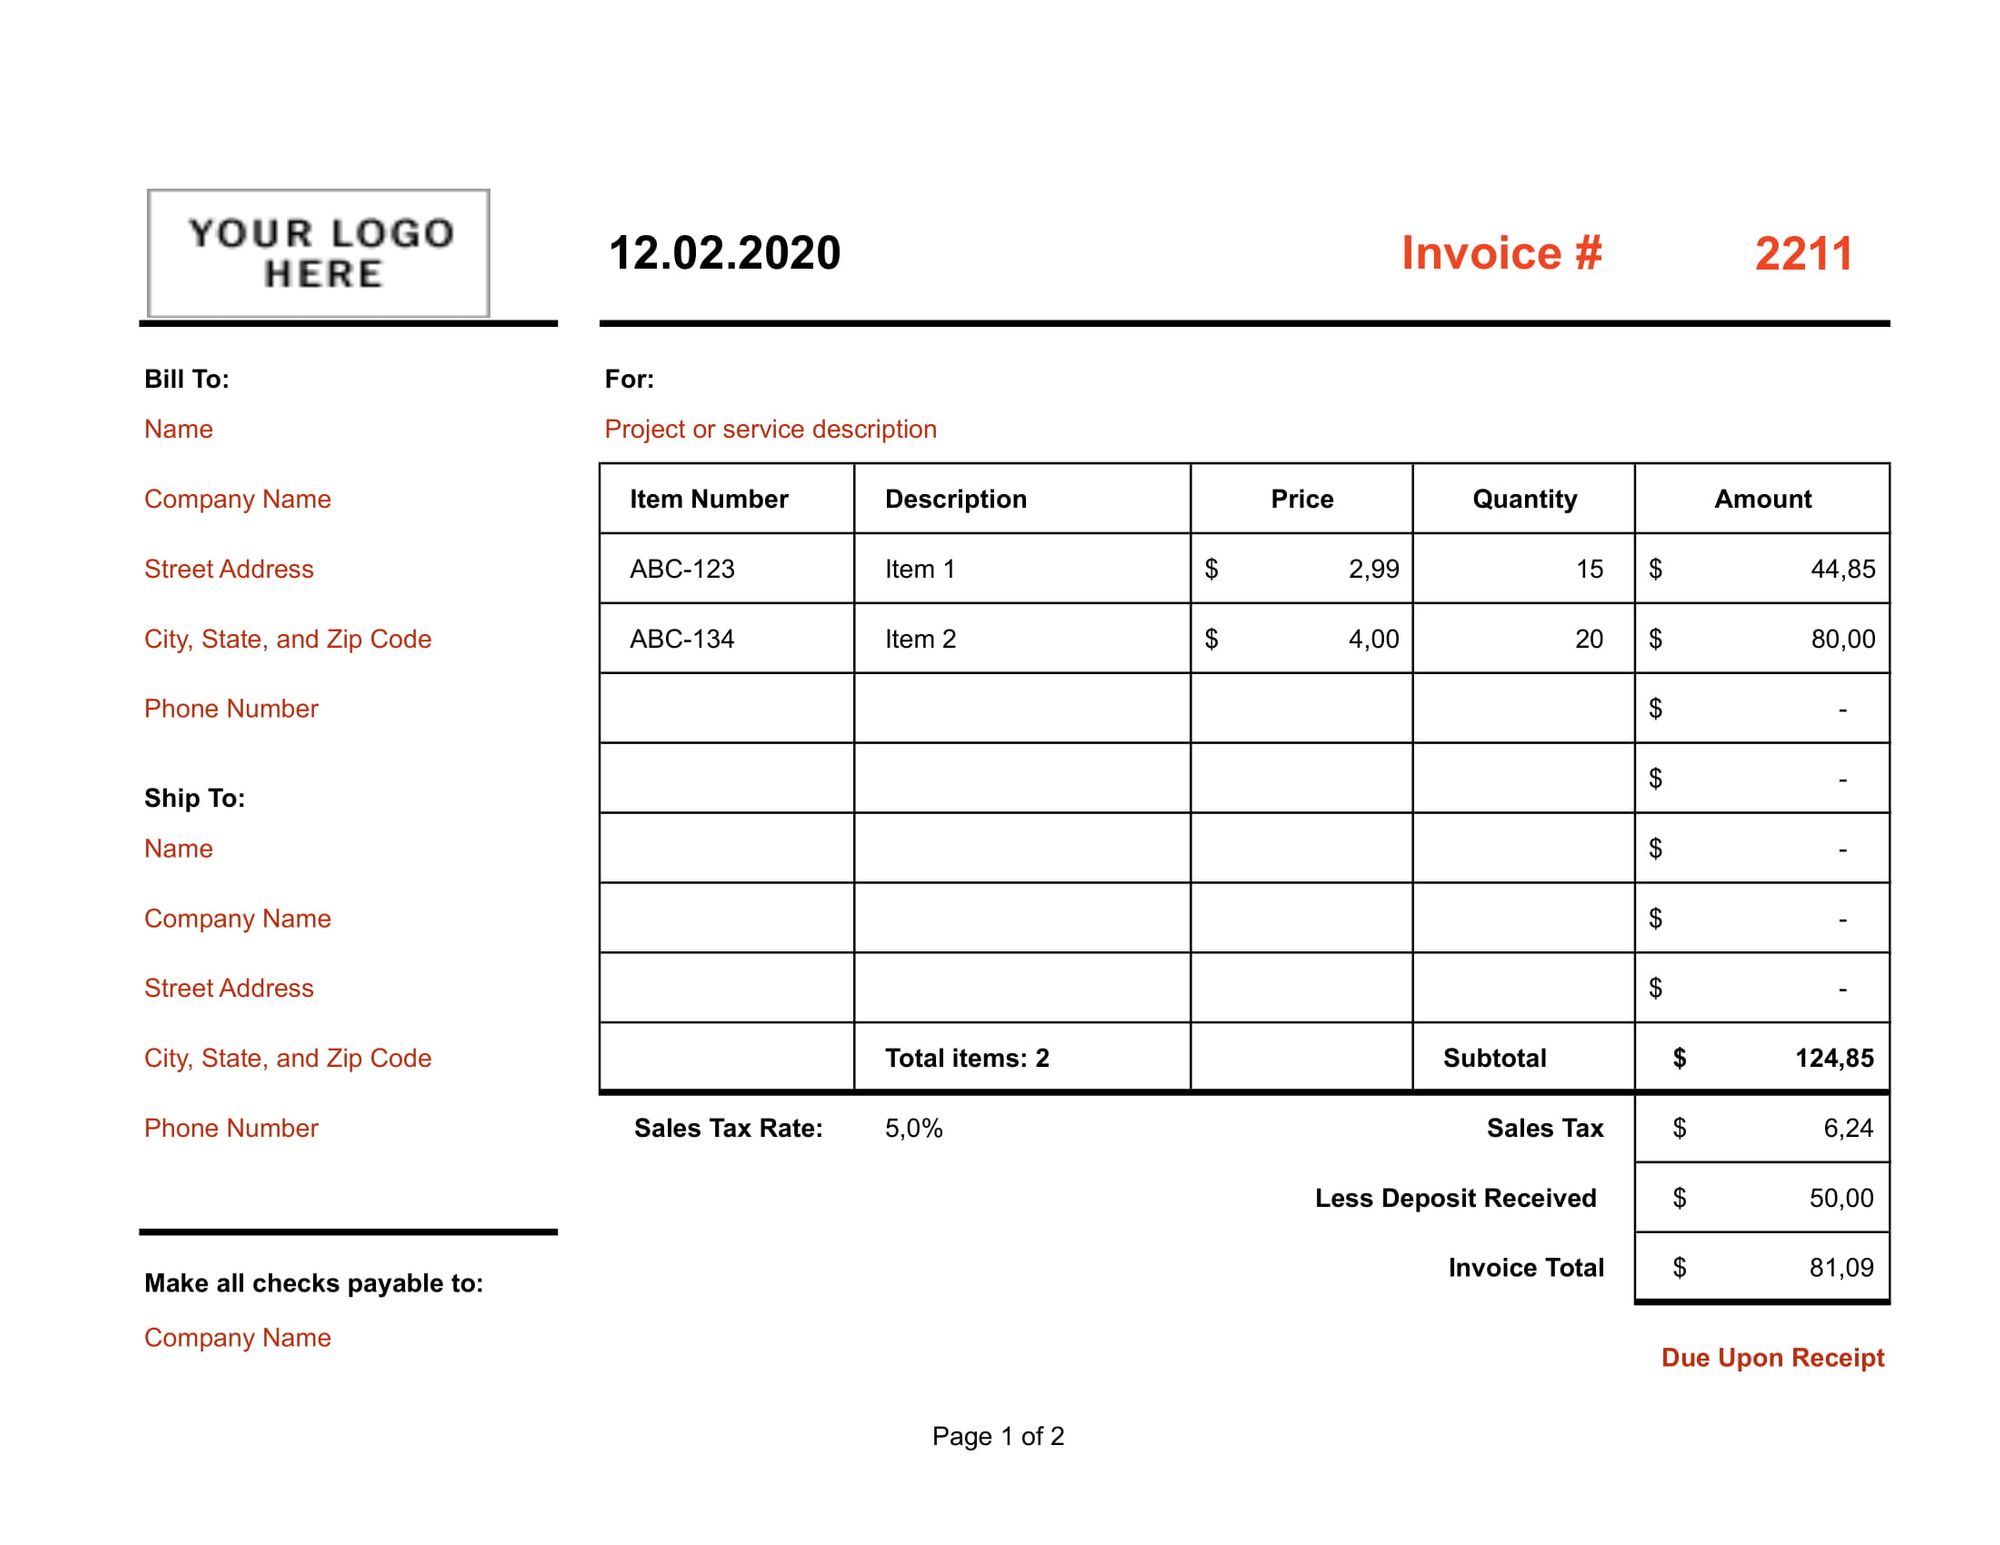
2. Simple Two-page Product Excel Template
This two-paged clean invoice template is suitable for businesses providing products to their clients, rather than services. What is special about this template is that it comes with a separate second sheet displaying the business contact information along with any other additional notes.
Where to find it: Microsoft Templates Gallery
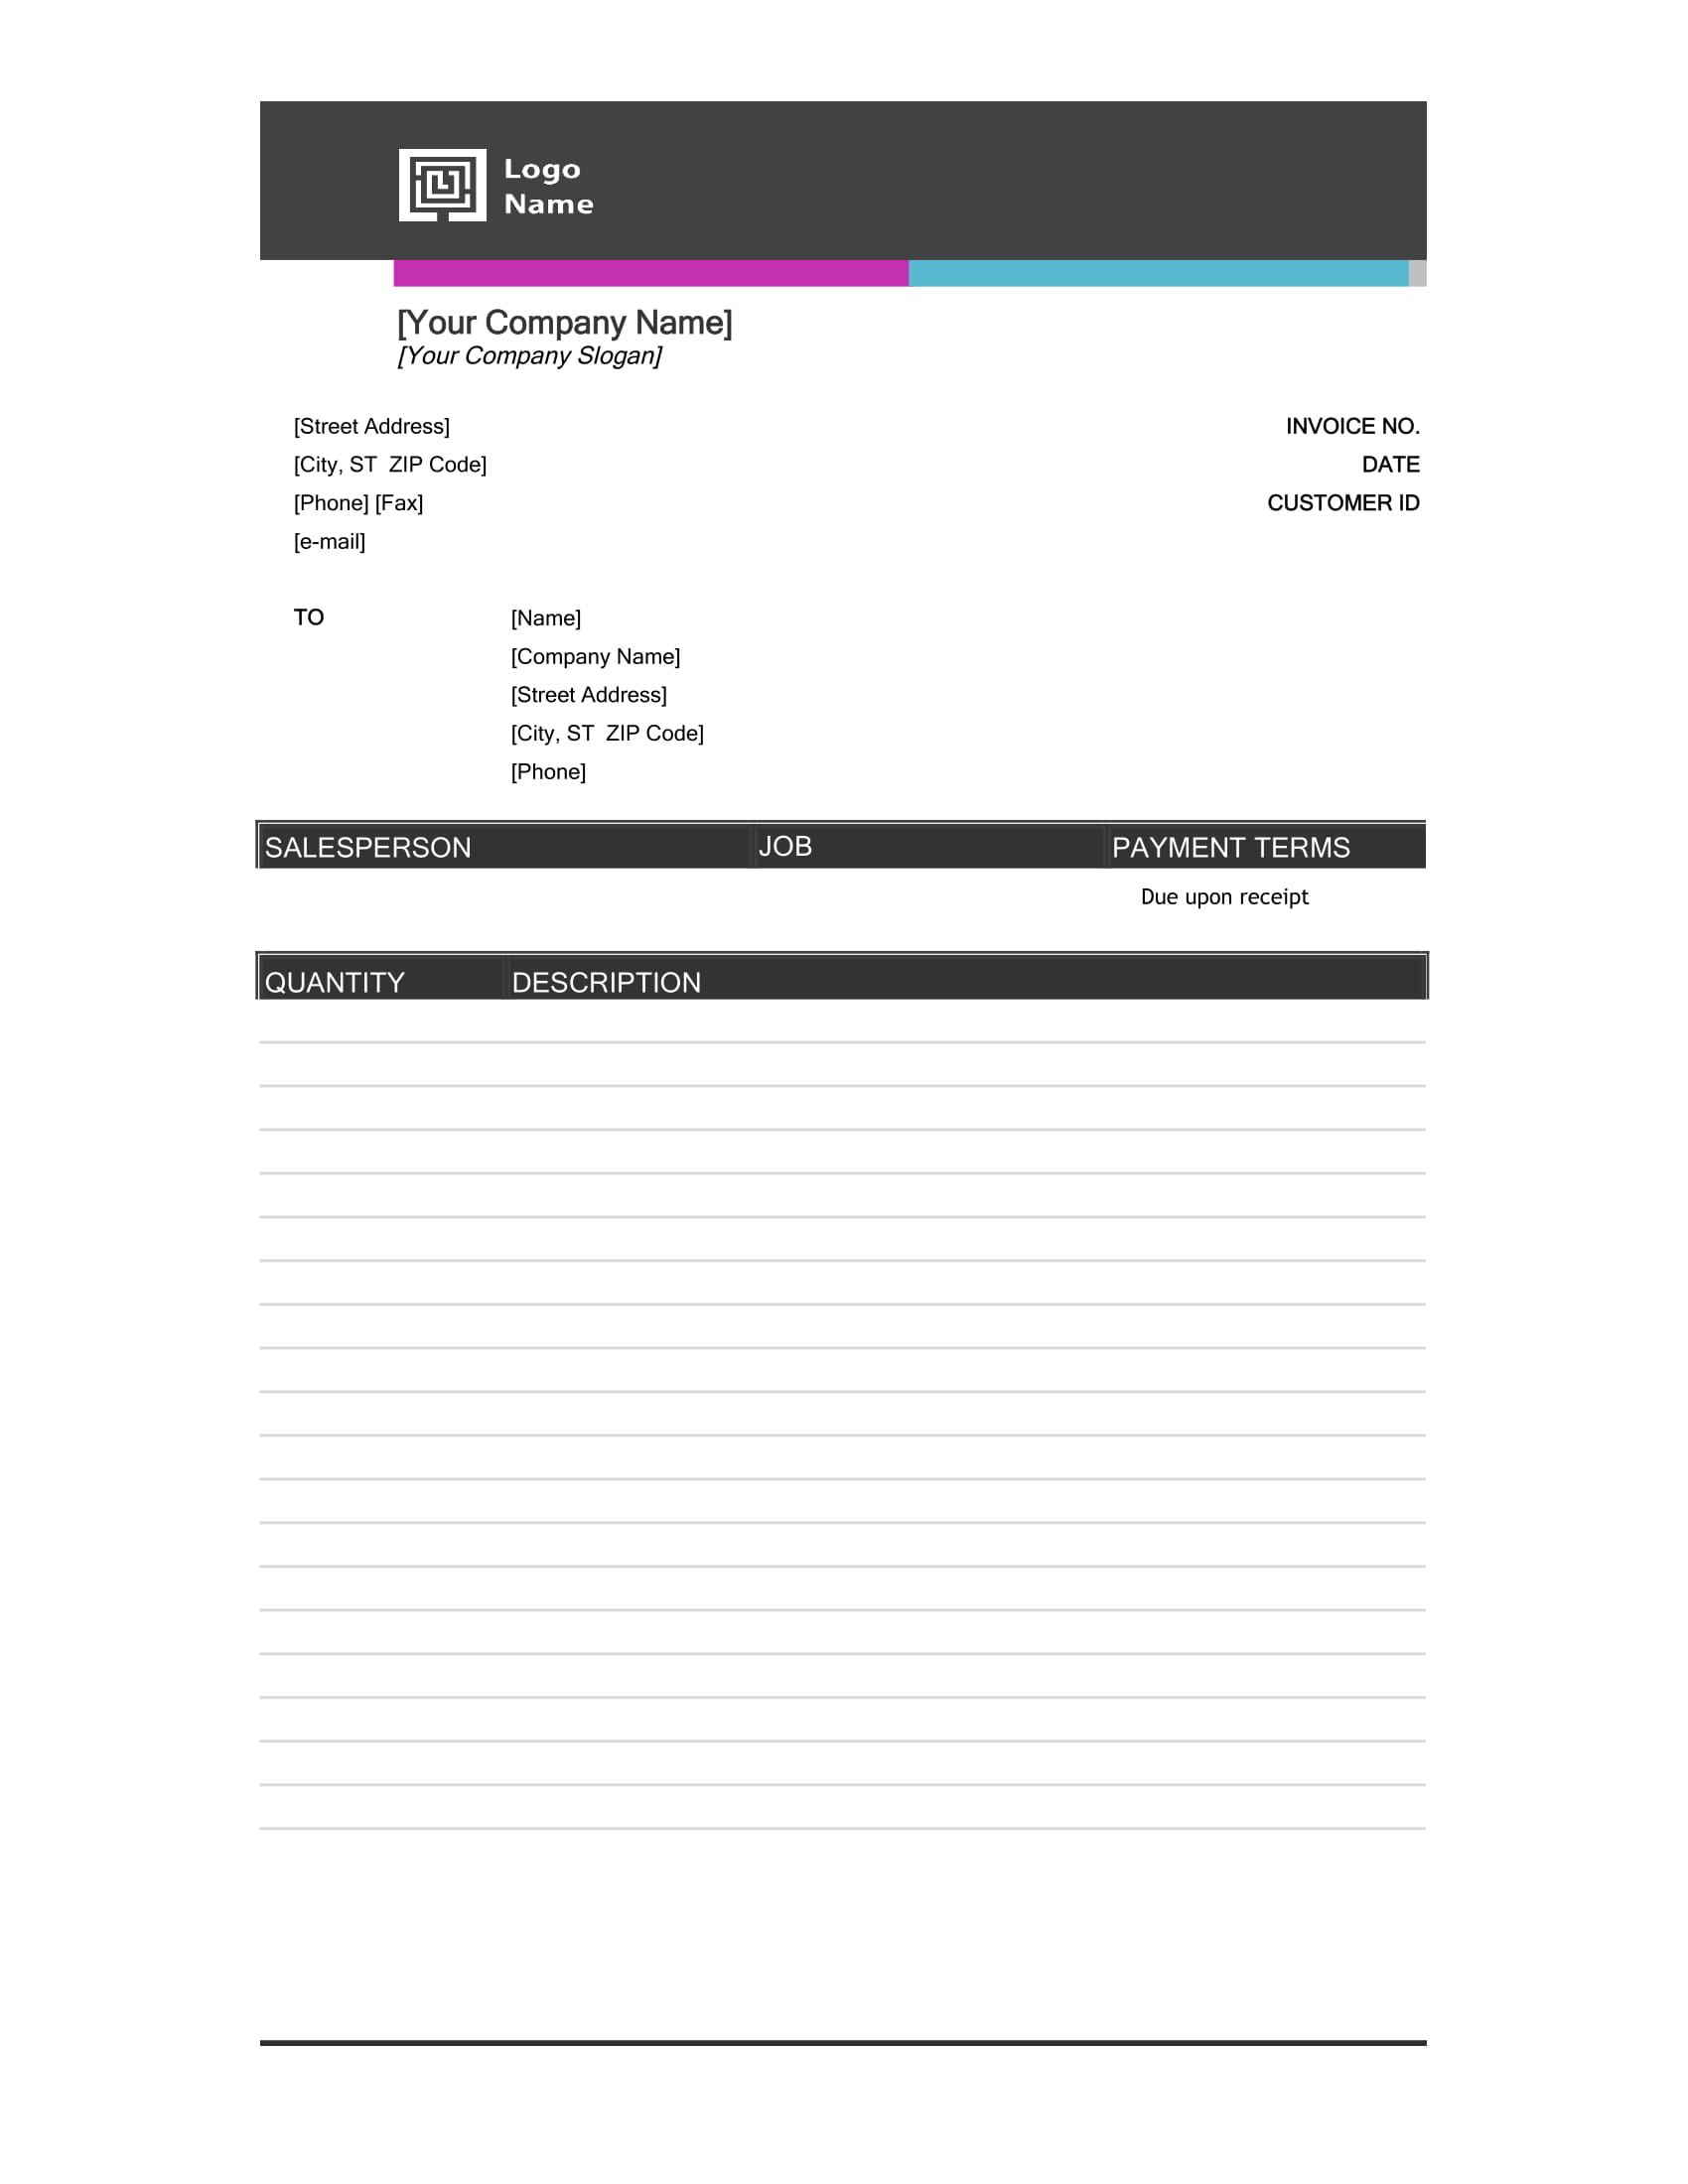
3. Bold Modern Sales Excel Invoice Template
Do you want to stand out to your clients with a modern, but still professional template? Then this Microsoft sales invoice is the perfect choice for you.
The invoice information is displayed stylishly, with big bold borders and colorful lines, which you can customize according to your brand colors. The template still looks professional, though, with all of the sections well-organized and clear to see.
Where to find it: Microsoft Templates Gallery
4. Consulting Services Excel Invoice Template
Similar to the time-based invoice, this Excel invoice template is made for businesses offering hourly services, such as consulting.
The template design is bright, with big, colorful headers that you can personalize depending on your preference. It includes both hourly charges and costs for fees, parts, and other equipment.
Where to find it: Vertex42
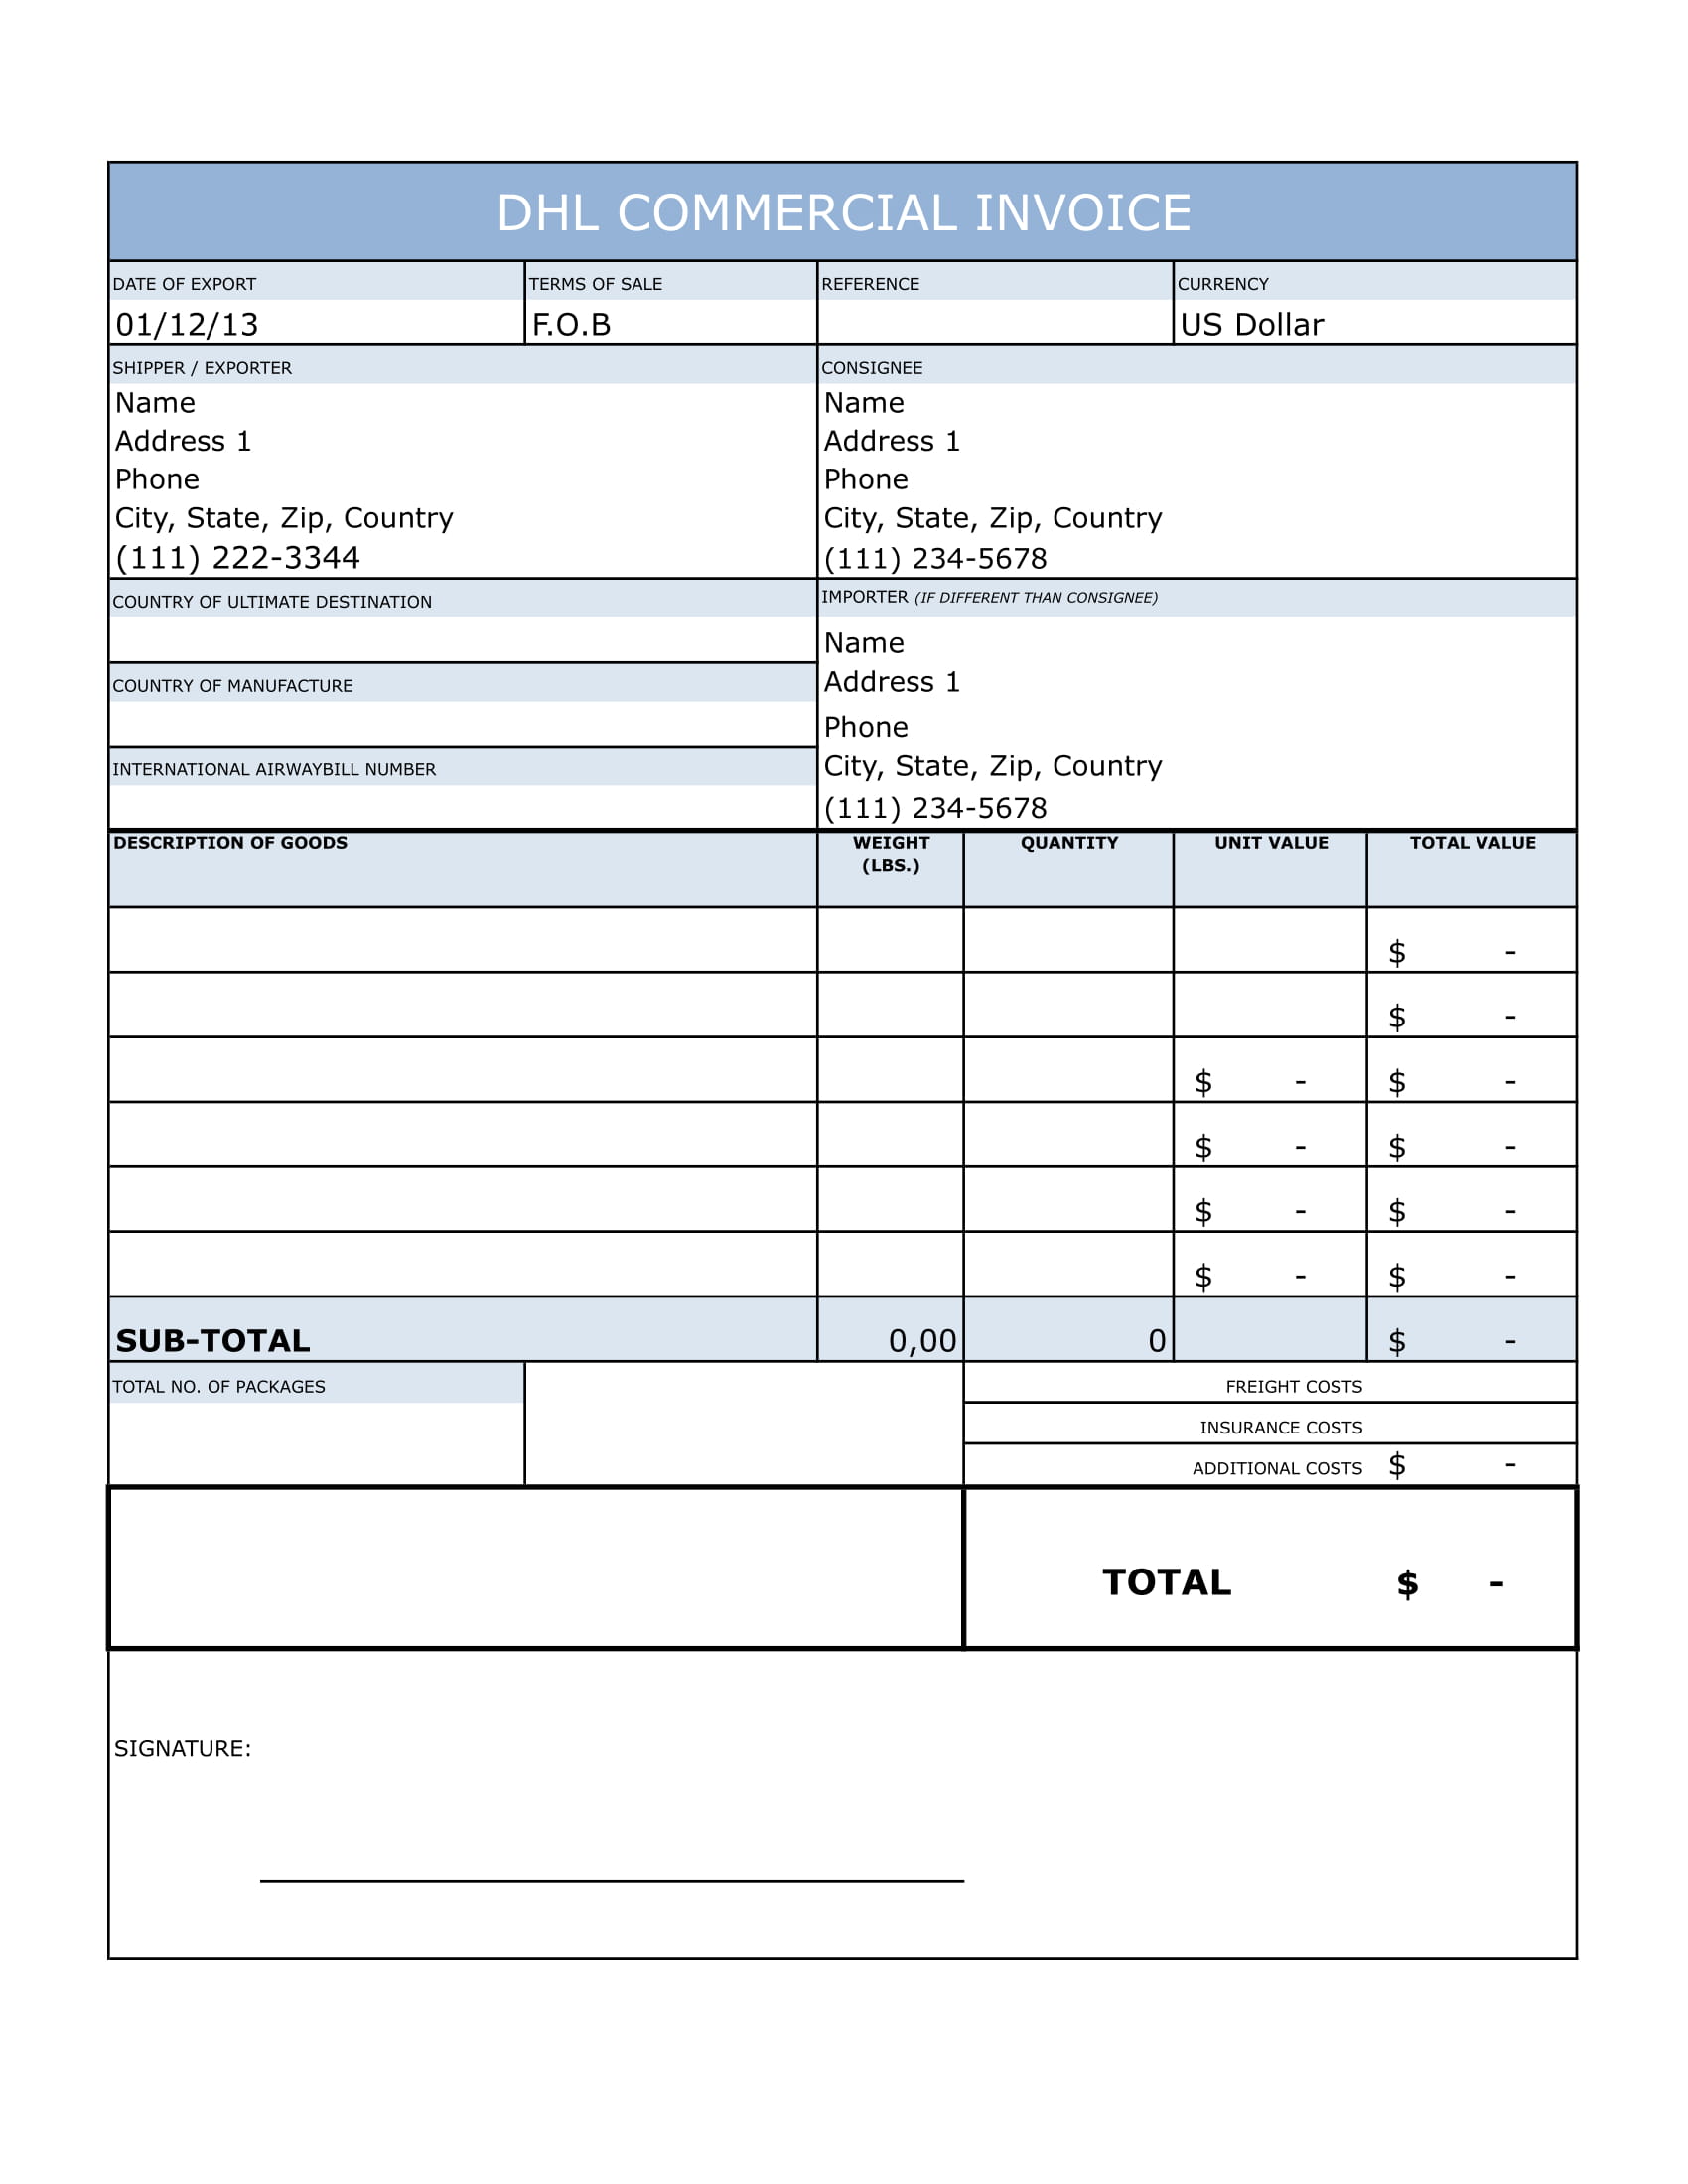
5. Professional Commercial Invoice Template
Does your small business ship products internationally? If so, you’ll need to issue a commercial invoice that covers extra shipping fees, commercial incoterms, type of packaging, the weight of product, country of origin, and so much more.
Consider this light blue Excel commercial invoice template as a solution. The document includes all of the appropriate shipment details, in a customizable and well-organized manner.
Where to find it: Invoice templates
Automate Invoicing with Invoice Management Software
Invoicing in Excel can take up a lot of unnecessary time.
From creating the document to printing it, recording it in accounts receivable, and then finally sending it to your clients, you’ll end up spending more time as a mailman rather than a business manager.
Luckily, there’s a solution to all of these worries.
In today’s digitized world you can automate your invoicing with cloud-based accounting software.
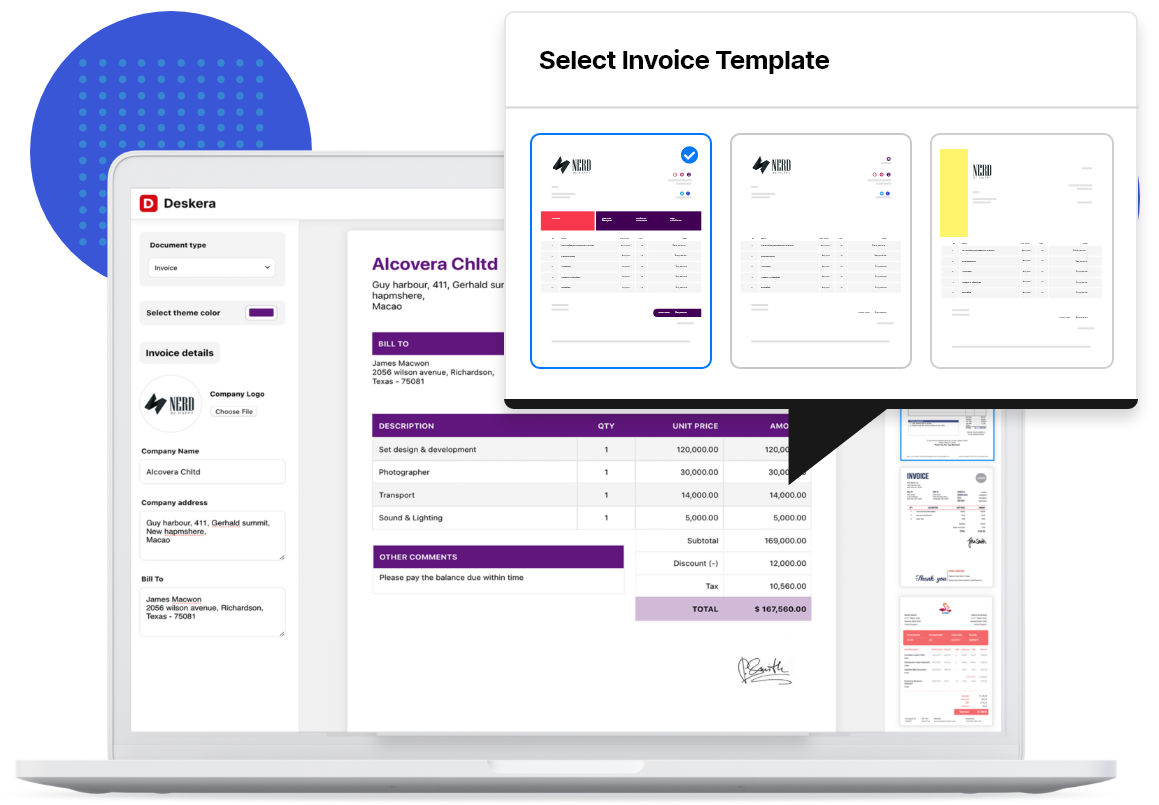
With integrated invoicing software like Deskera or with other accounting software, you can create and send invoices in just a few touches!
Deskera comes with over 100+ premade professional templates you can choose from, and tailor to your business brand with your preferred colors, font, business logo, and signature.
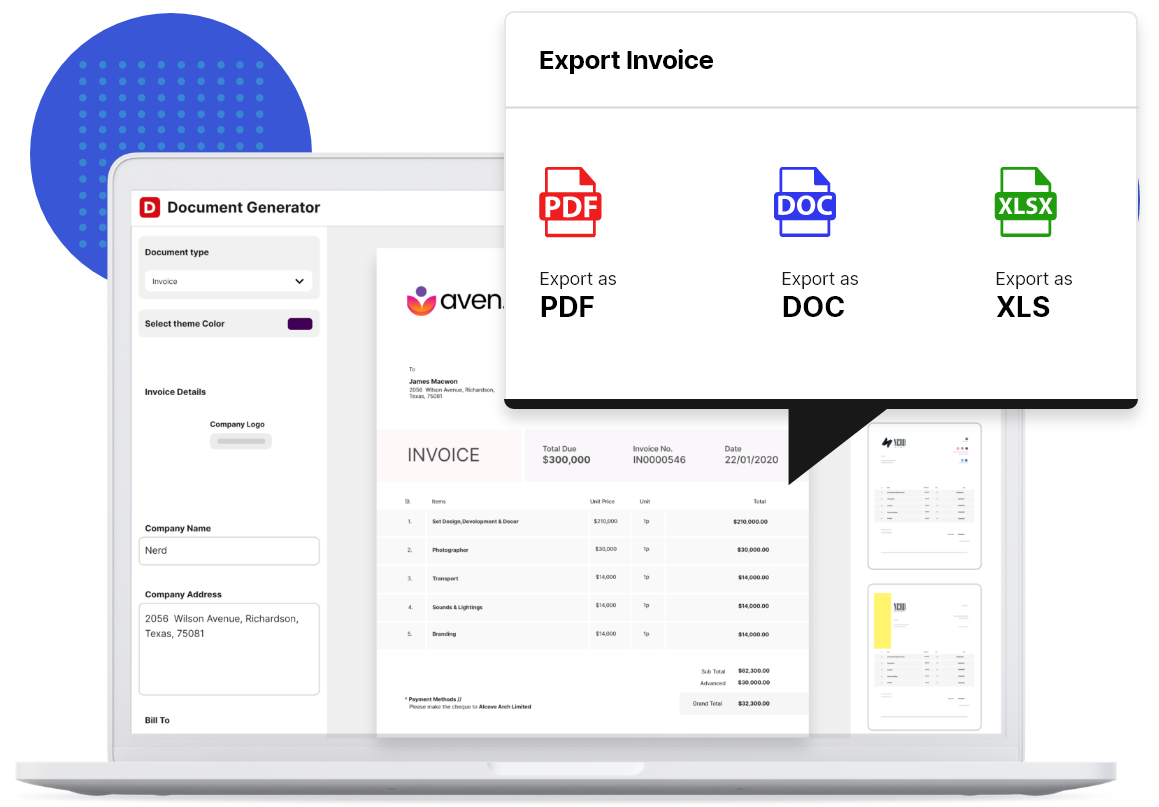
After customizing, all you have to do is fill in the left sidebar of the Deskera invoice generator with the necessary invoice details, and you’re done!
Send the invoice by pressing Share at the top right of the page, to download, print, or email the invoice to your client. You can also choose to export the invoice as a PDF, DOC, or XLS file.
Deskera’s invoicing features don’t end here.
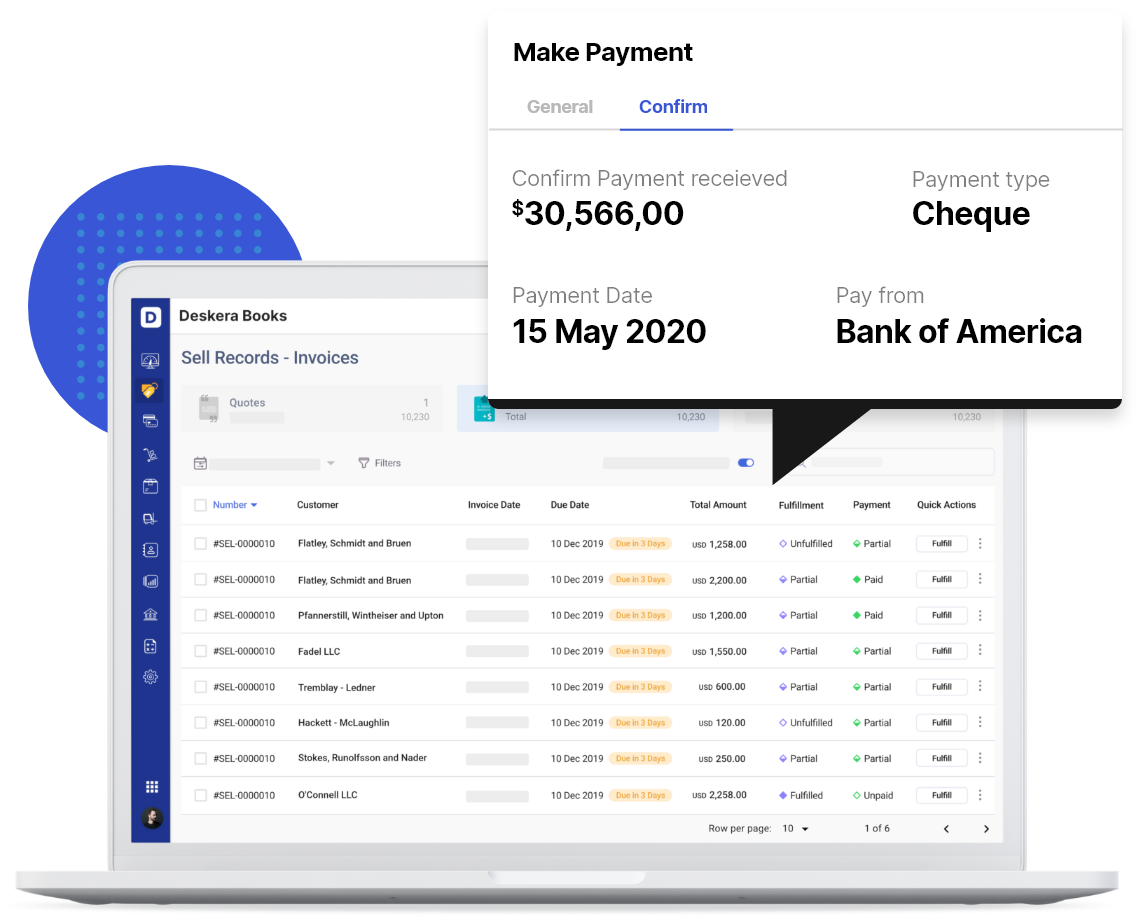
On the Deskera Books platform, there is a Sell dashboard that allows you to get an overview of your issued invoices and their payment status.
From there, you can also request advance payments and deposits, set recurring invoices for repeated services, get notifications for payment due dates, and so much more.
Access the software anywhere, phone, tablet, or desktop by downloading the Deskera mobile app.
Still not convinced Deskera is the right choice for you? Well, you can check the program out yourself, with our completely free trial.
Key Takeaways
And that’s a wrap! We hope you enjoyed our guide to invoicing in Excel.
Here’s a recap of the main points we’ve covered:
- If you want to make an invoice in Excel from a template these are the steps you have to follow:
- Search and select a template
- Customize the template to your preference, and fill in the purchase details
- Save and send the file via fax, email, or an invoicing software.
- To create an invoice from scratch in Excel you have to:
- Open a new blank document
- Remove gridlines
- Create a header with your business information and logo
- Disclose the payment due date, issue date, and invoice number
- Enter the client’s name and other contact details
- Create an itemized list of products and services and total the invoice
- Use Excel’s SUM function to automatically calculate your total
- Include payment terms and other additional notes
- Save and send your finalized Excel invoice.
- Use invoicing software like Deskera to save time, money, and most importantly a lot of unnecessary headaches.
Related Articles


![Difference Between an Invoice vs a Receipt [with Examples]](/blog/content/images/2021/01/invoice-vs-receipt.jpg)